That’s right, as I indicated earlier, we are still thinking about and working around the June 30th hail storm and will be actively for the rest of the season at least. After all, I have not had a day working at the farm this month when we didn’t say “we’re doing this because of the storm” at least once, and every conversation I’ve had with a community gardener in that same period has revolved around the phrase “after that storm we…”
Overall, I would definitely say that I am cautiously optimistic about the overall state of the farm given the amount of damage we suffered. This is because despite the amount of damage there was and the fact that we’re still dealing with it, we could be in significantly worse shape had we not dedicated ourselves so highly to storm recovery. For example, I previously said that this event could have shut down a CSA’s season. At this point, I’m confident that if we were a CSA, though we would have lost a few weeks of delivery and would have had to work out the details of potential refunds or partial refunds, we would at this time be able to resume a semi-normal delivery schedule, if with included caveats about what people are not getting due to the storm.
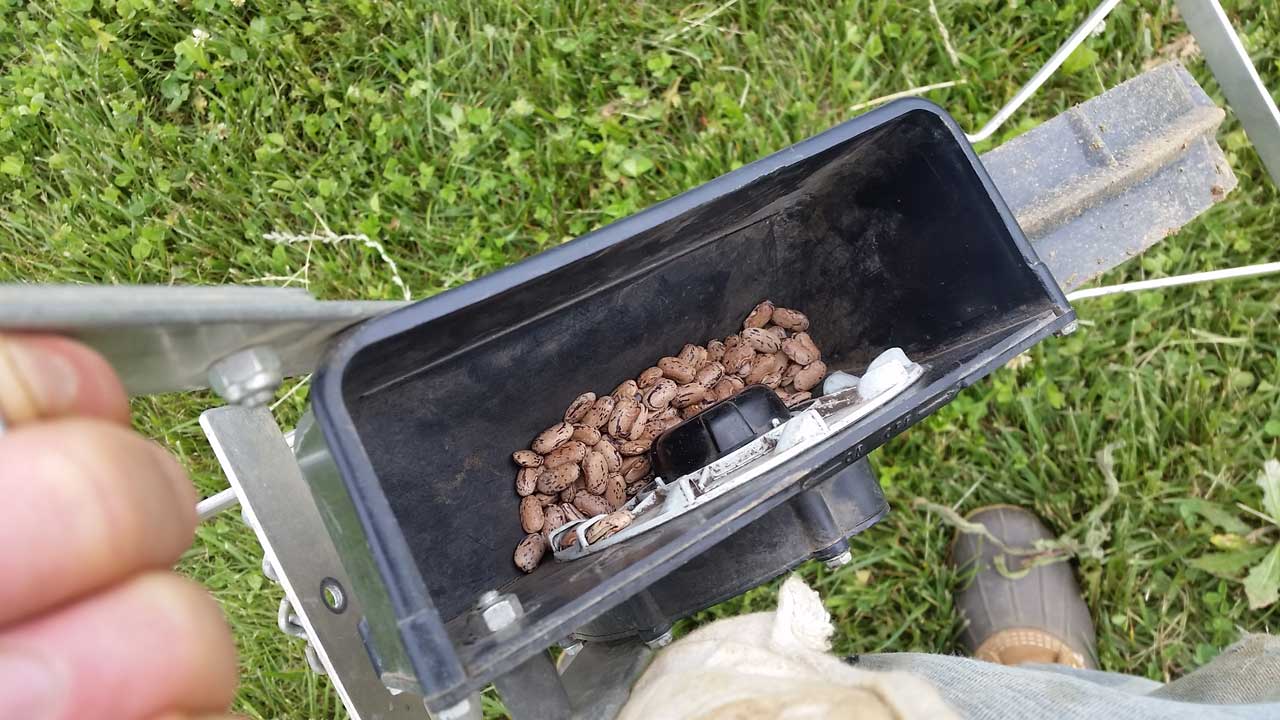
Take for example beans:
-
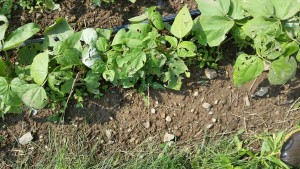
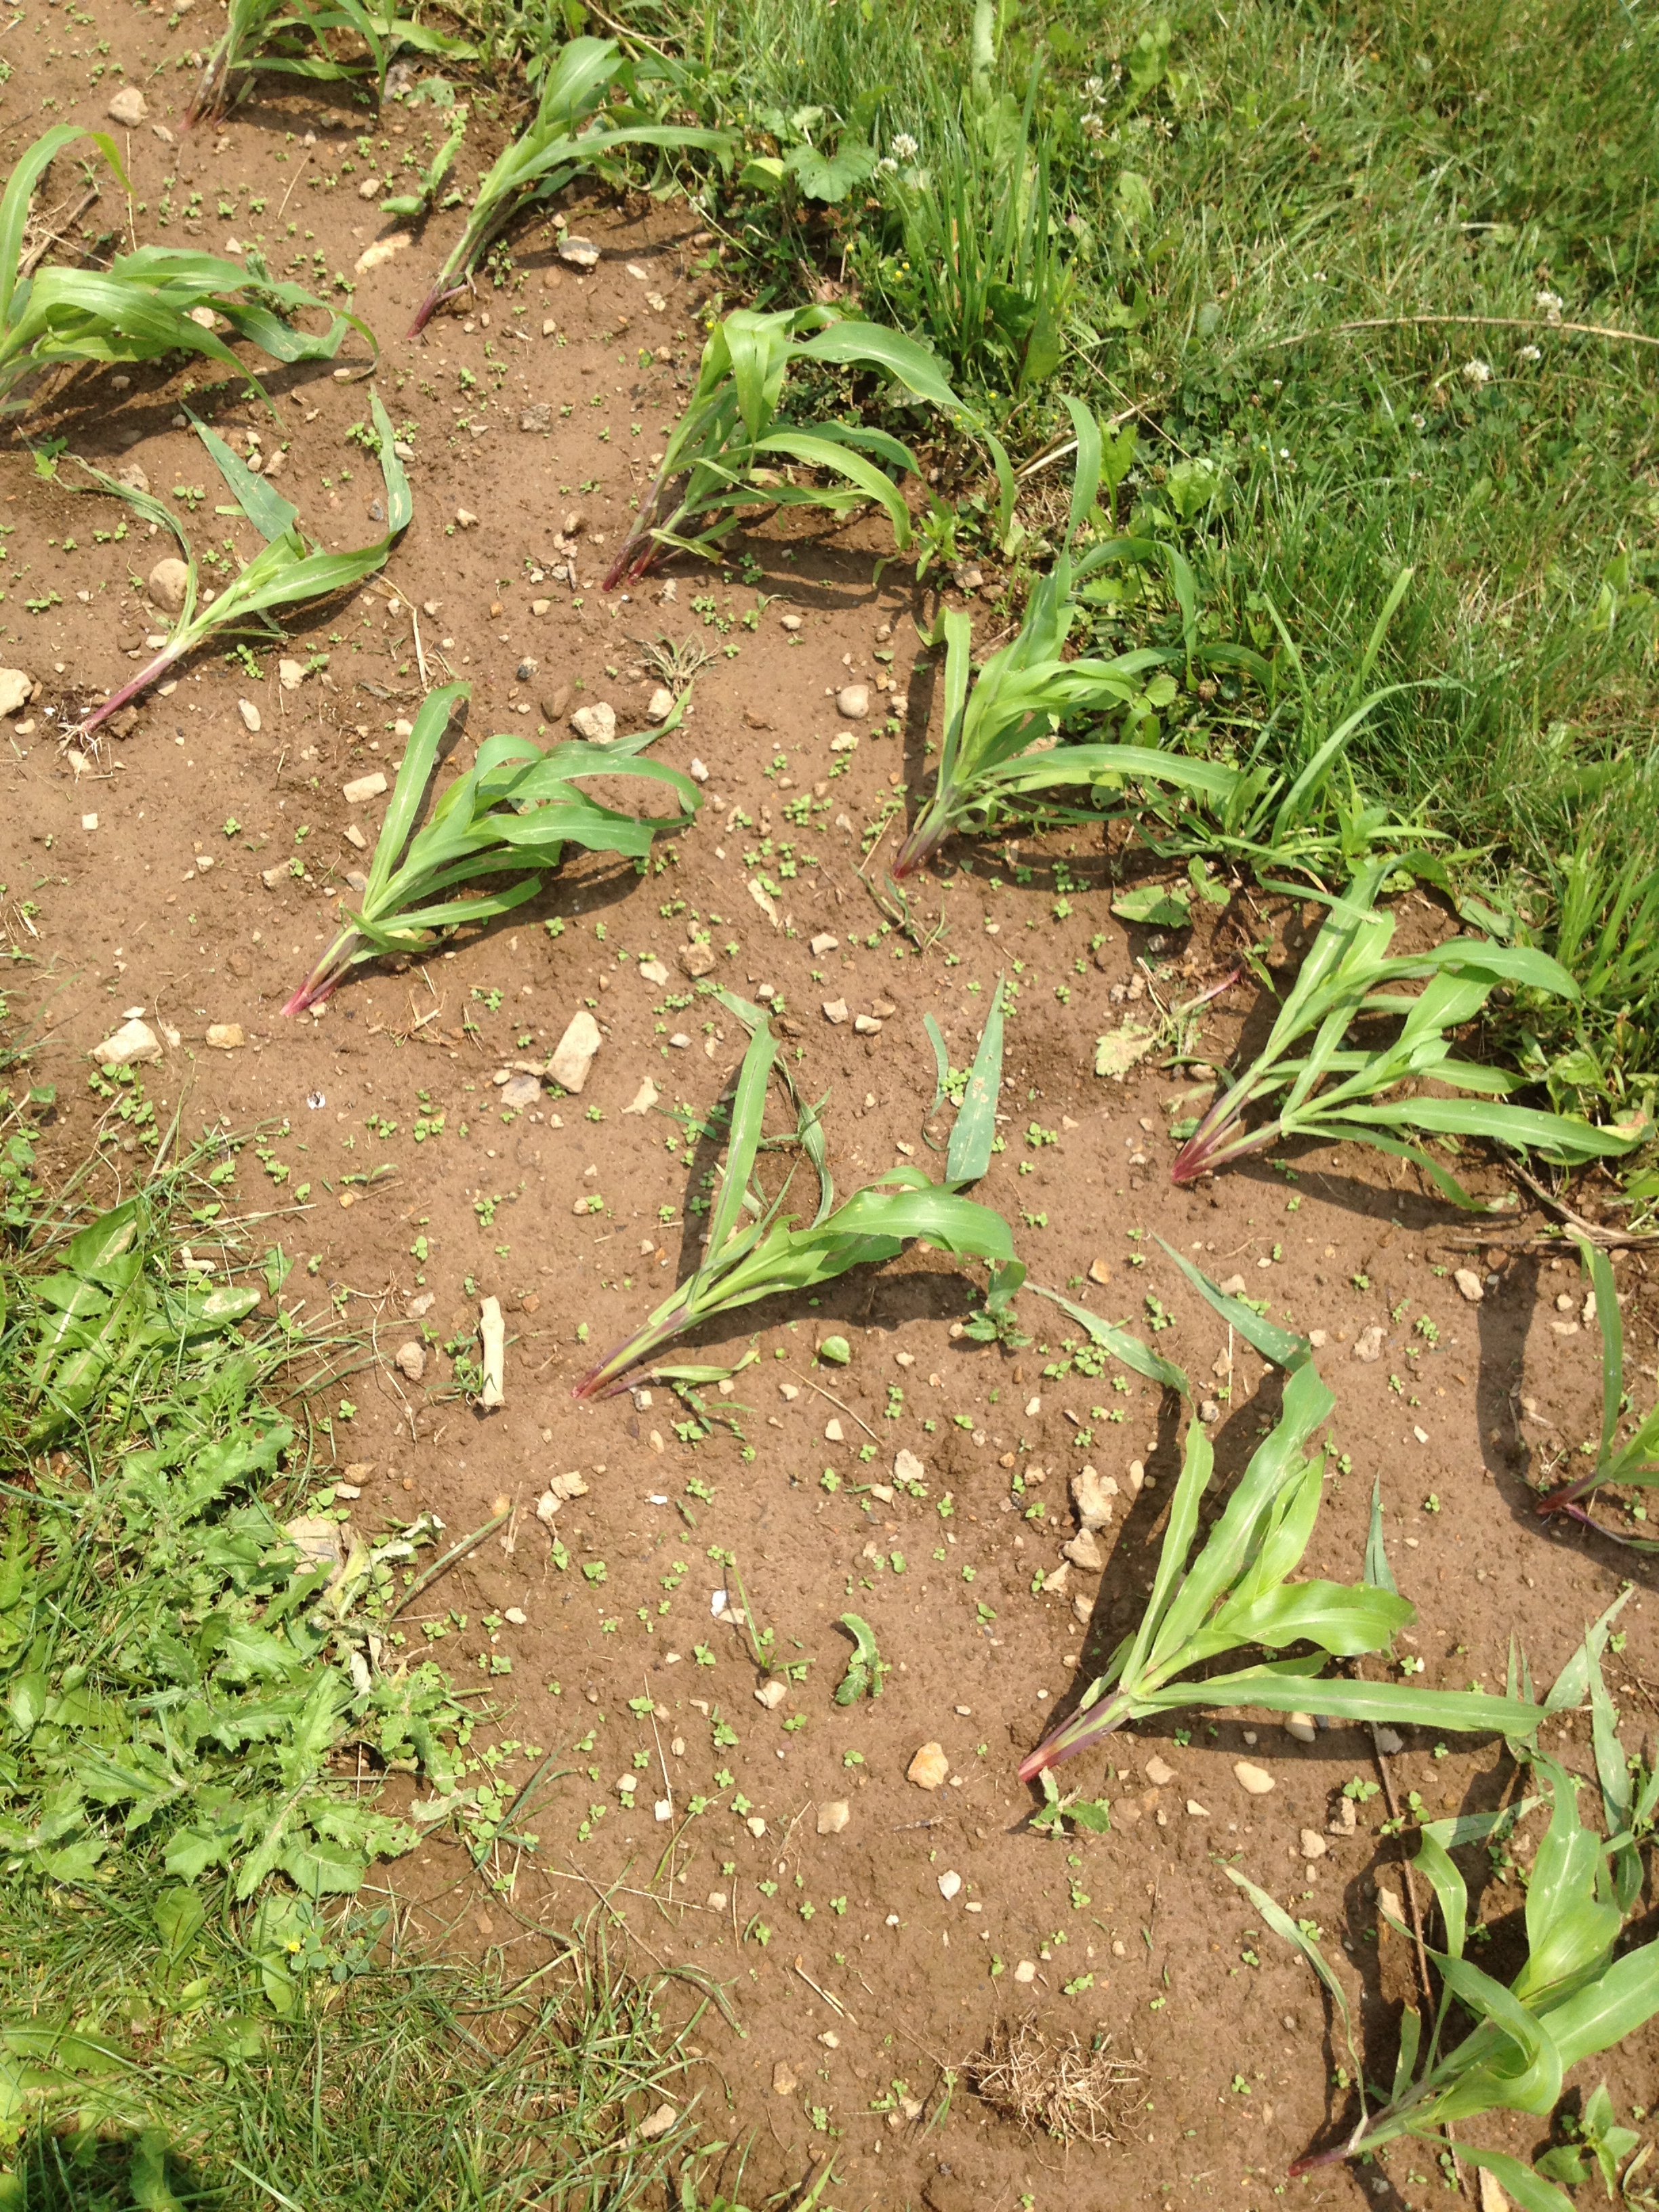
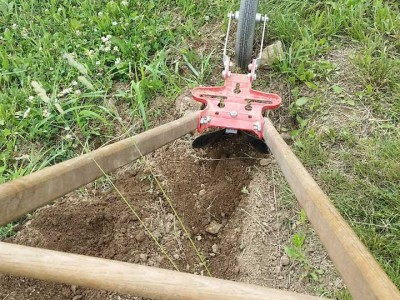
- The beans right after the hail storm of June 30th
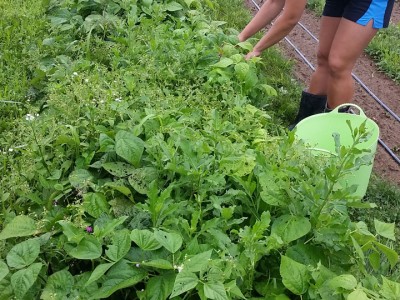
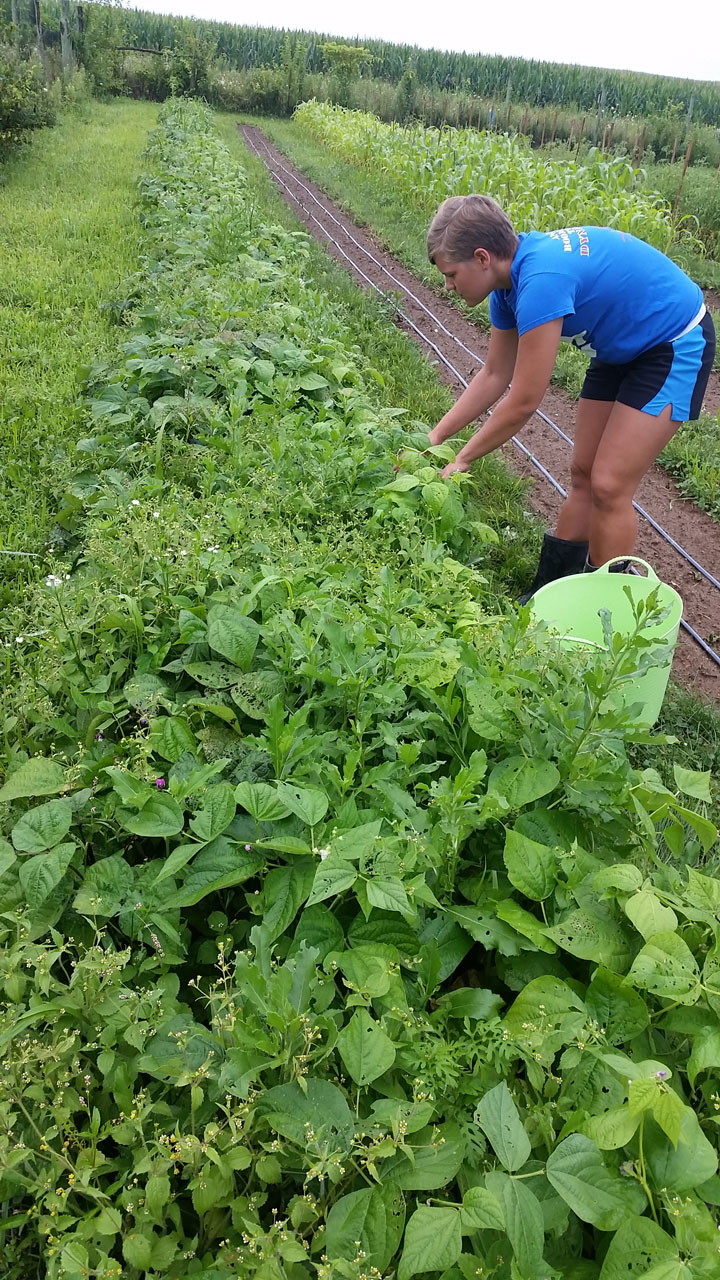
-
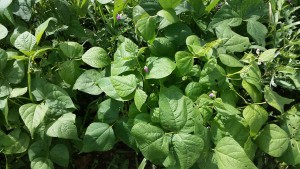
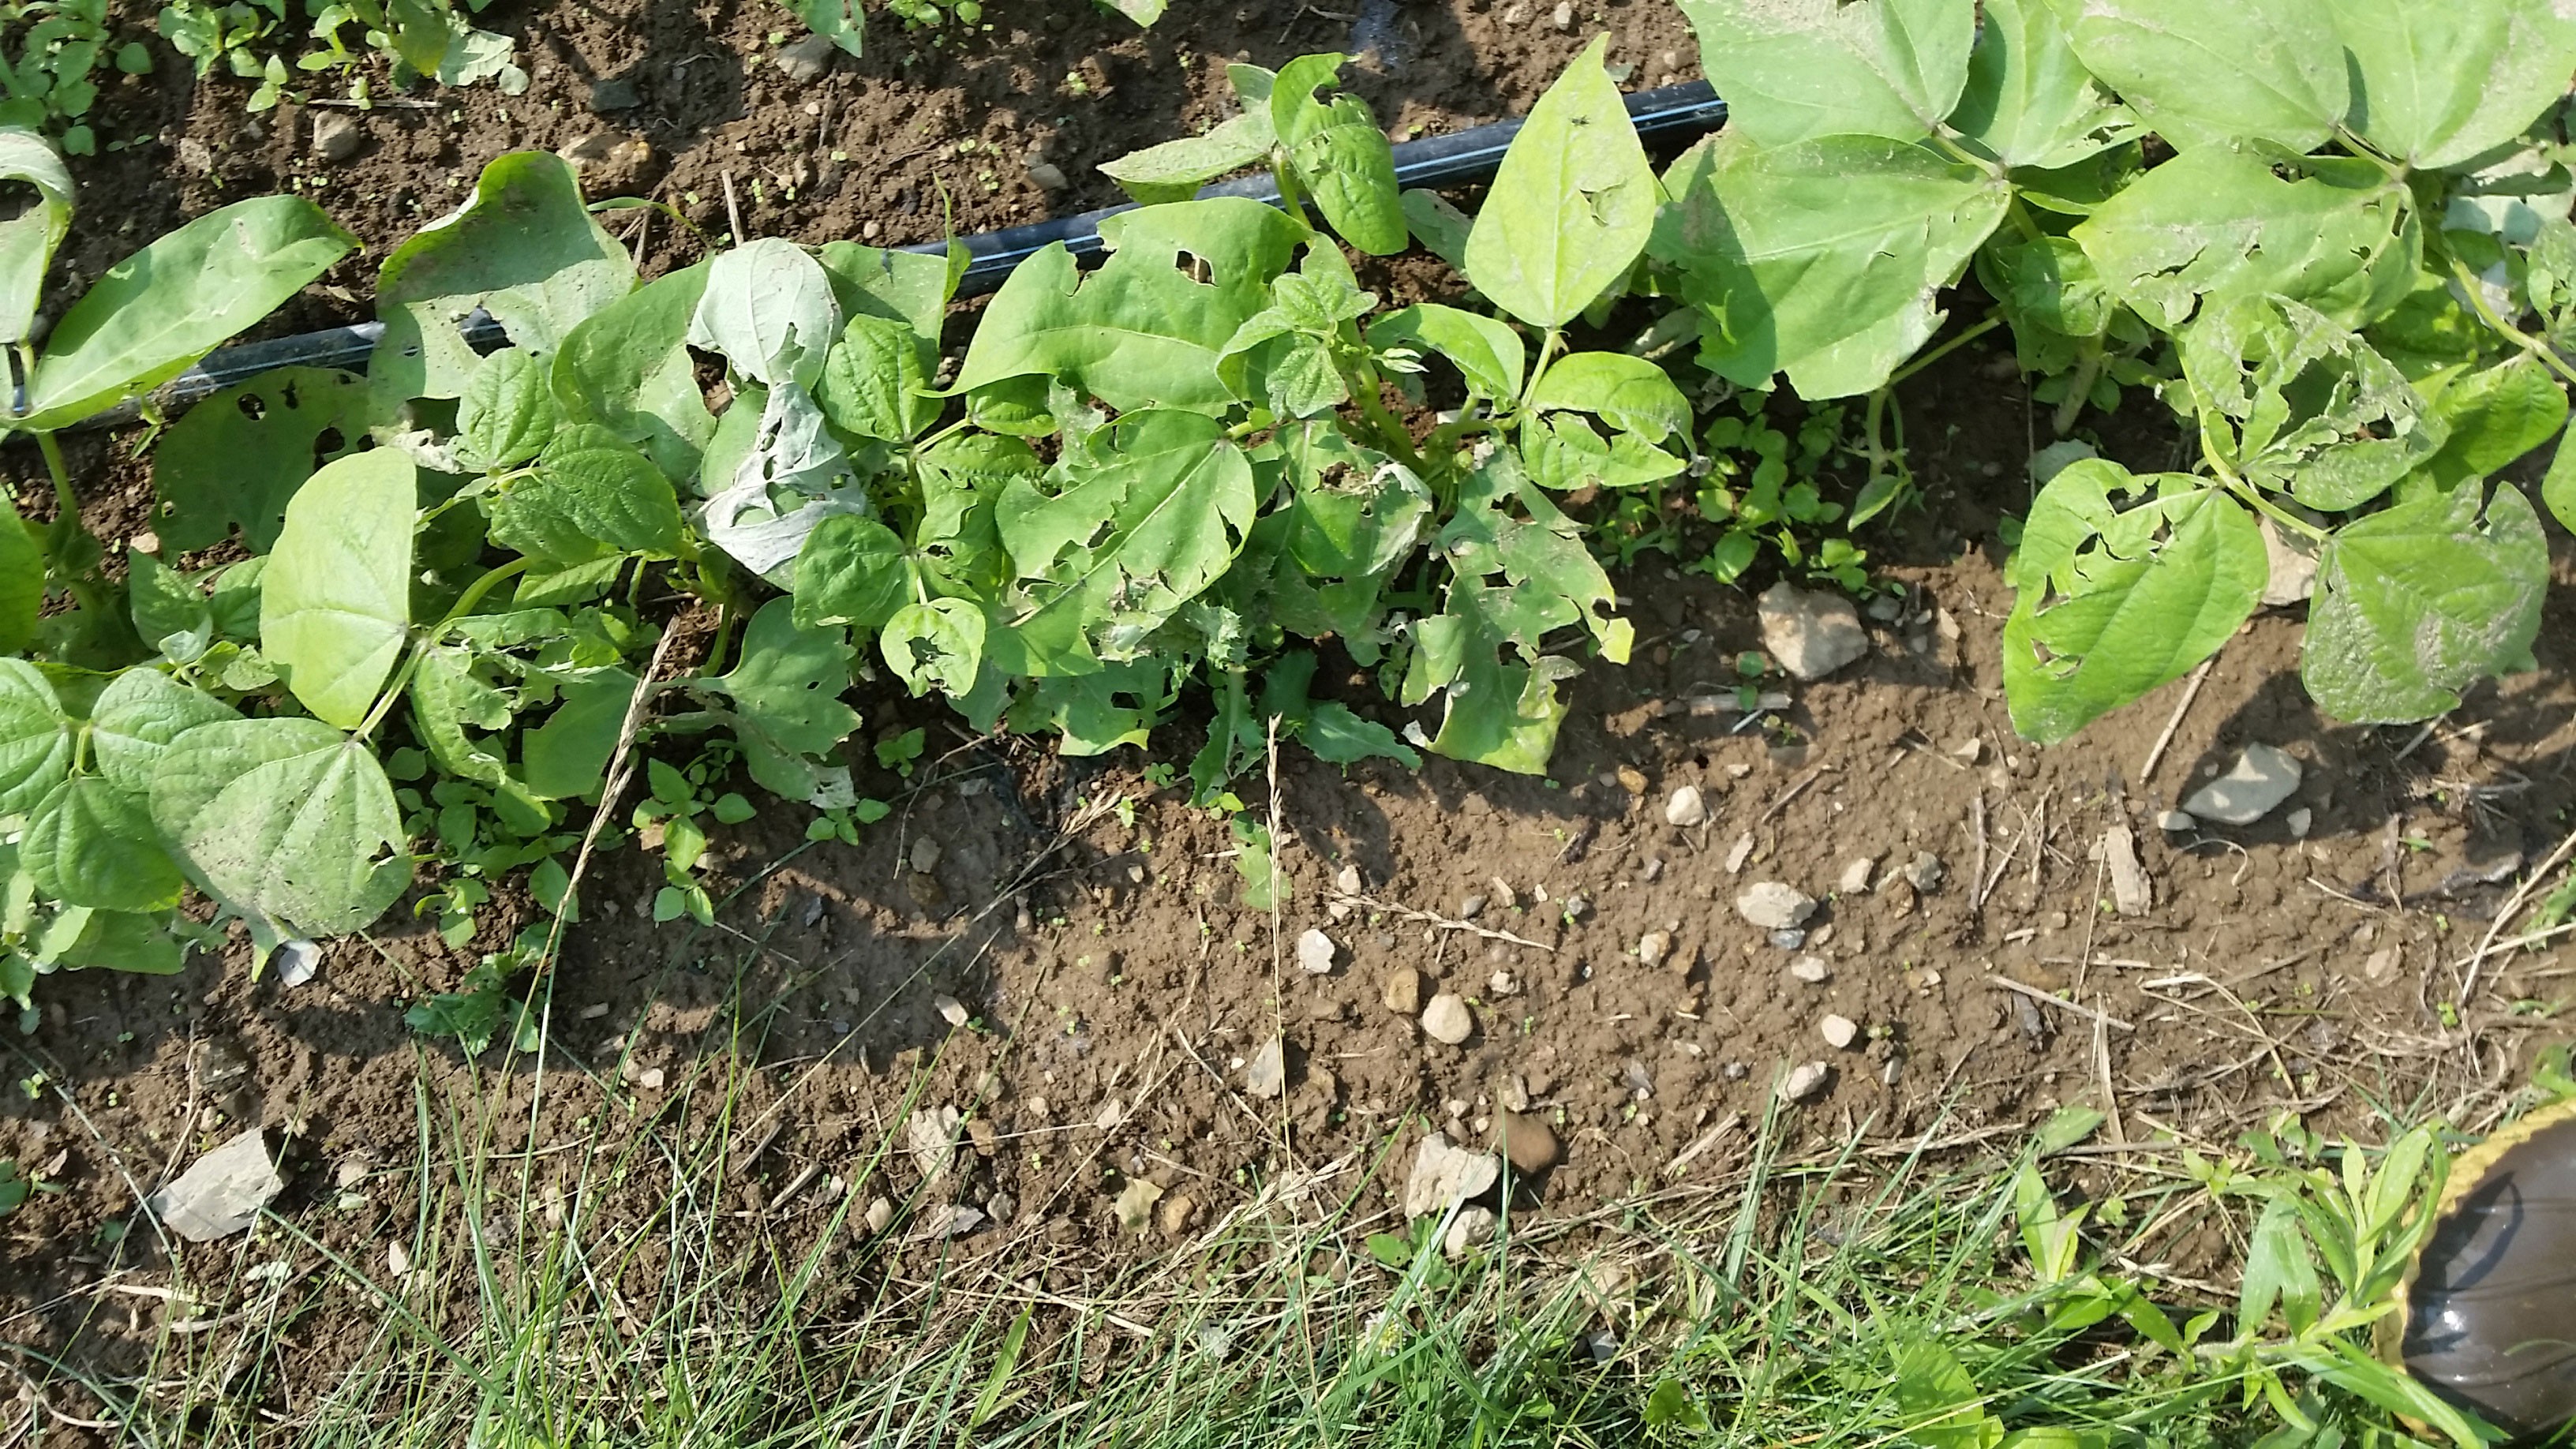
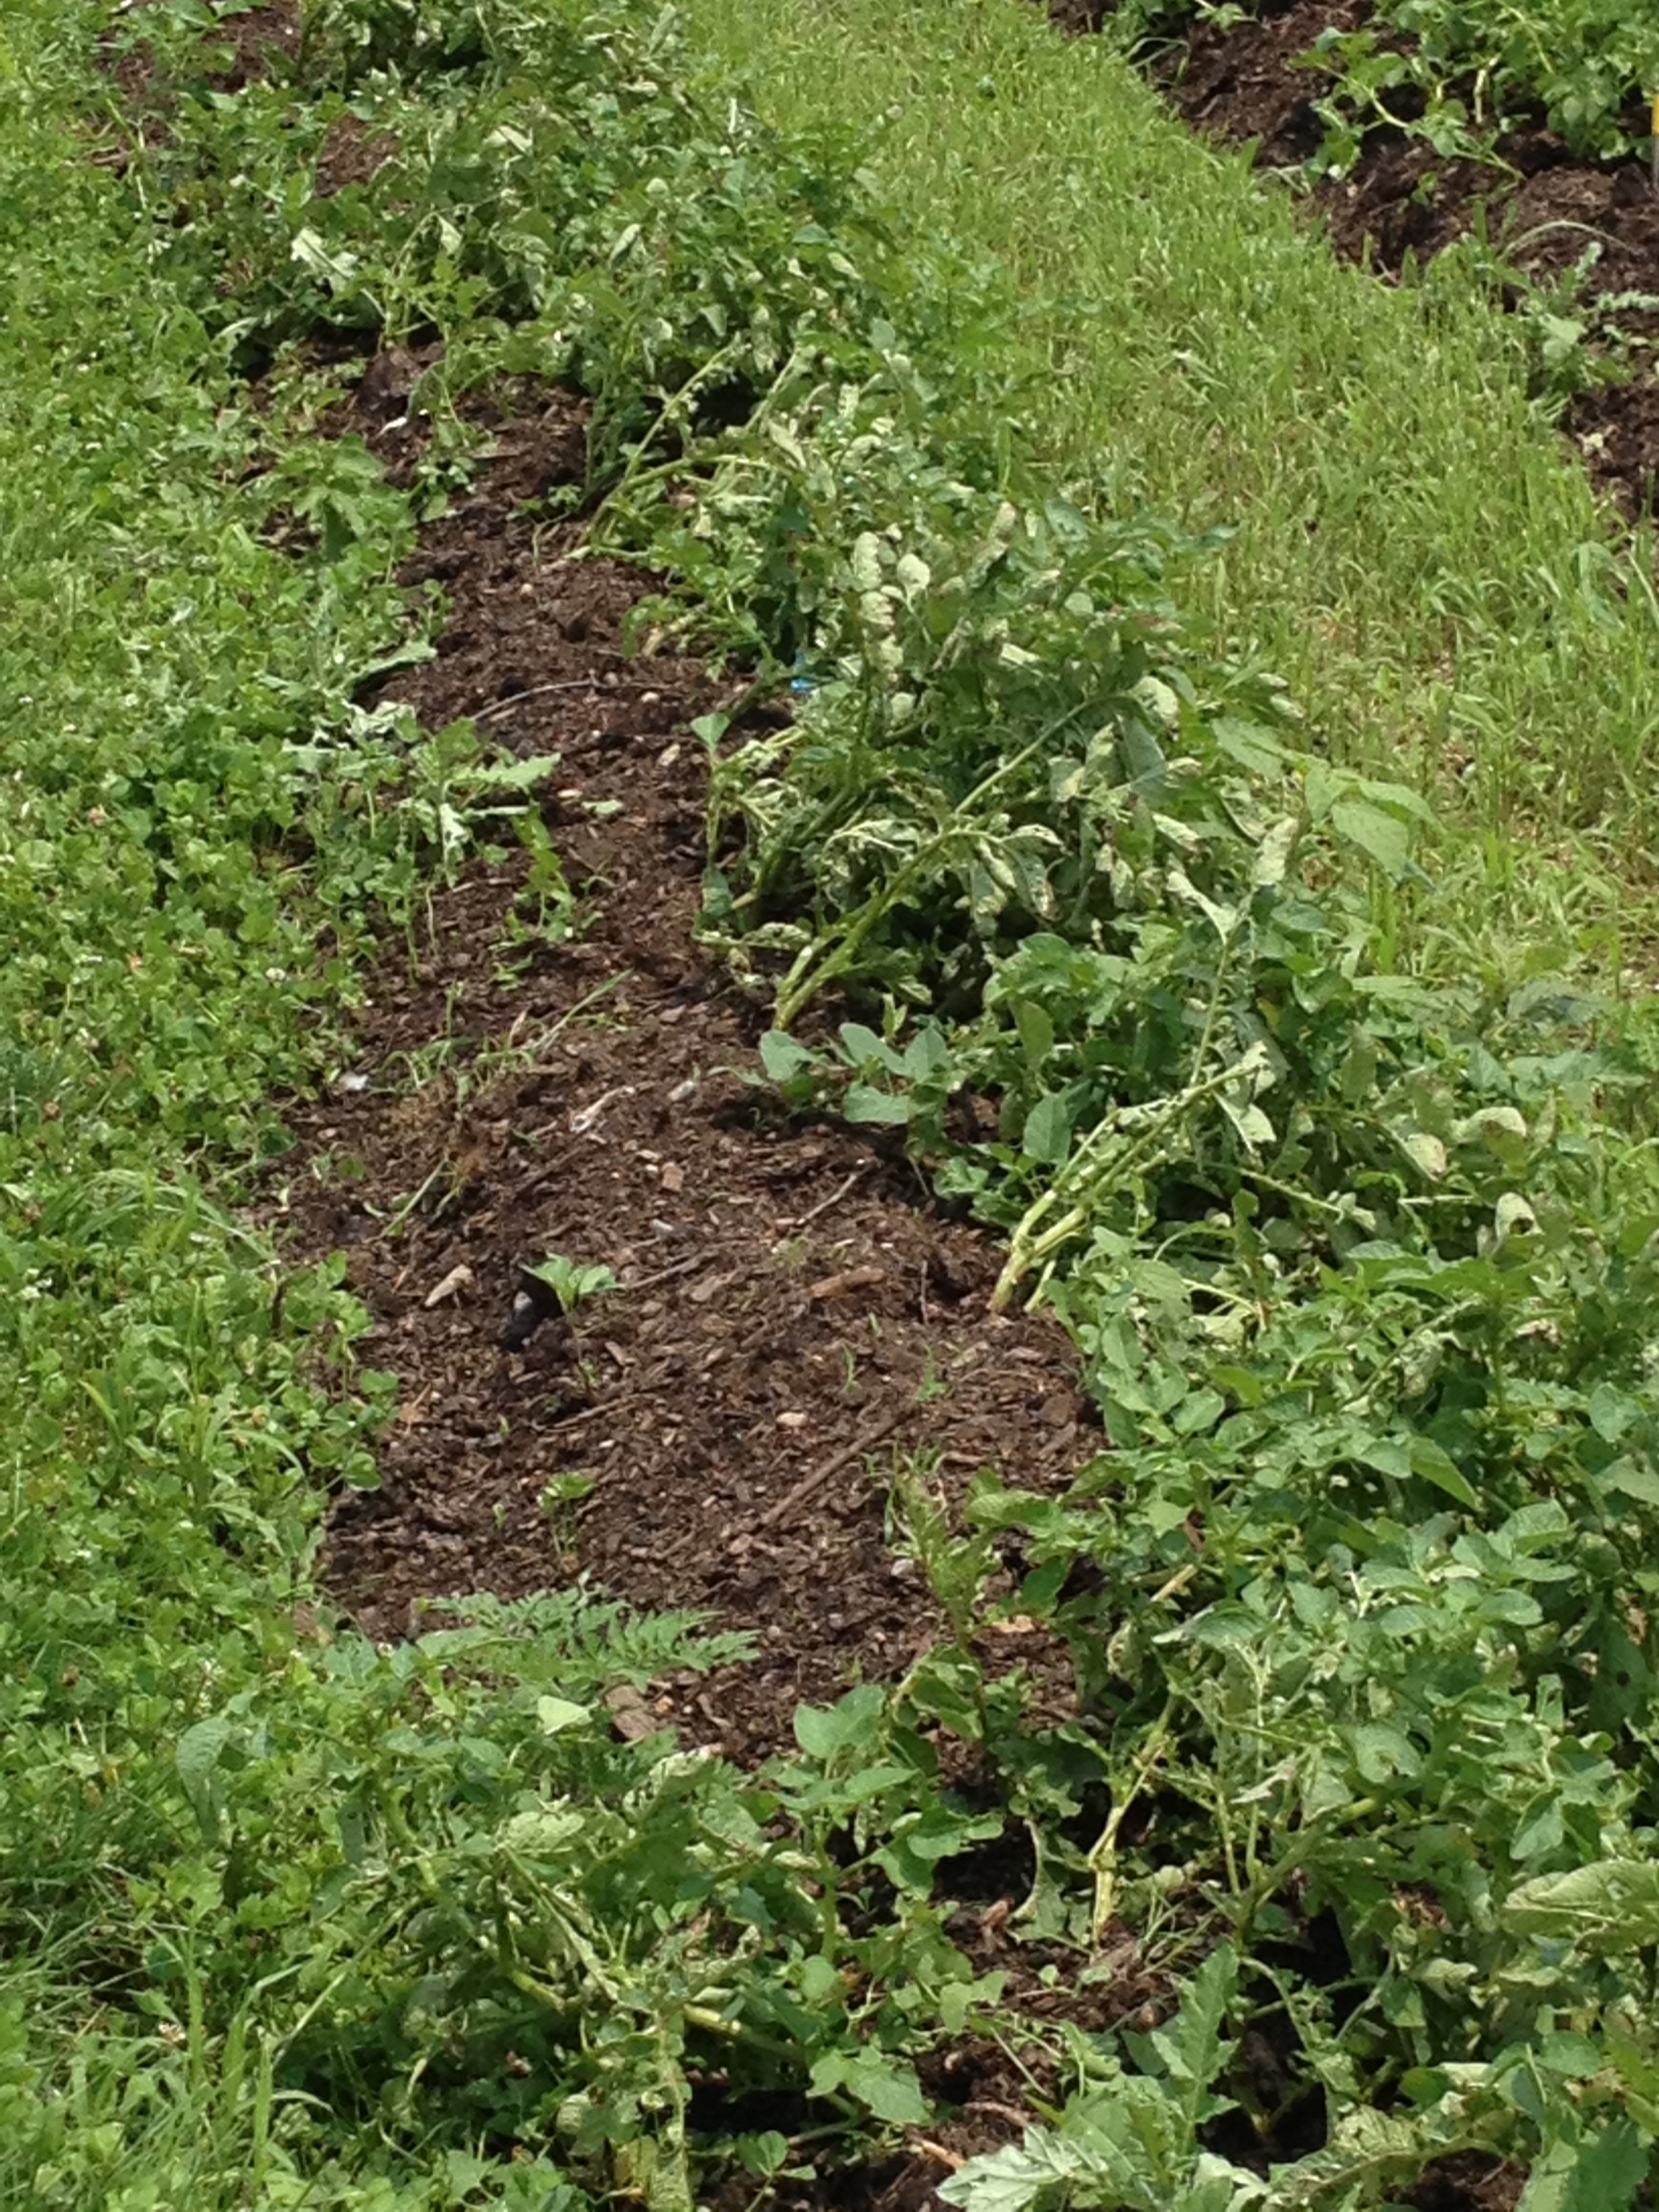
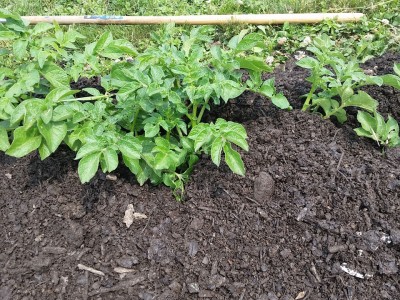
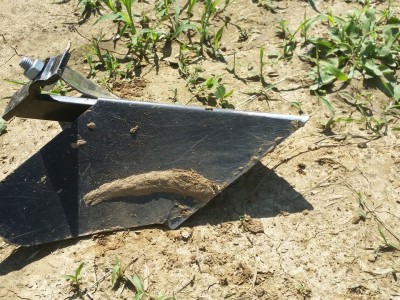
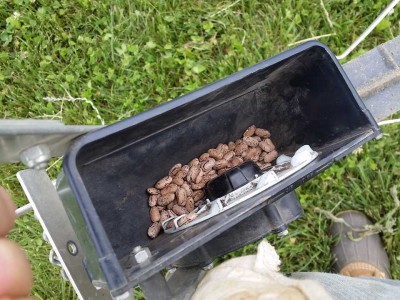
- Beans 4 weeks after the storm

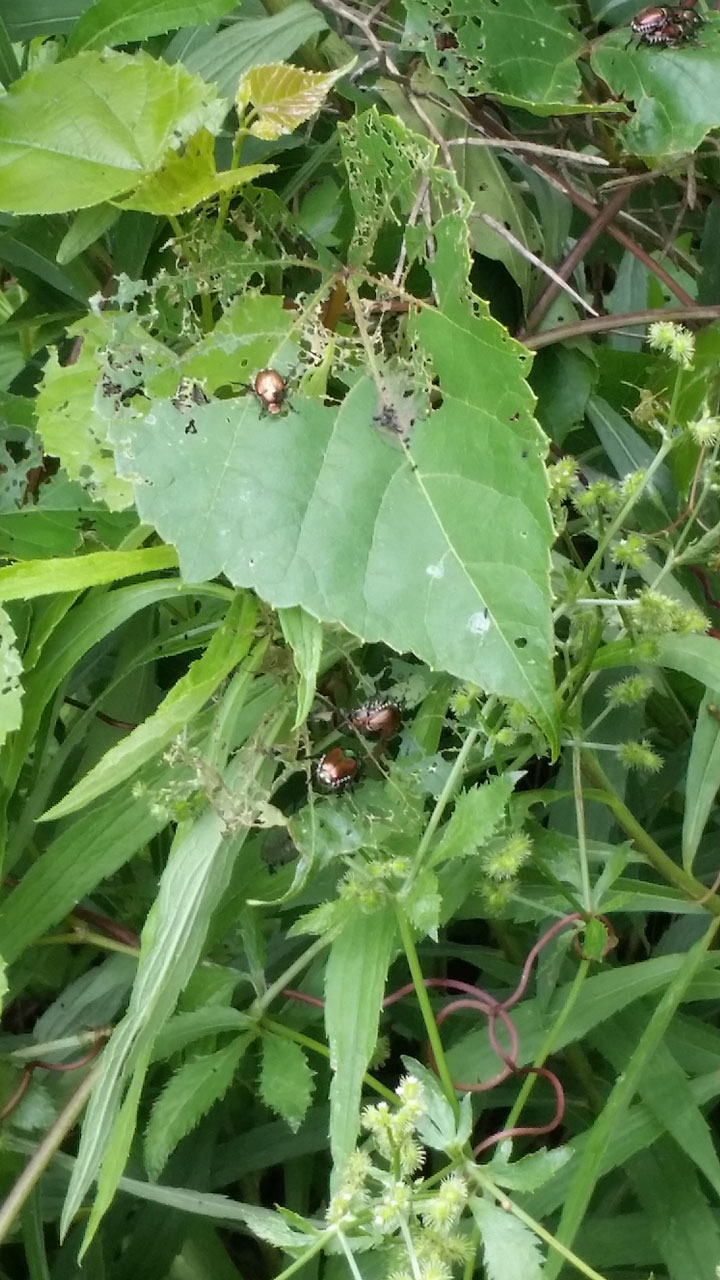
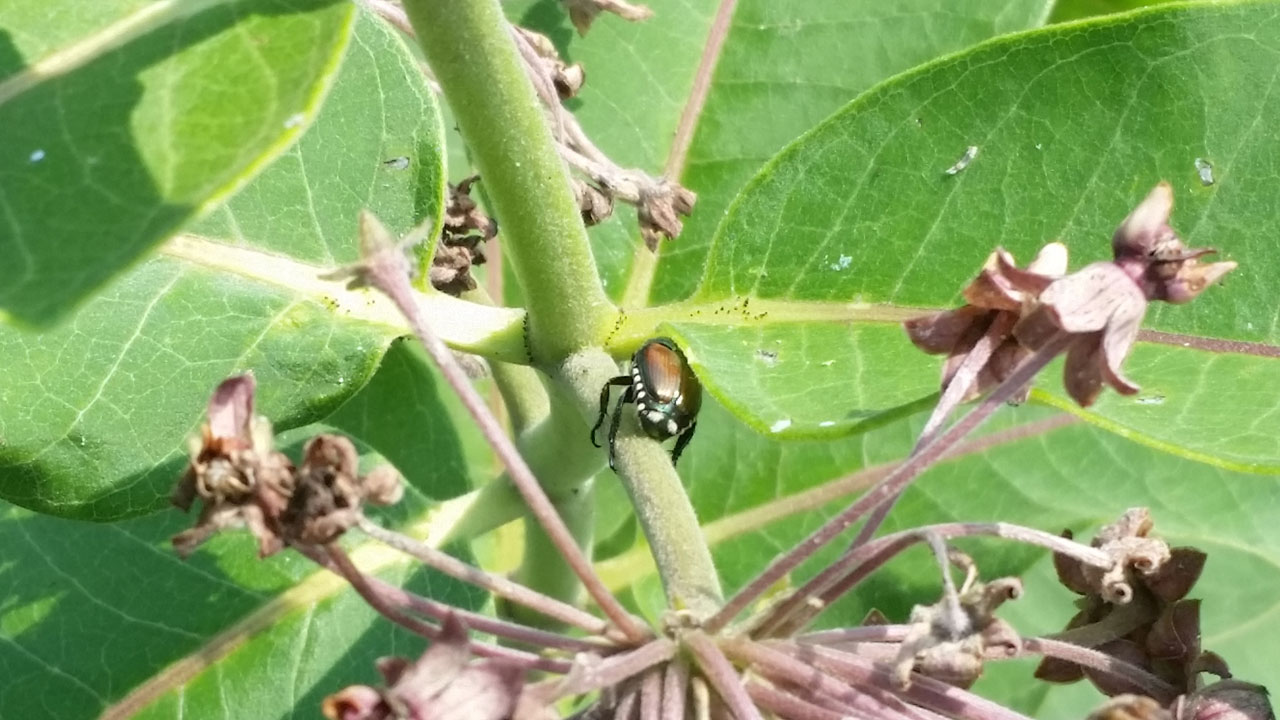
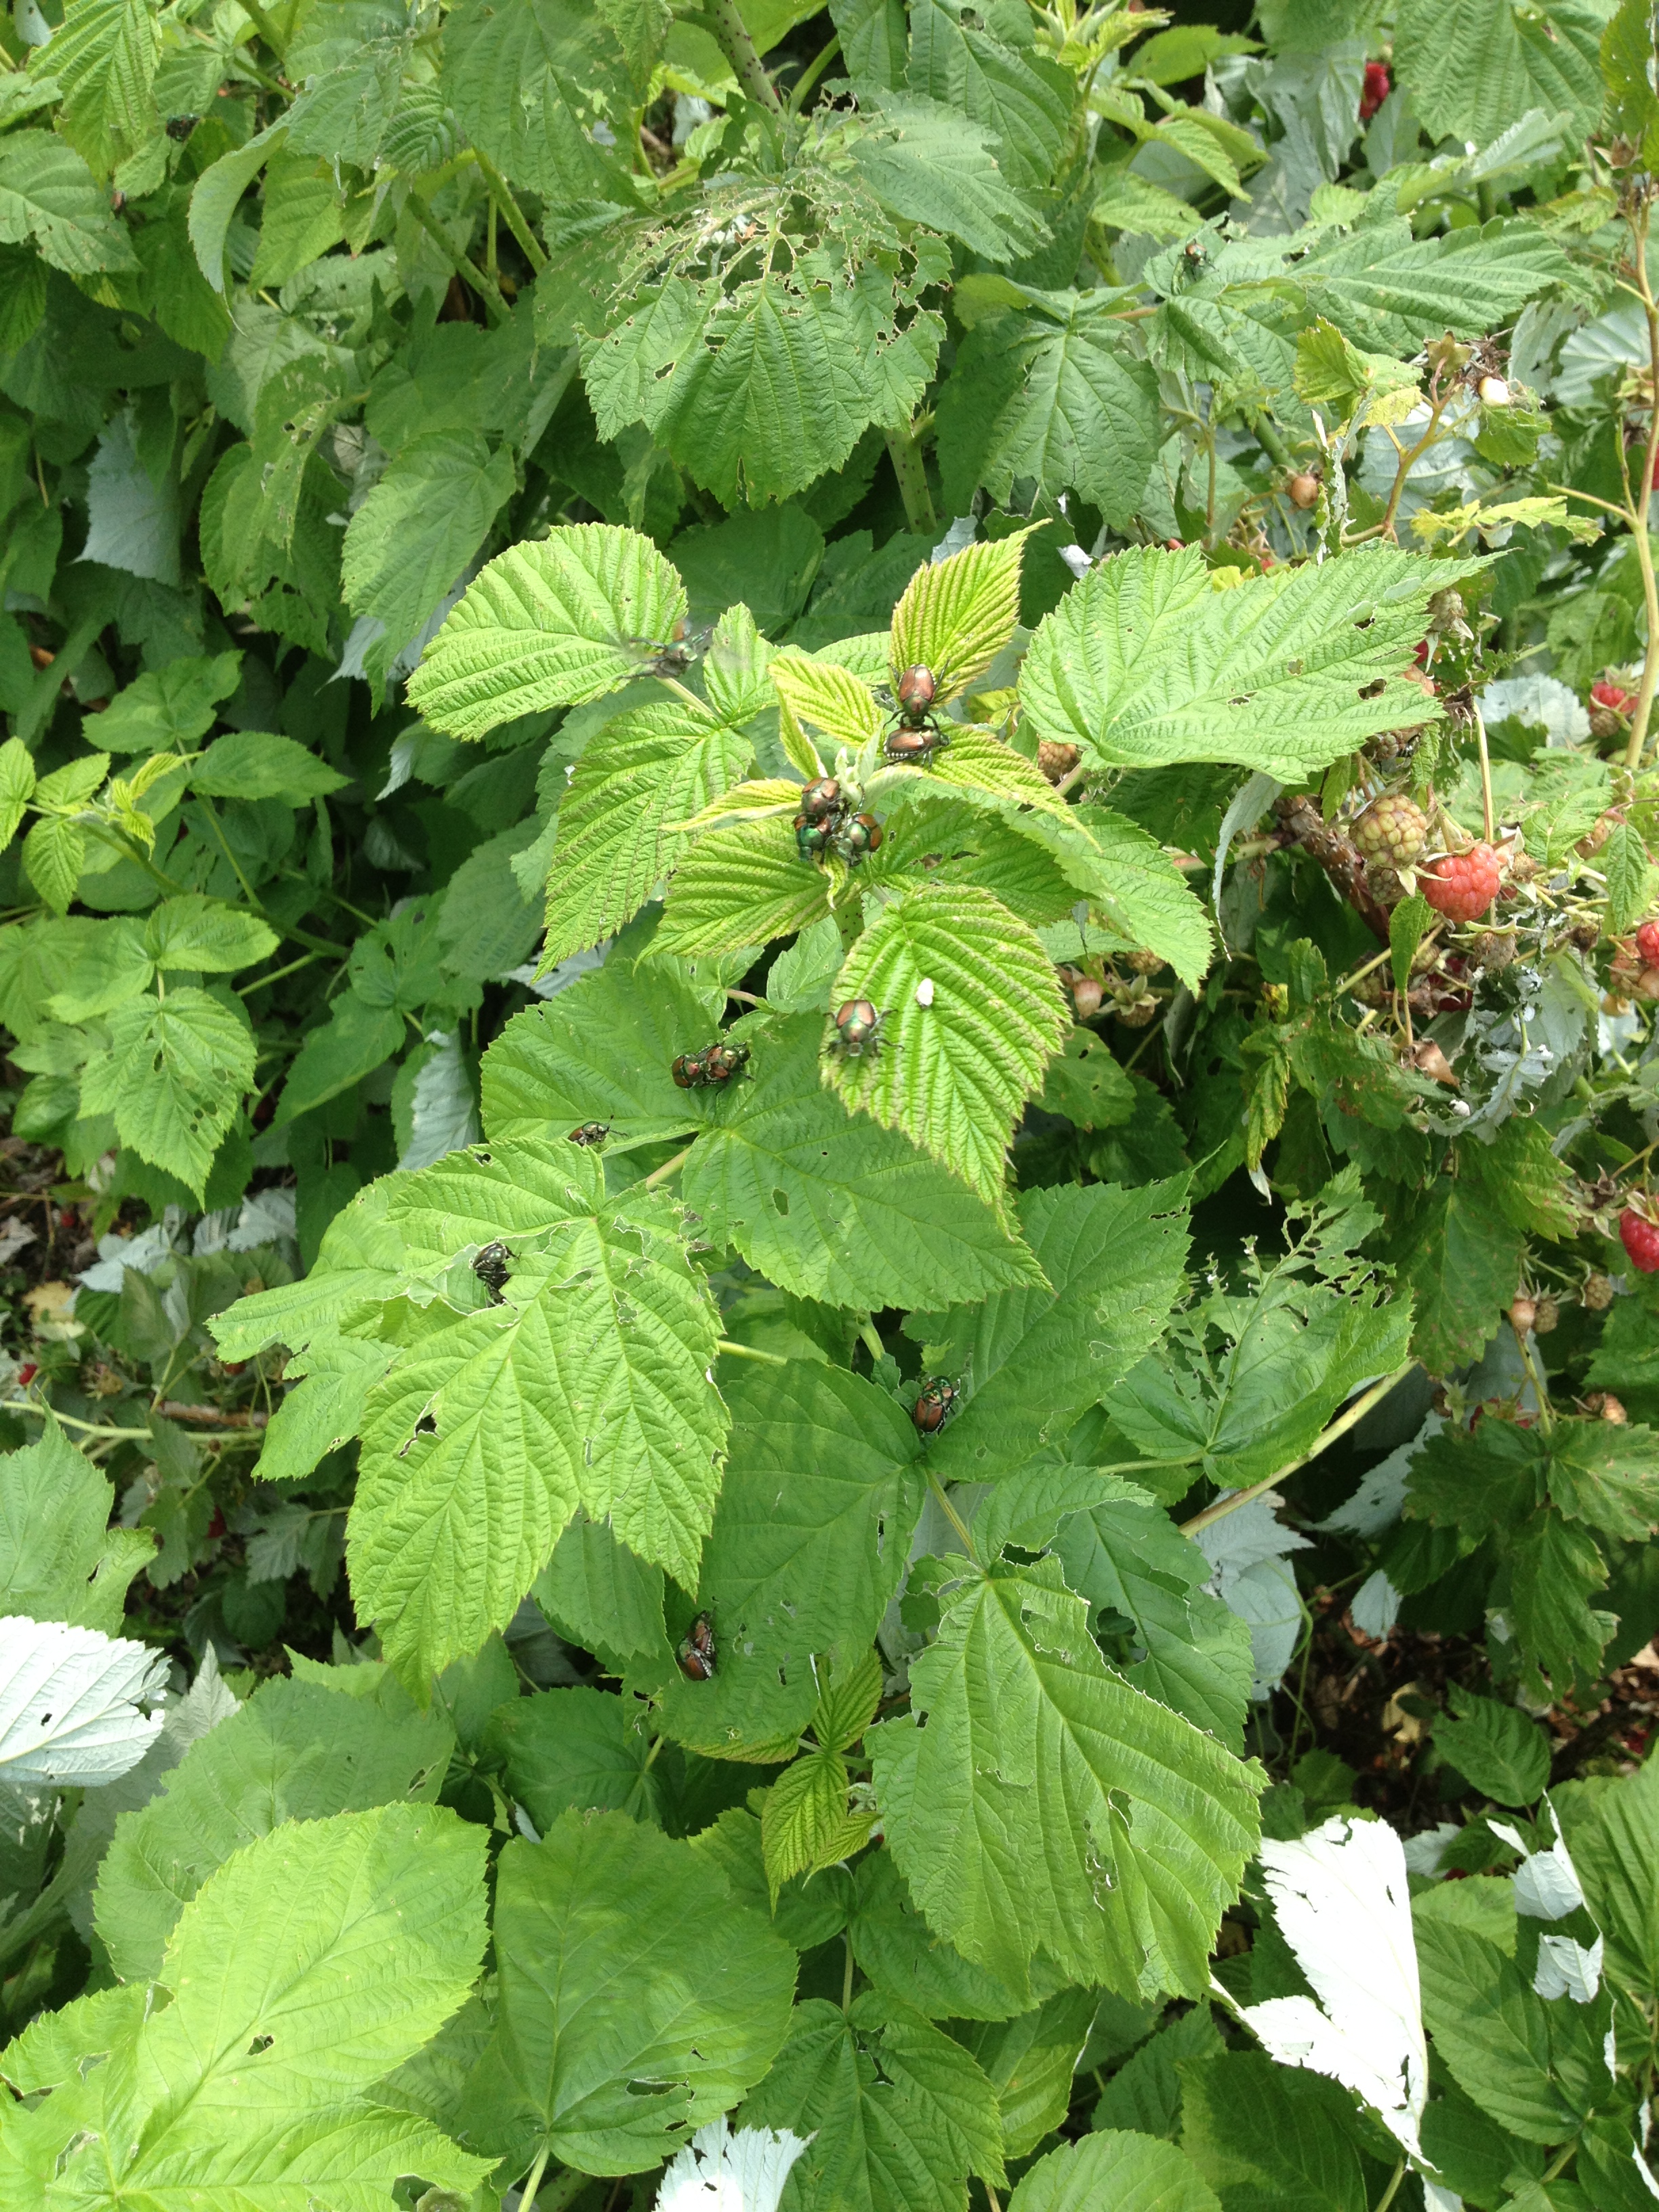
The amount of damage on the beans right after the storm was intimidating to say the least. Many farmers may have just taken those beans and tilled them under the soil, either trying to plant a new succession or just so they didn’t use time and energy on a lost prospect. As we said we would, we left them in the ground and tried to help them out. As can be seen, although they have been hit by the surge of Japanese Beetles that has descended on the farm since the storm, they are still producing. Some individual plants are doing much better than others, but there were more producing plants than not and we had our first harvest of beans just this Monday, July 27th (which is not extremely late for beans by any means.)
This is comparable to the performance of many of our other crops: definitely set back by the damage, but still more or less on time:
-
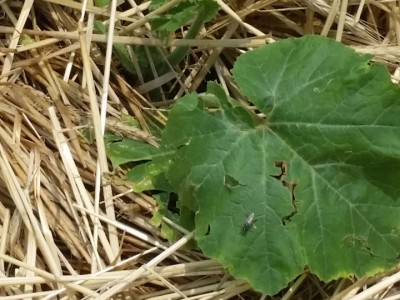
- Winter squash. The rips in the leaves as seen here are textbook hail damage
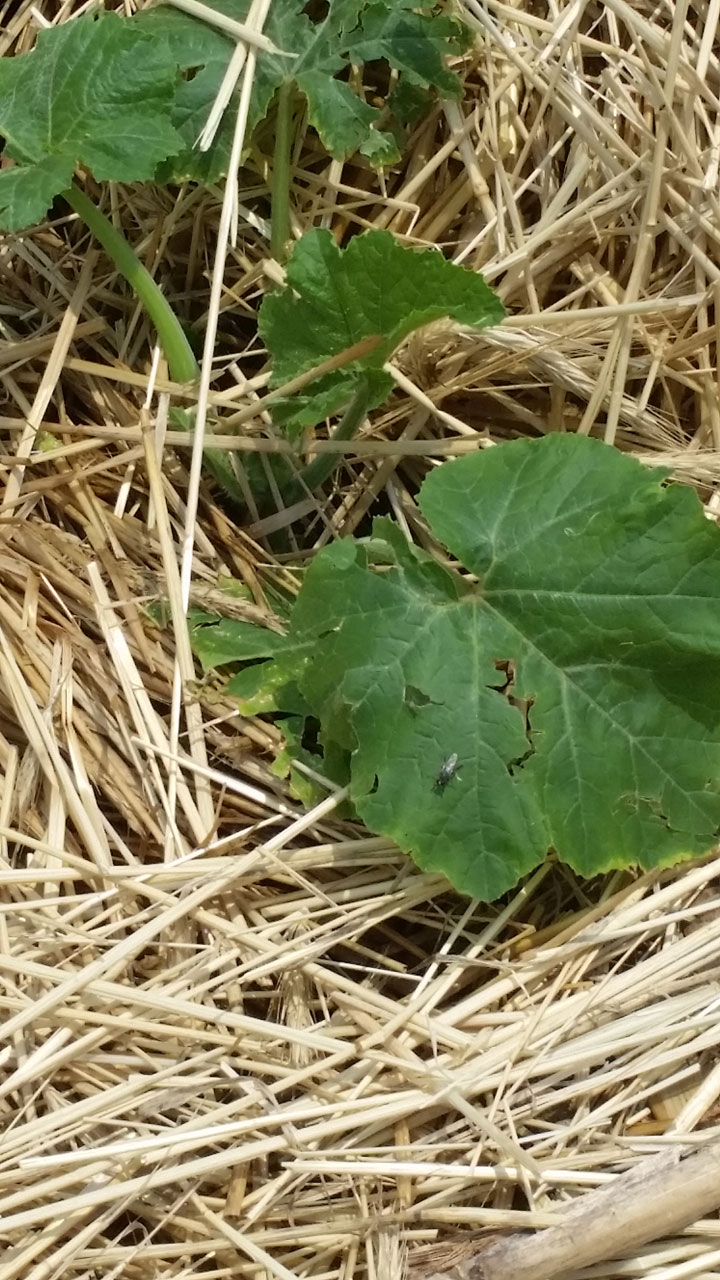
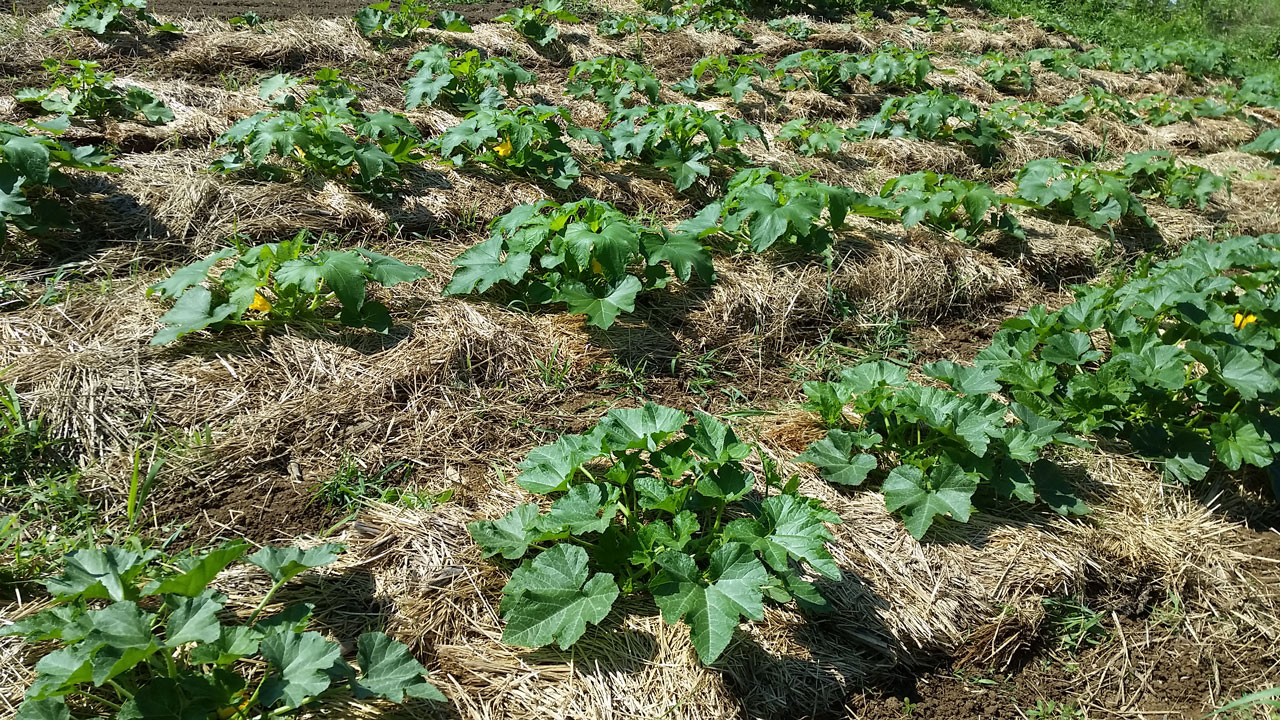
-
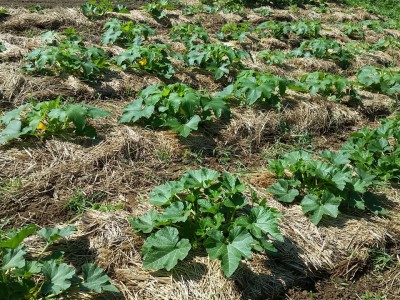
- A month later, and although we’ve seen some squash beetles, the winter squash has established itself decently
-
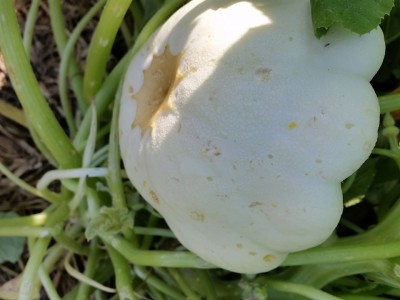
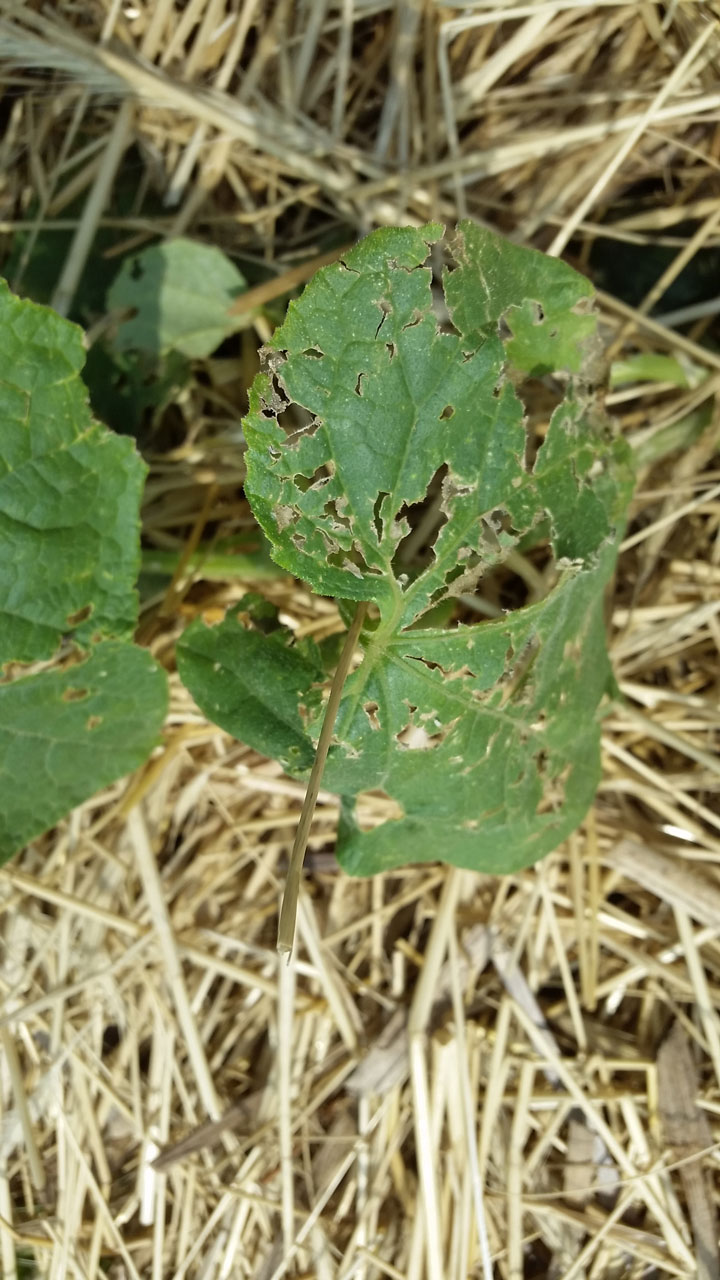
- You can see the many potholes on this patty pan squash caused by hail
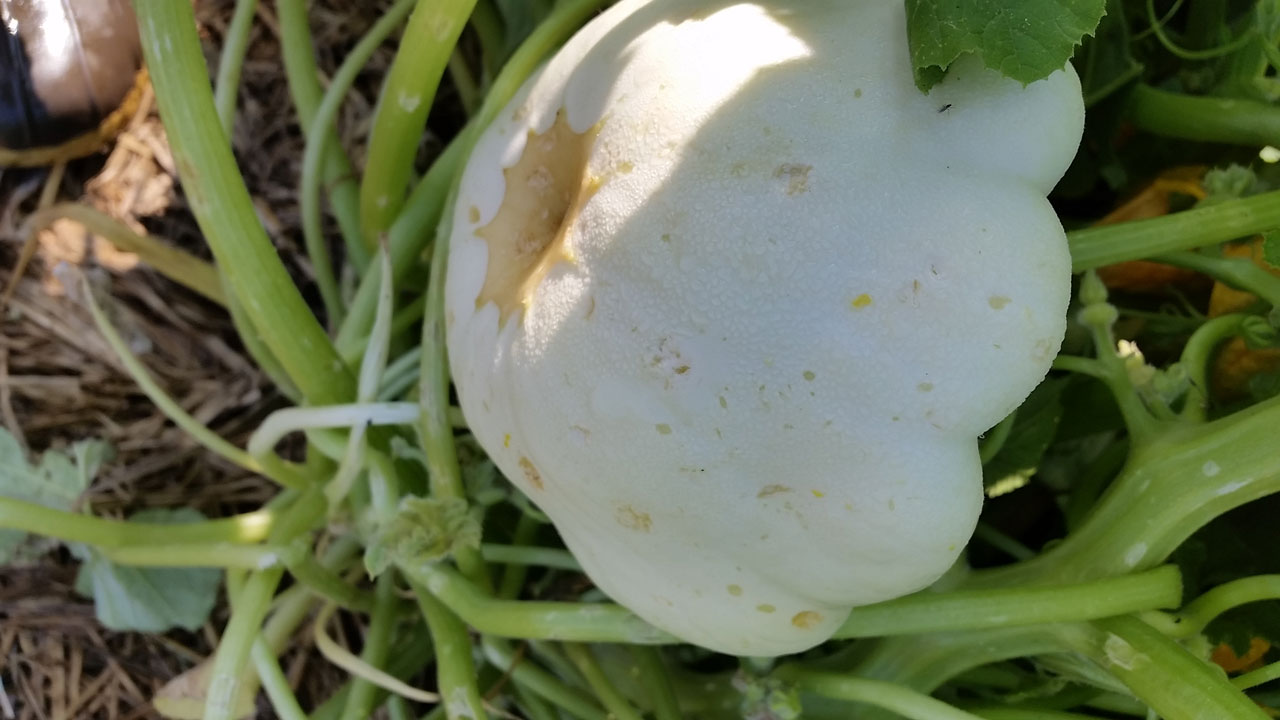
-
- Despite the previous damage, our Pattypan Squash have been producing well for harvest
-
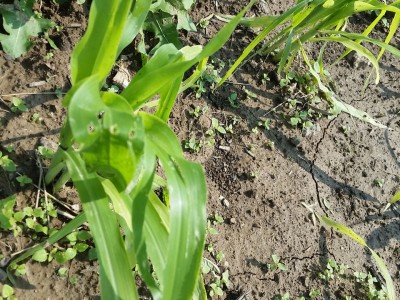
- In addition to being blown over, many corn leaves were broken and ripped, like this one

-
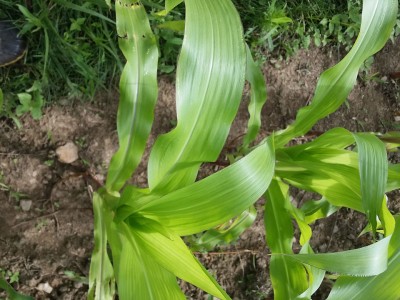
- The corn has stood back up, and despite being somewhat damaged, the leaves have mostly recovered

-
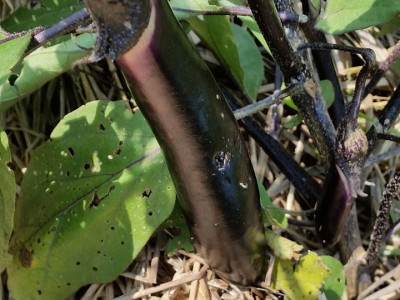
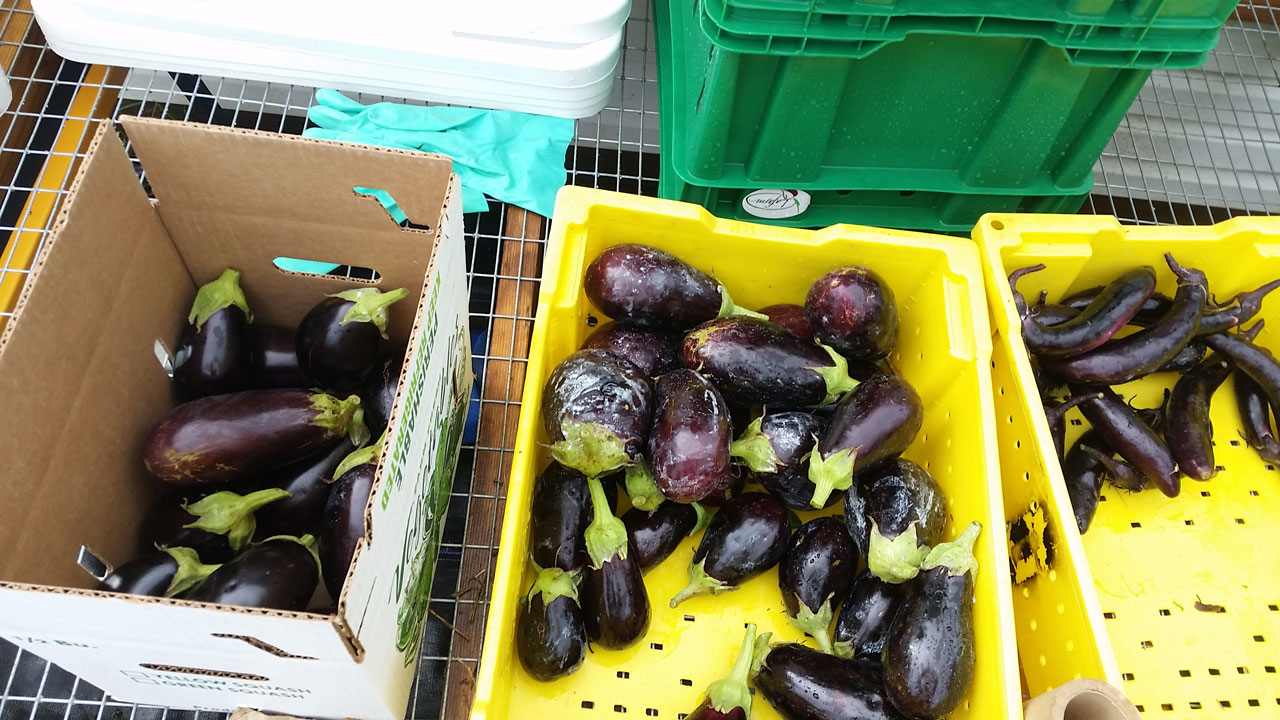
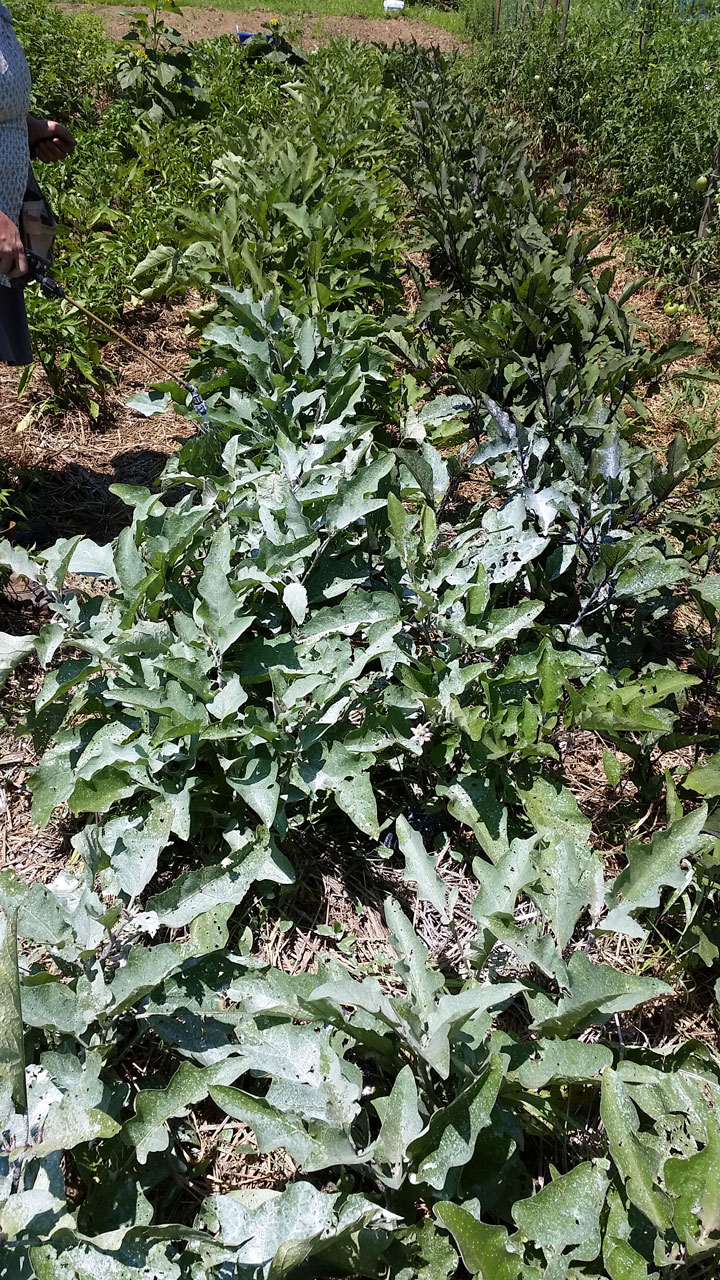
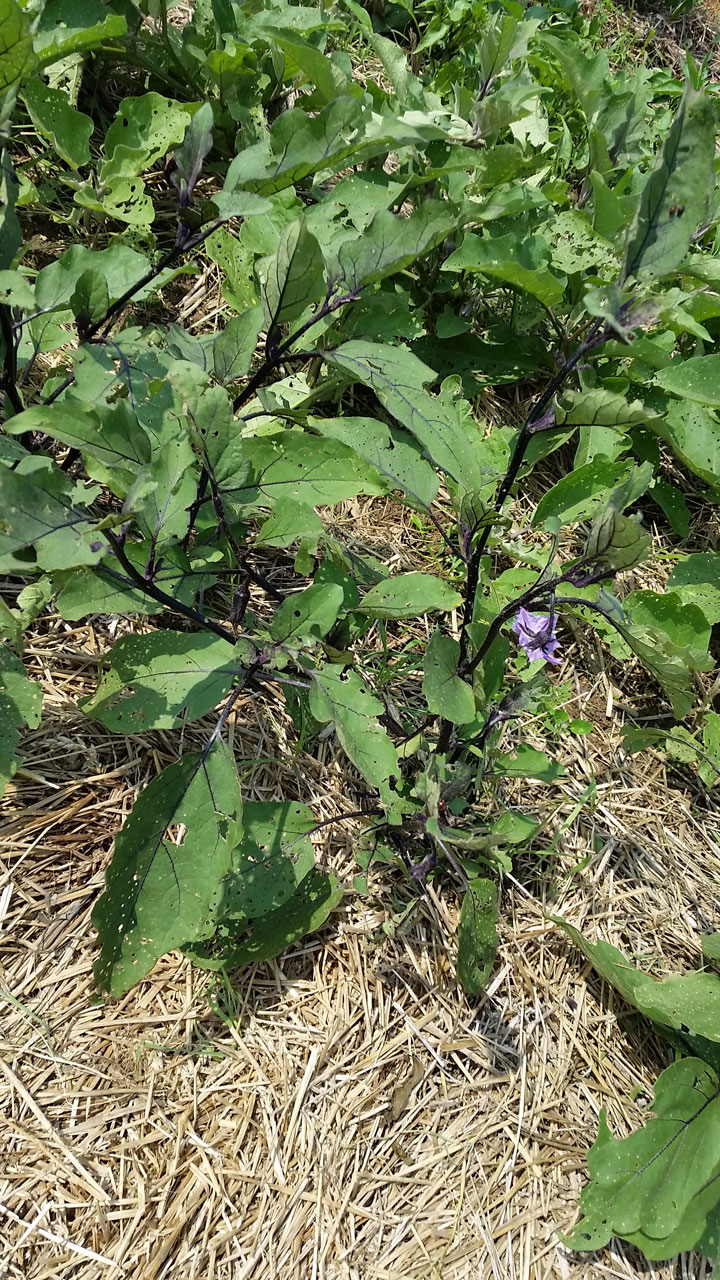
- Our eggplant, already weak from poor weather at planting time, suffers more from hail

-
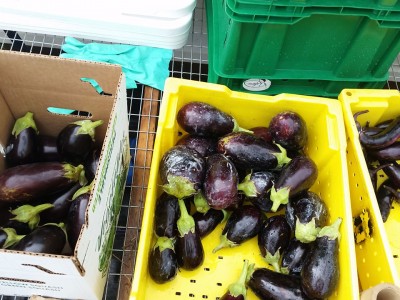
- Against all odds, our eggplant has given us a good harvest more than once
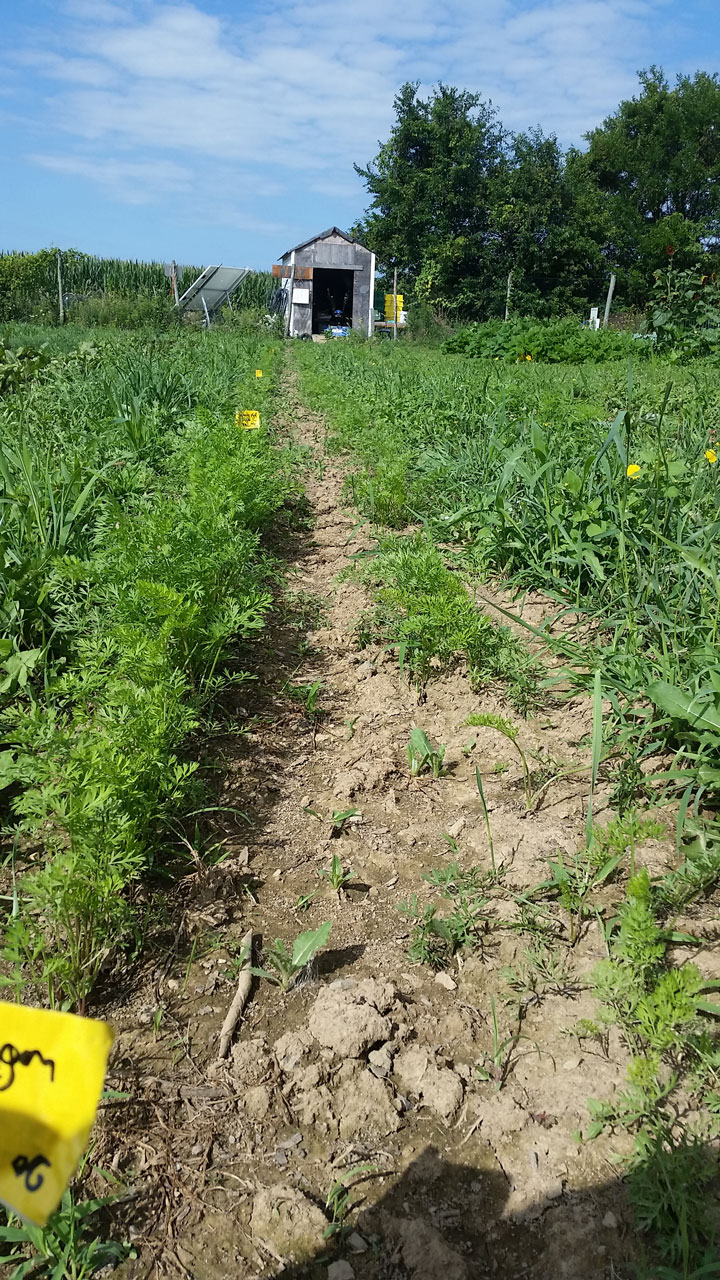
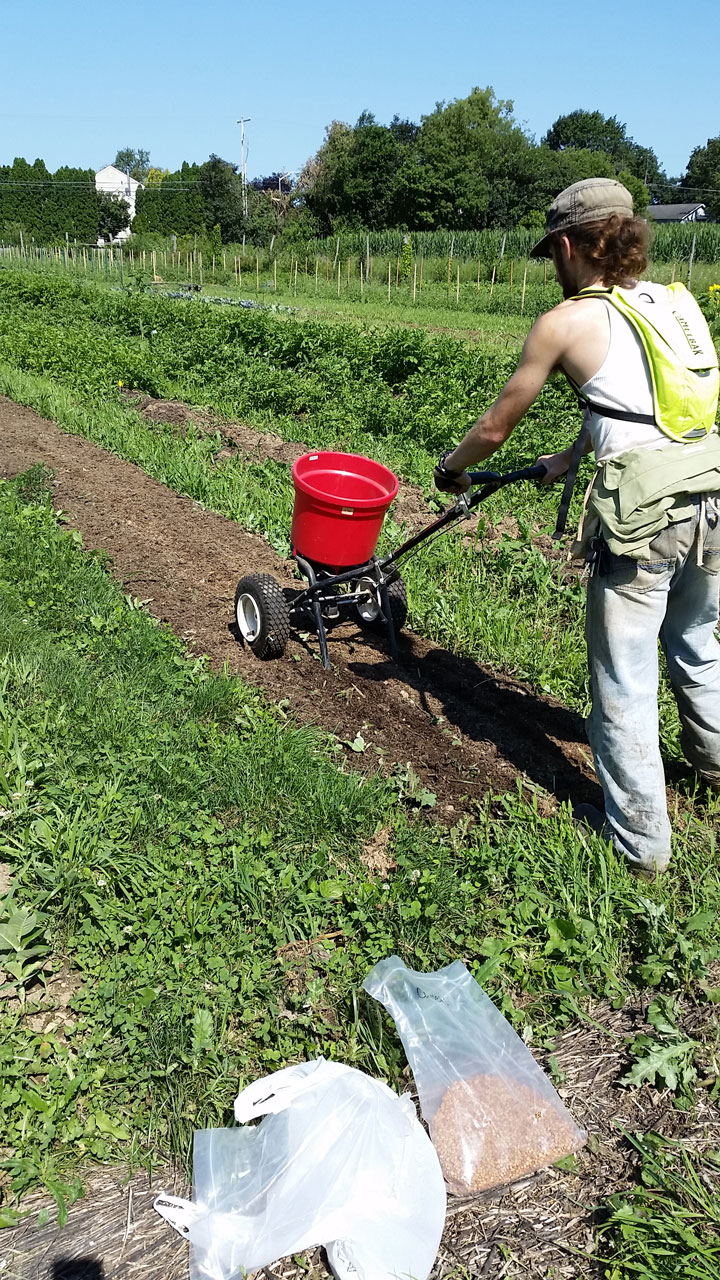
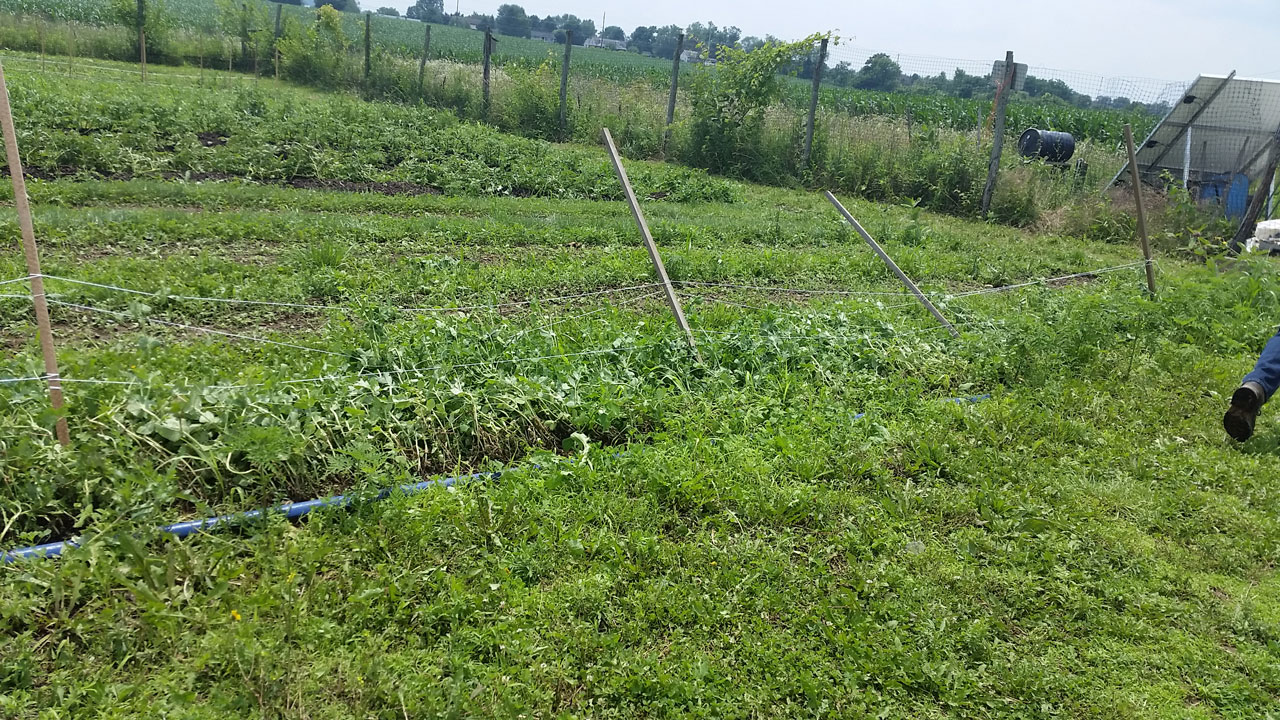
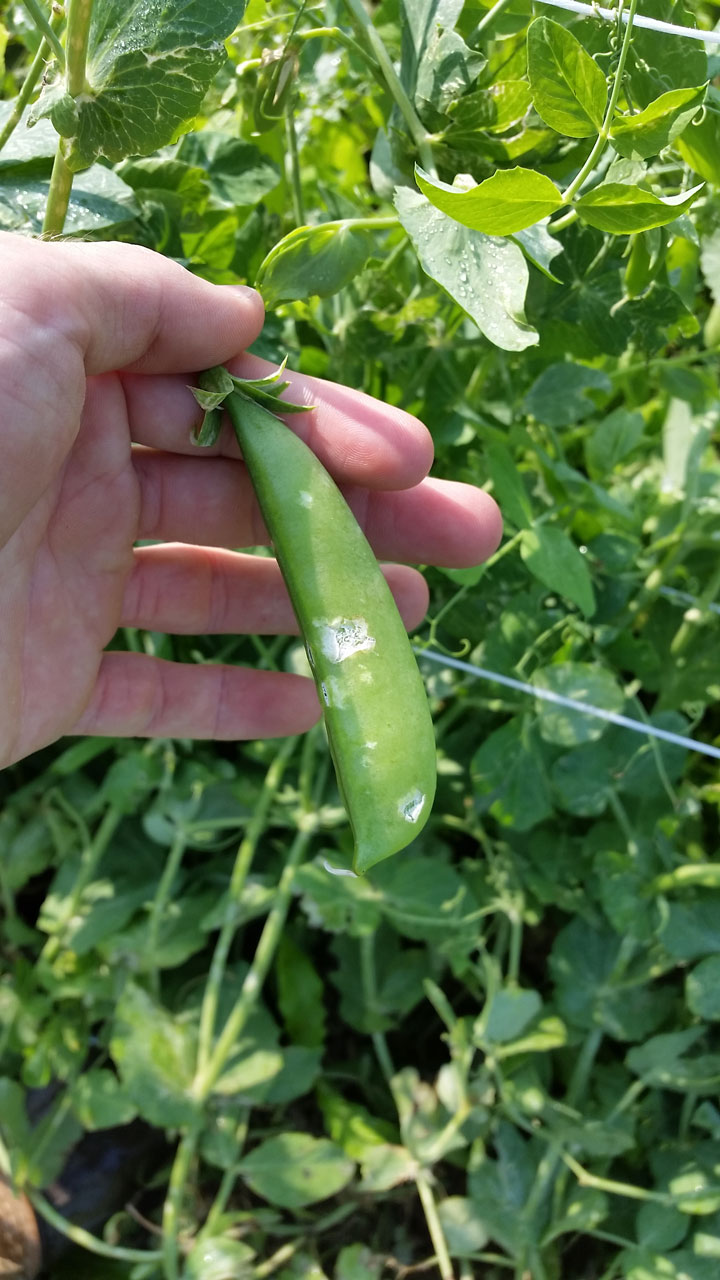
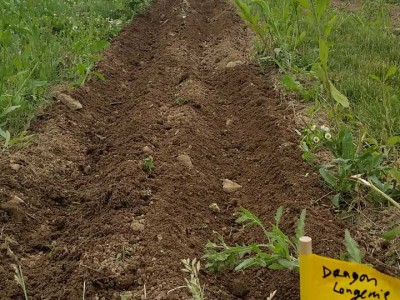
Also the plants that were just sprouting (and thus suffered less from the hail, just on grace of not having been hit) or that we didn’t plant until just after the storm are of course also doing well:
-
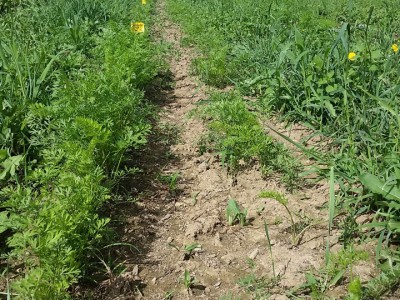
- We put these carrots in the ground under a row of peas we had to pull from the storm
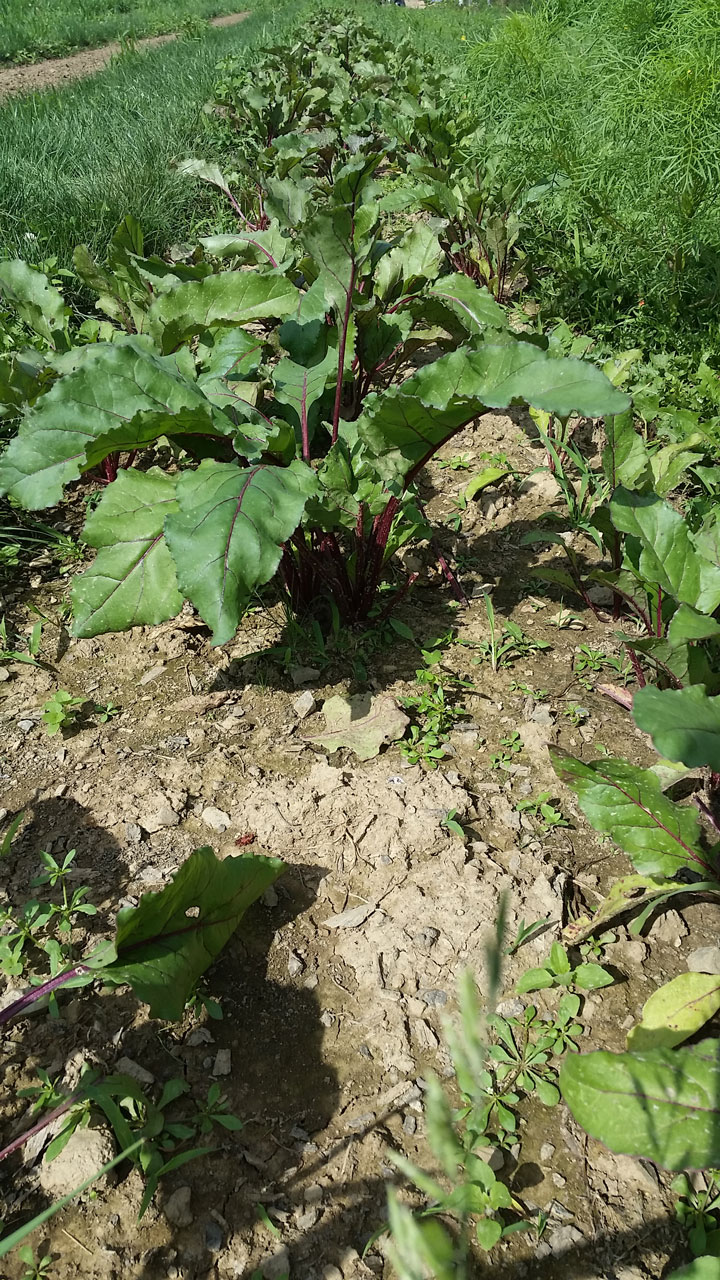
-
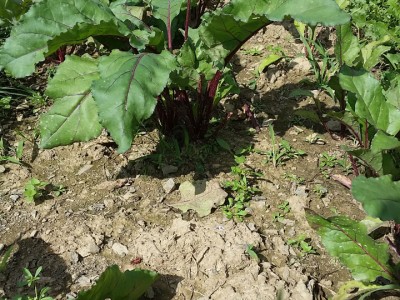
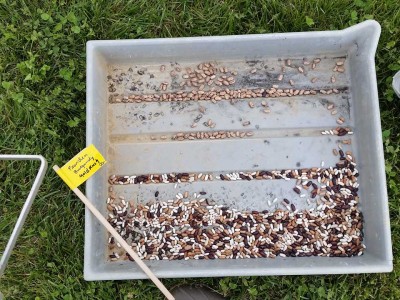
- The beats had oddly spotting germination, but are healthy.
But as I said, this is but cautious optimism. It is impossible to quantify the amount of time, energy, and labor was lost due to the storm. At this time it’s just better to look at the bright side of things; the farm isn’t looking too shabby.
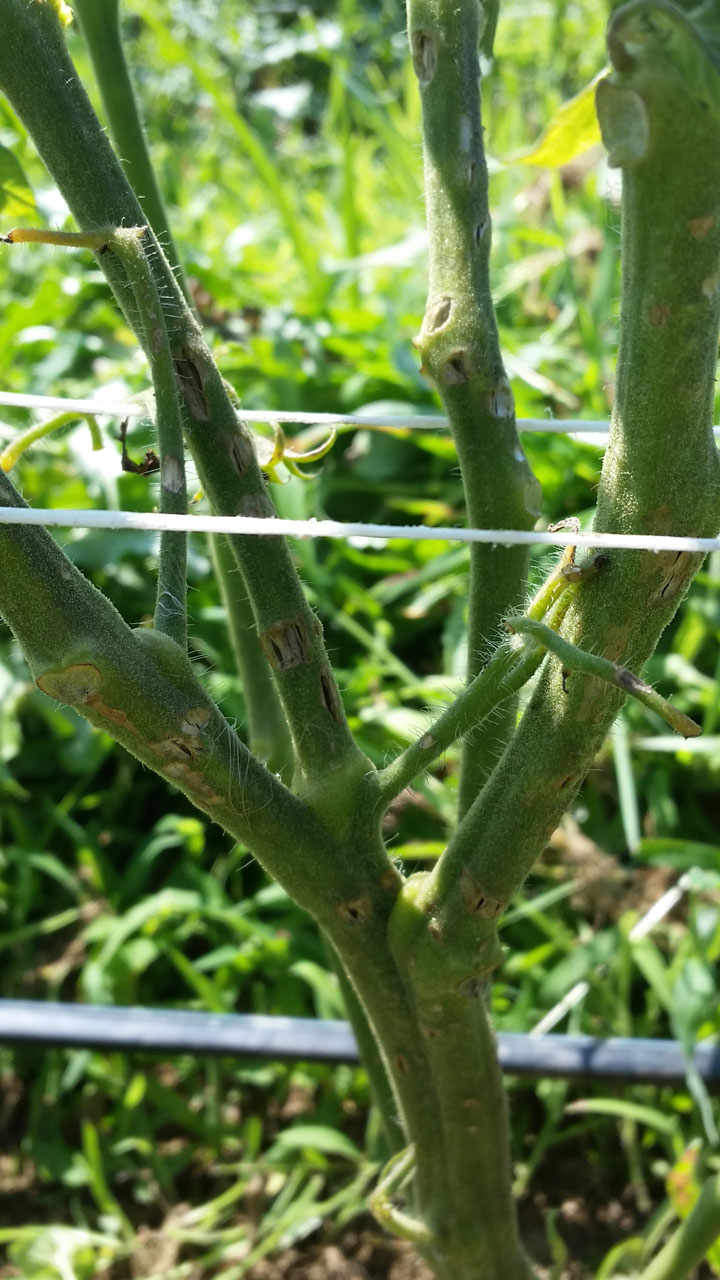
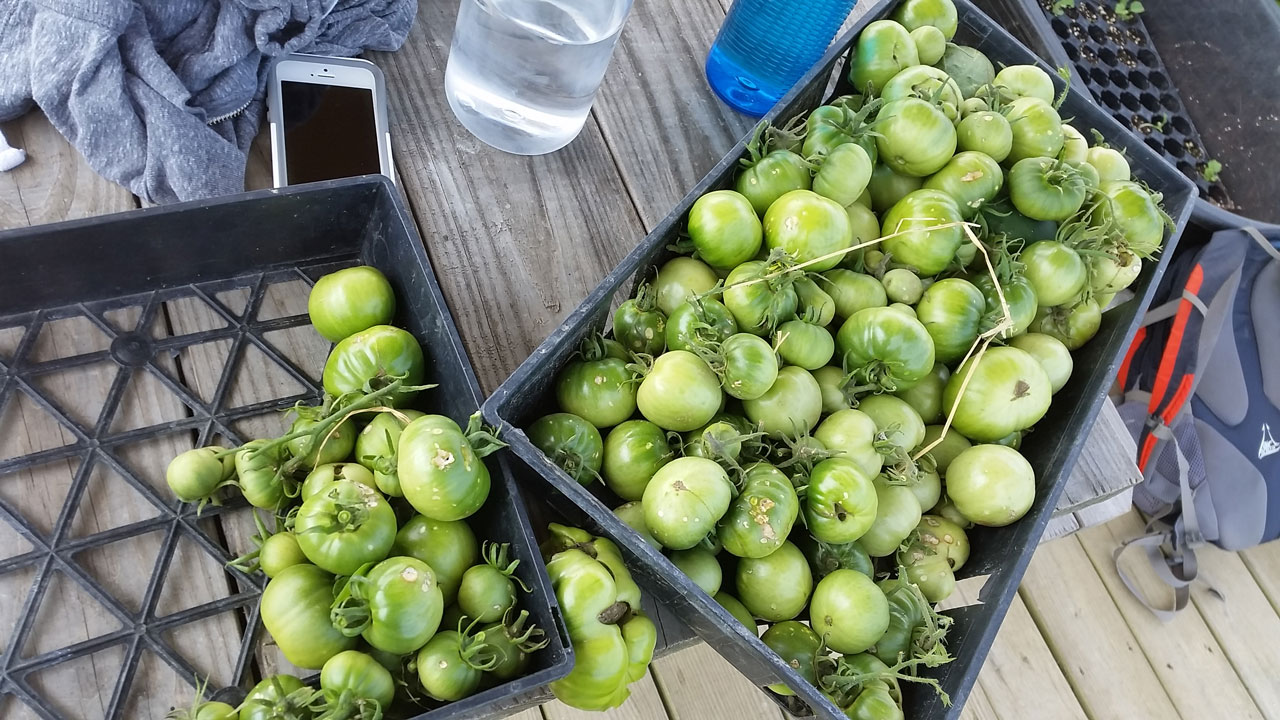
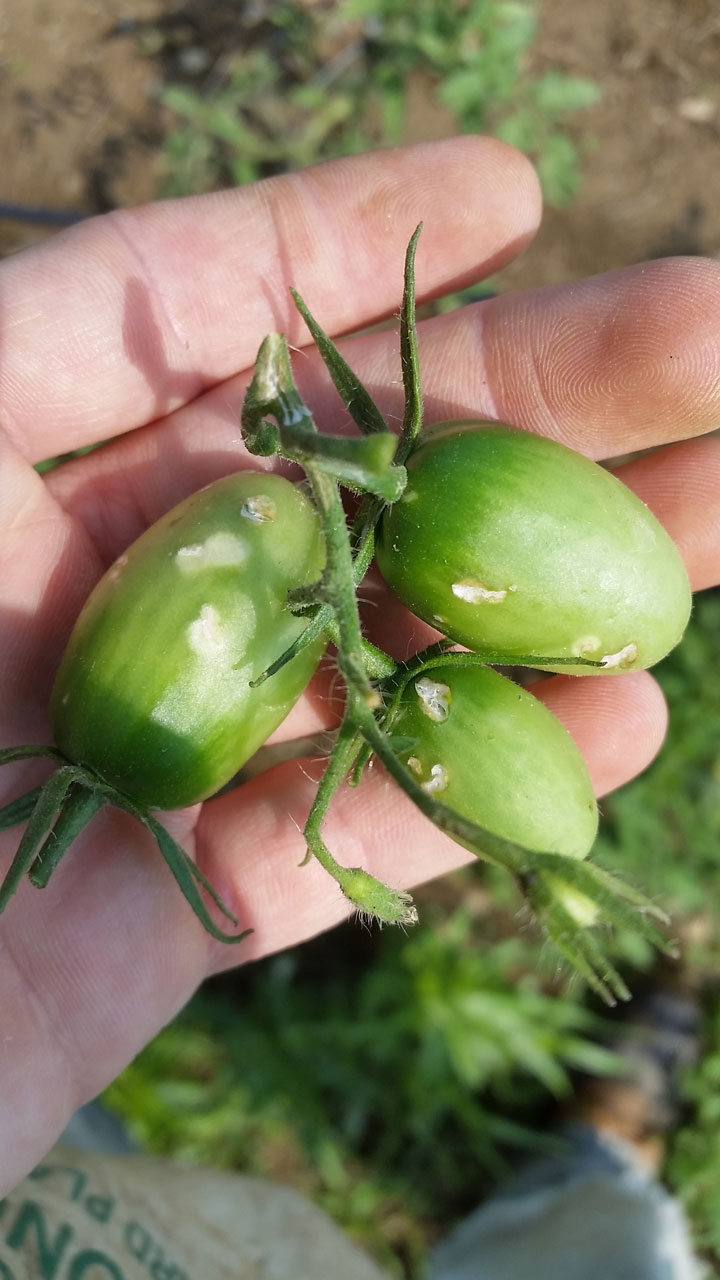
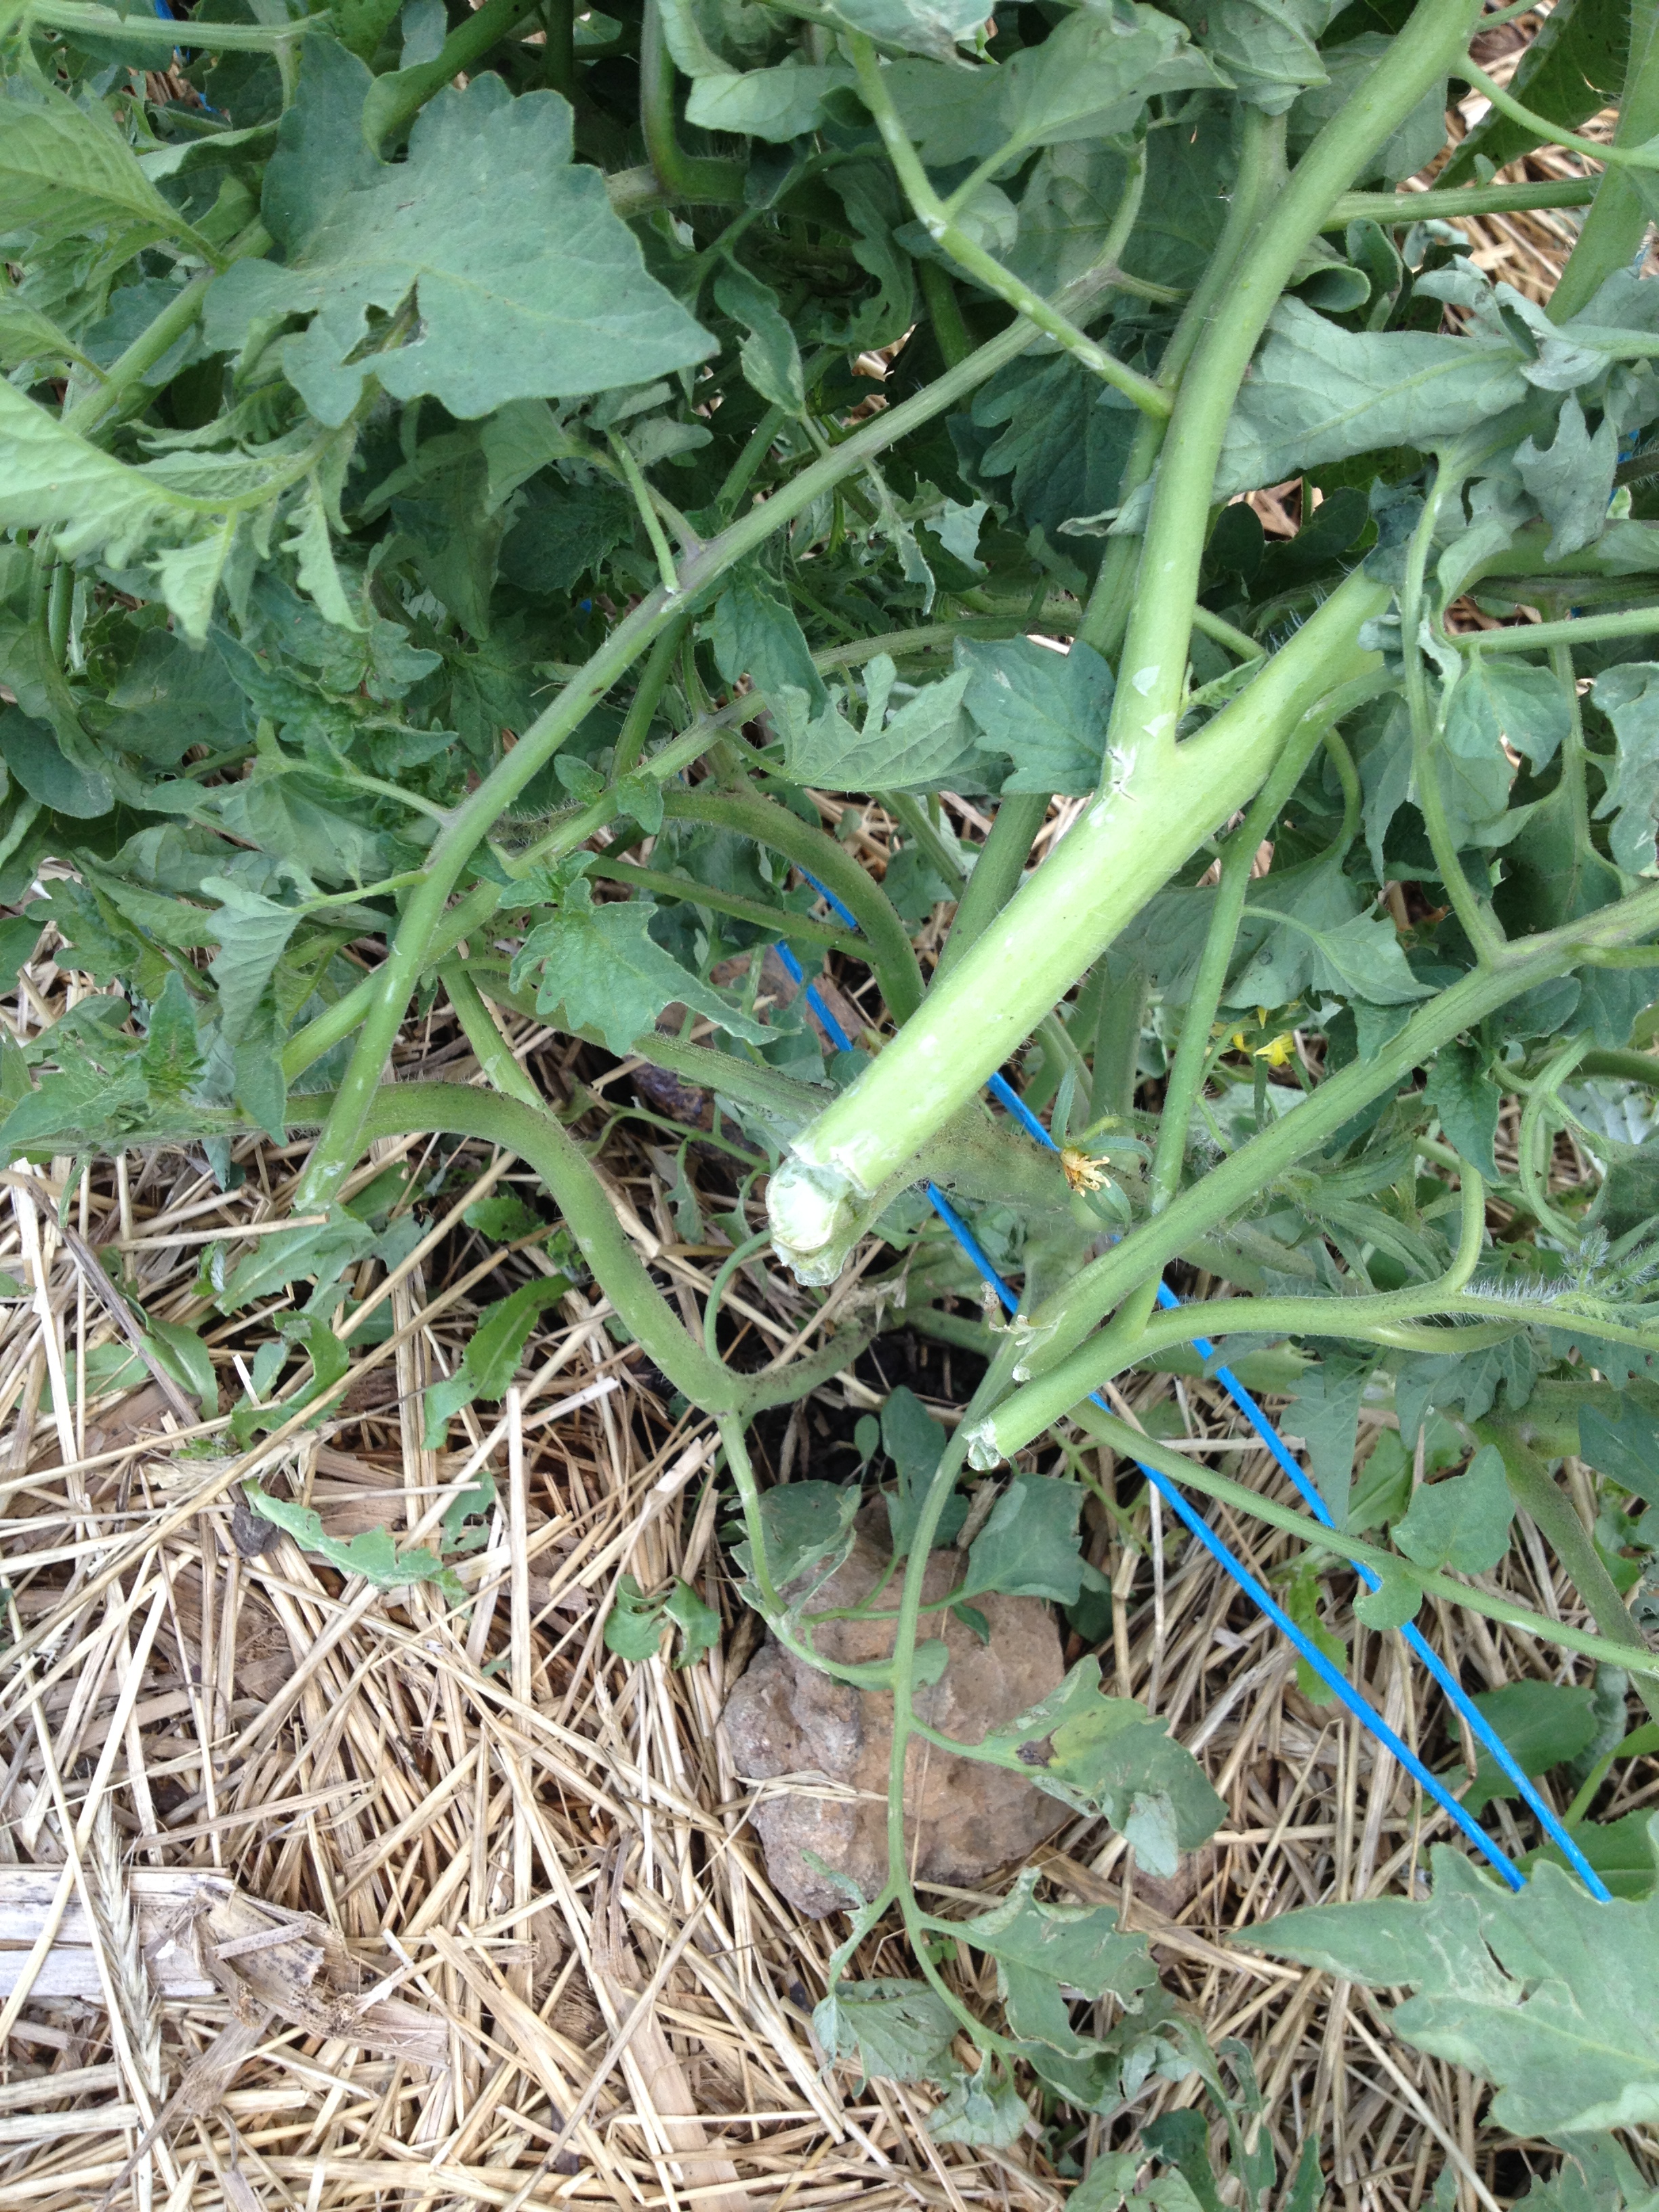
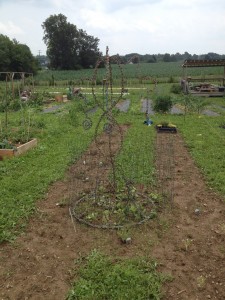
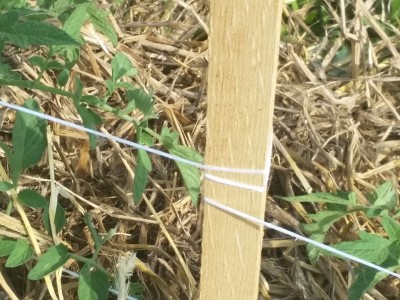
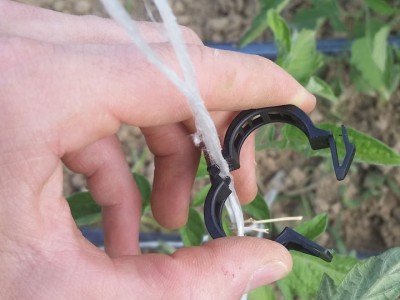
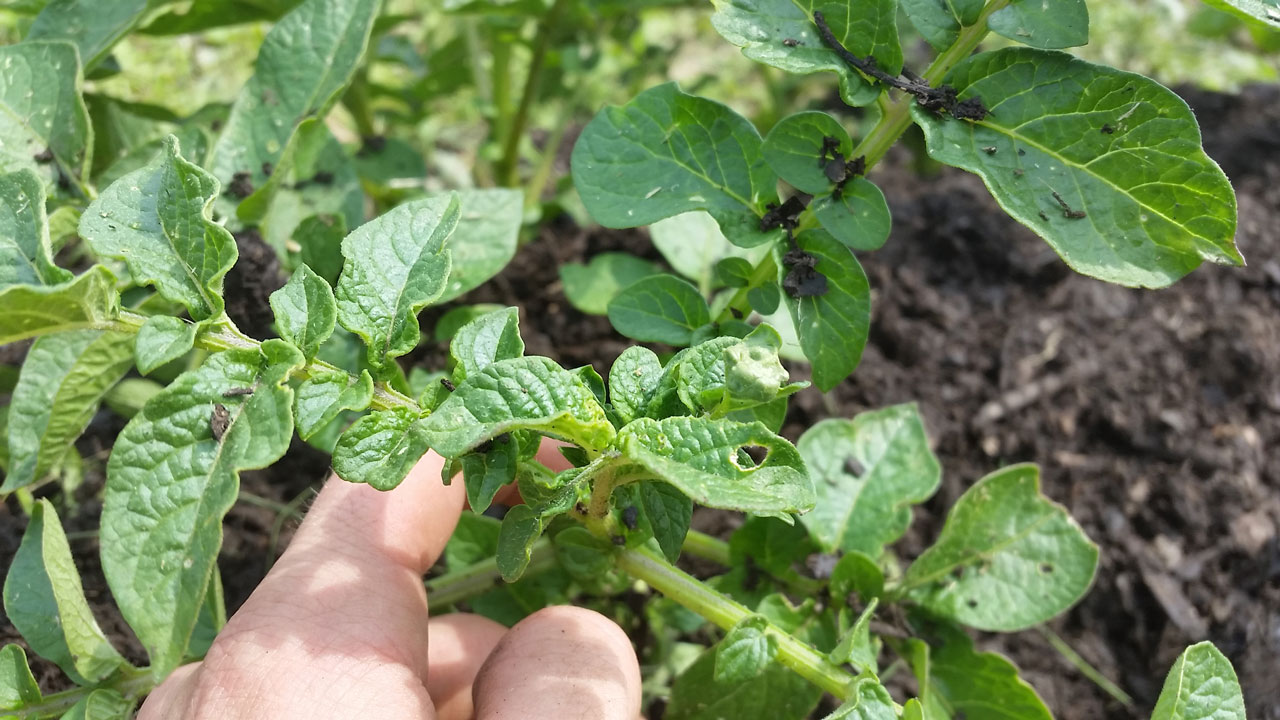
Looking at the stem of the tomato from just last week, you can see how the hail damage has left permanent scars.
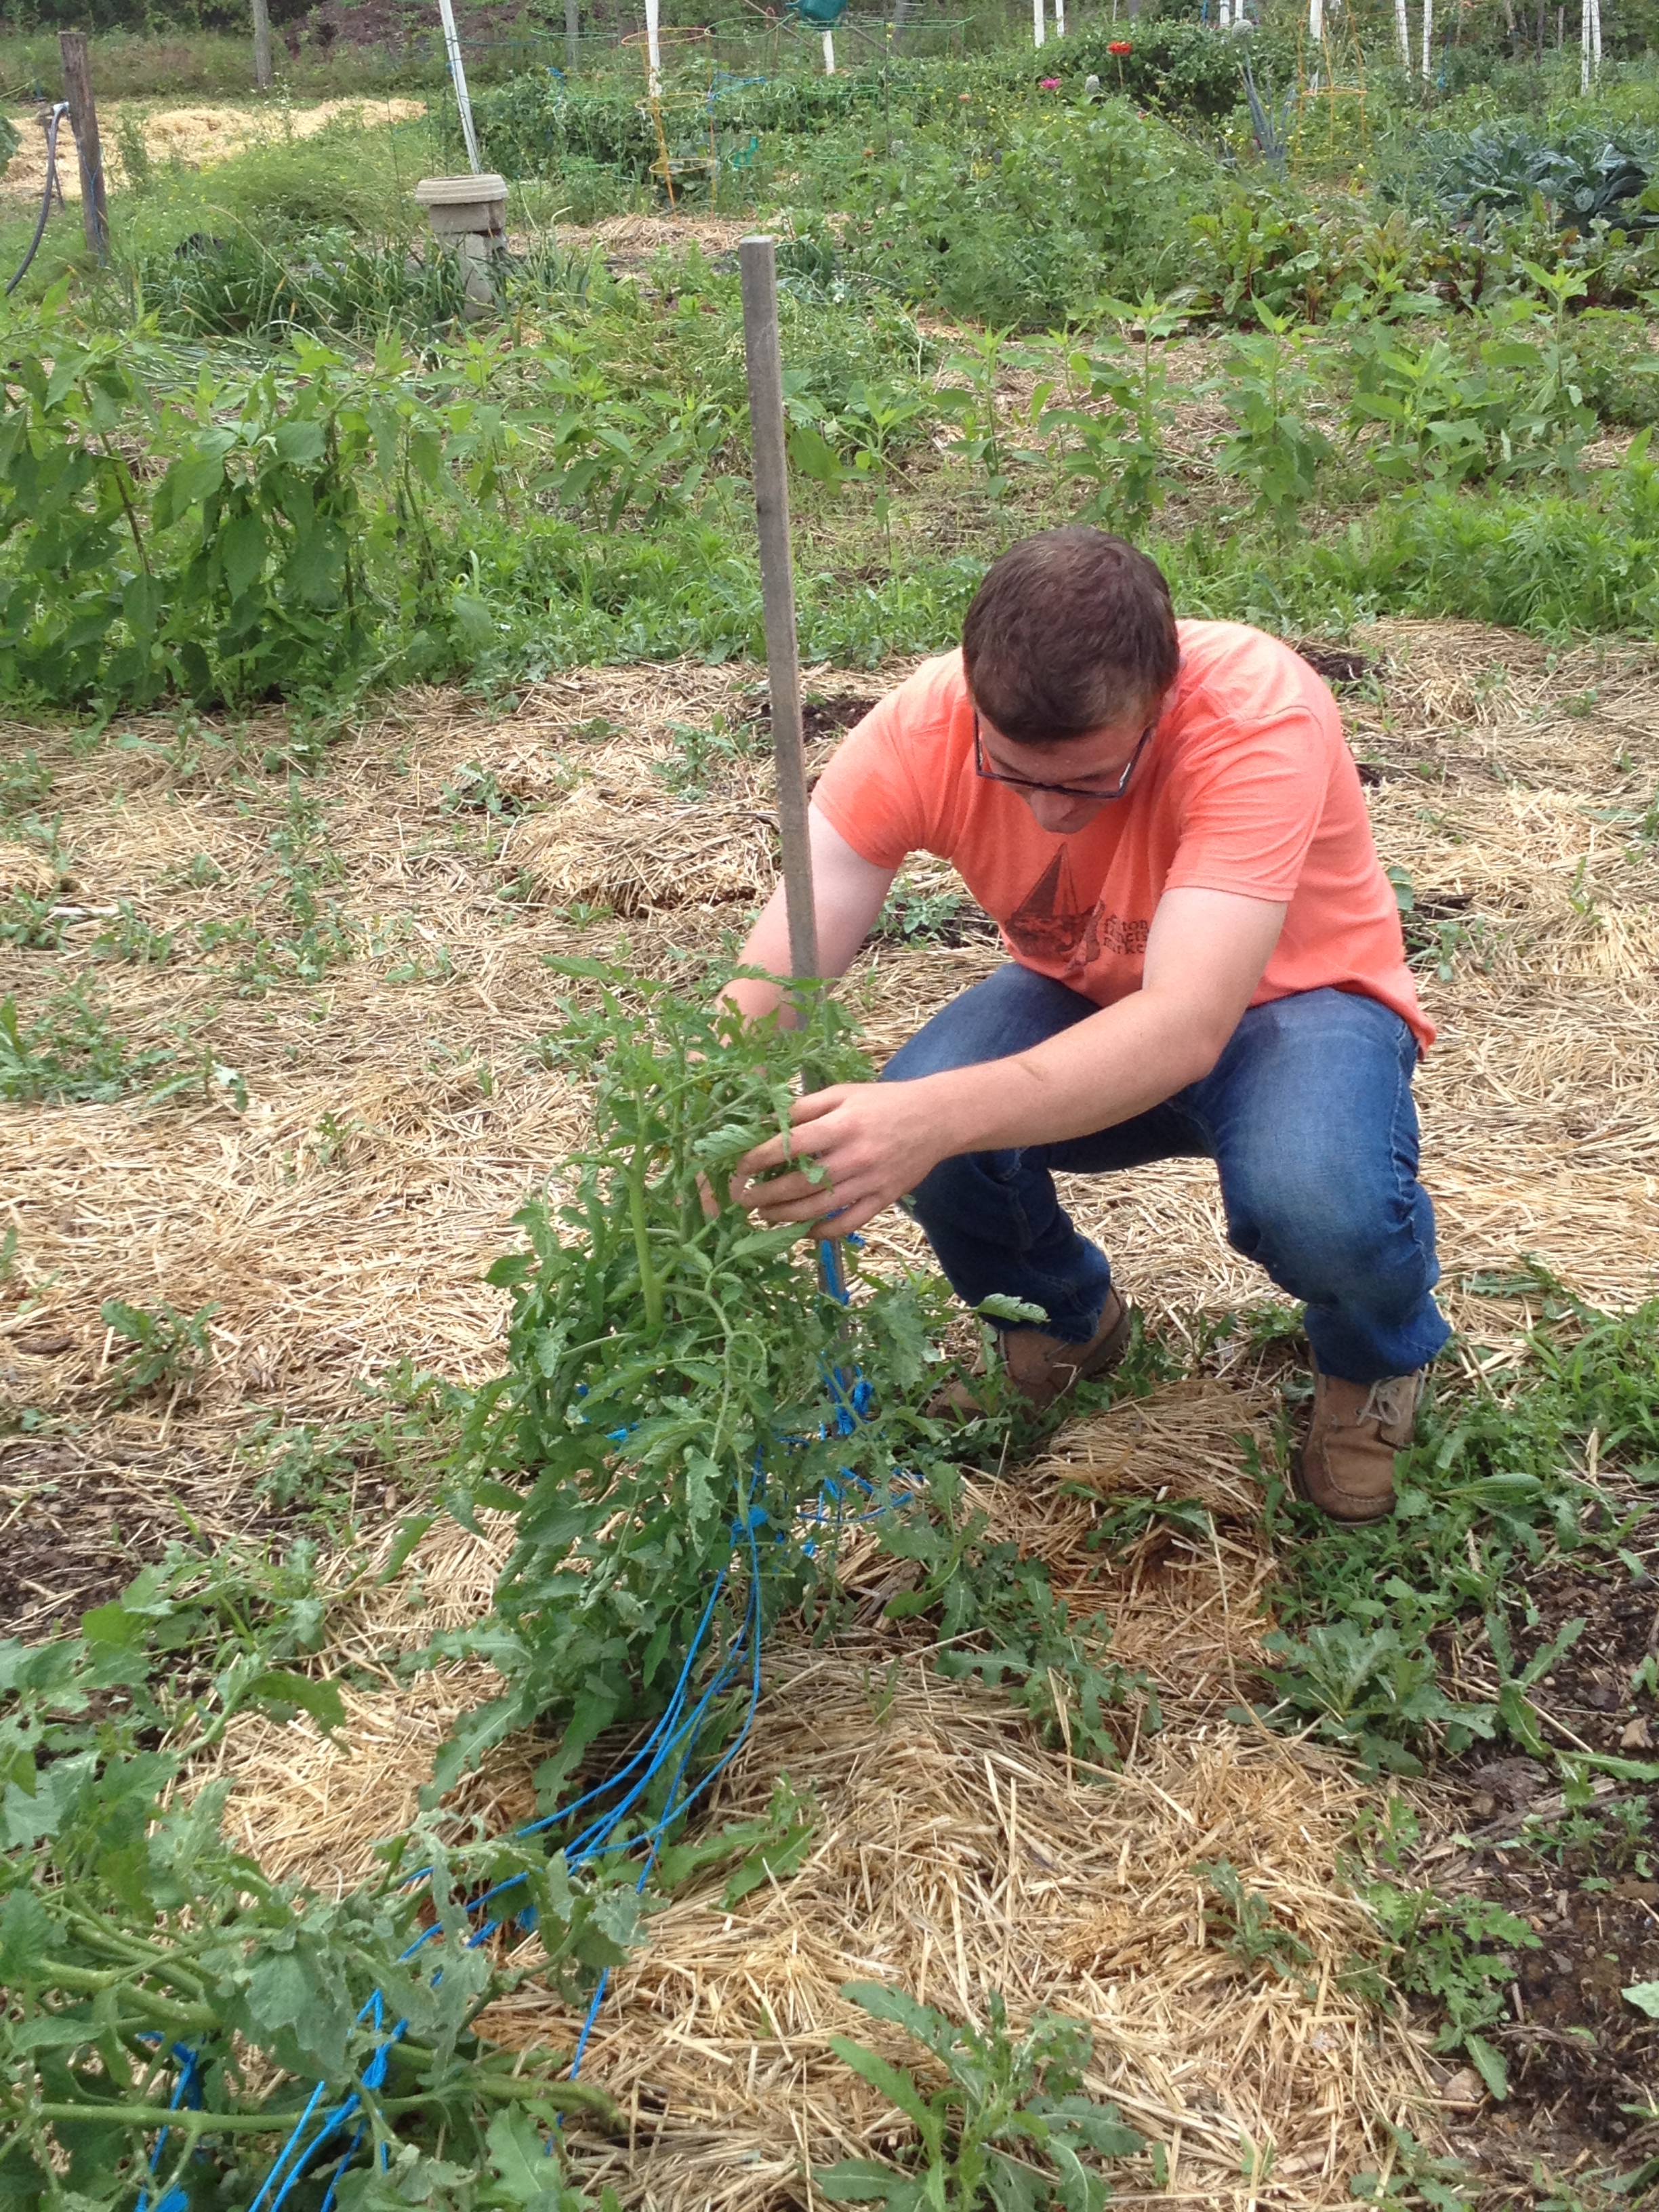
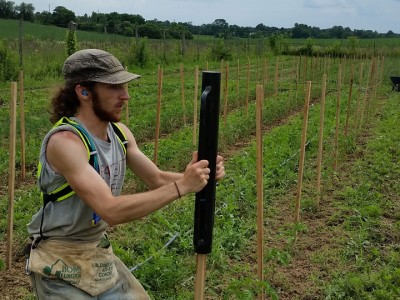
There is one particularly crop whose damage has hit home for all of us. Our tomatoes. They are producing, and we’ve even gotten some ripe Black Cherries, Purple Cheorkee, and Yellow Perfection, but what we were most worried about happening, happened.

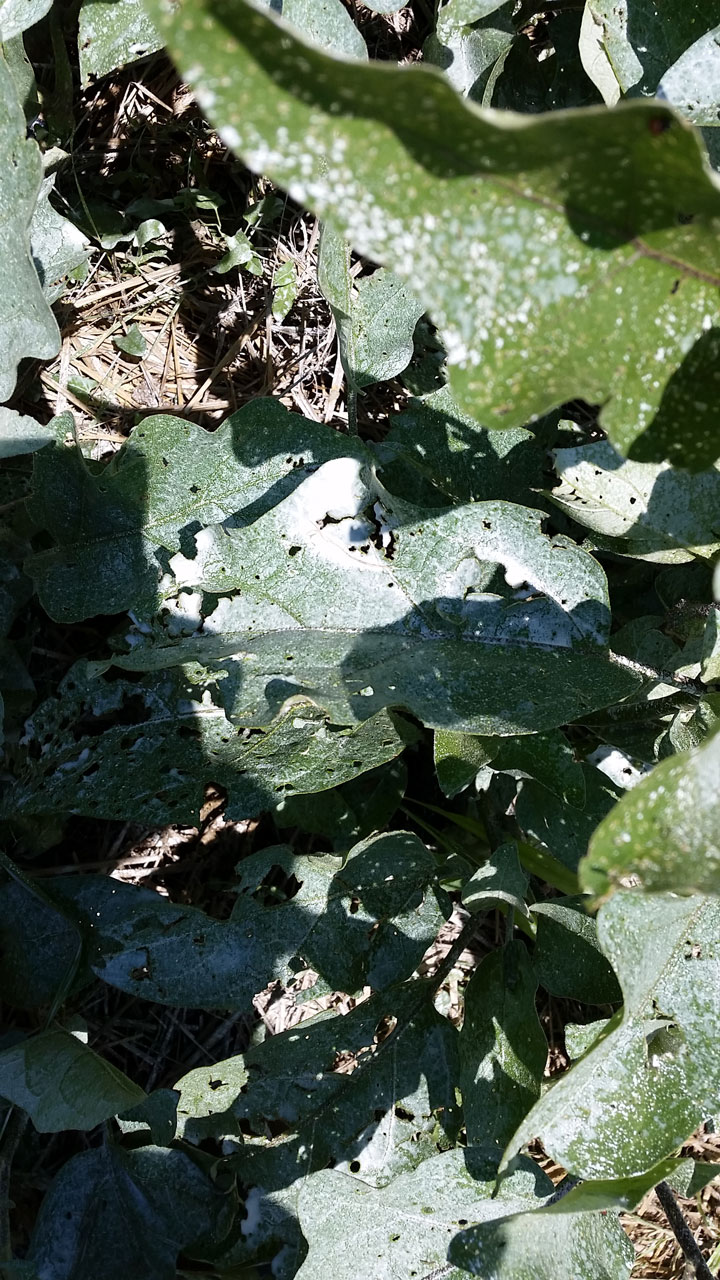
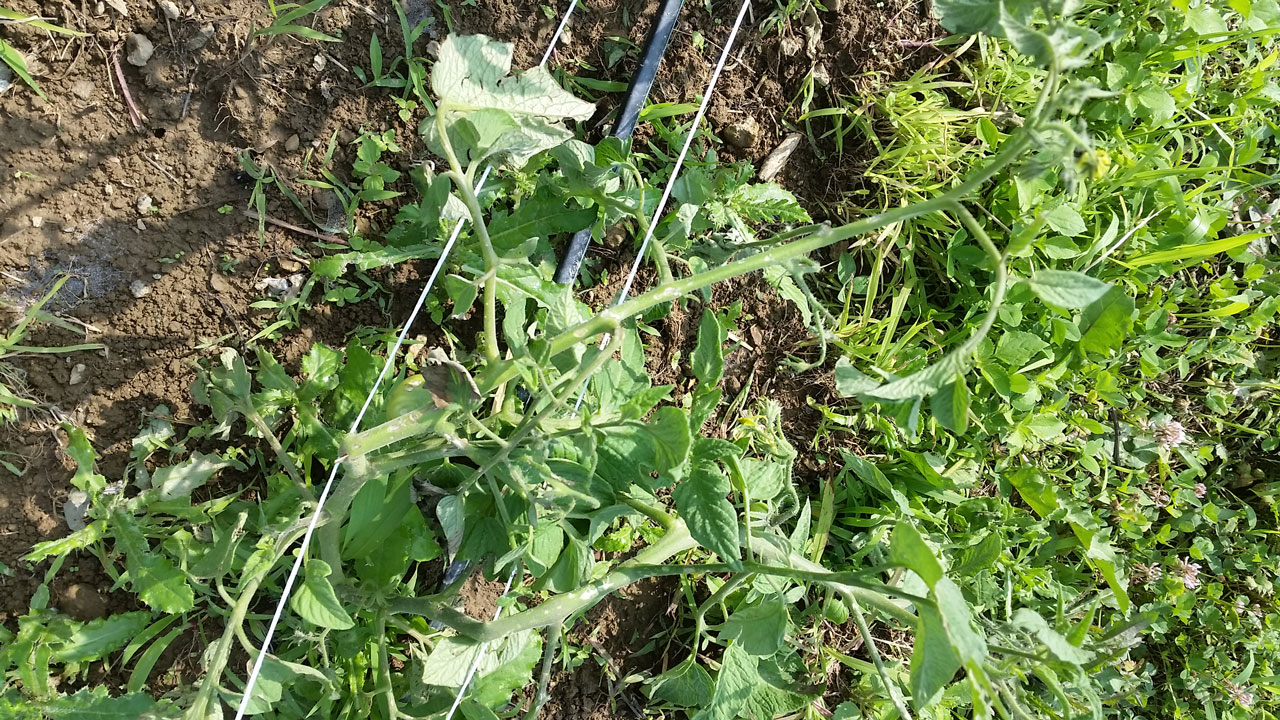
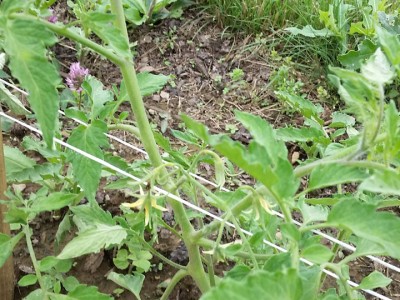
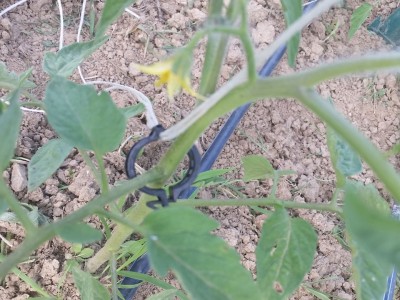
Yellowing and Wilting of a tomato branch most likely caused by early blight
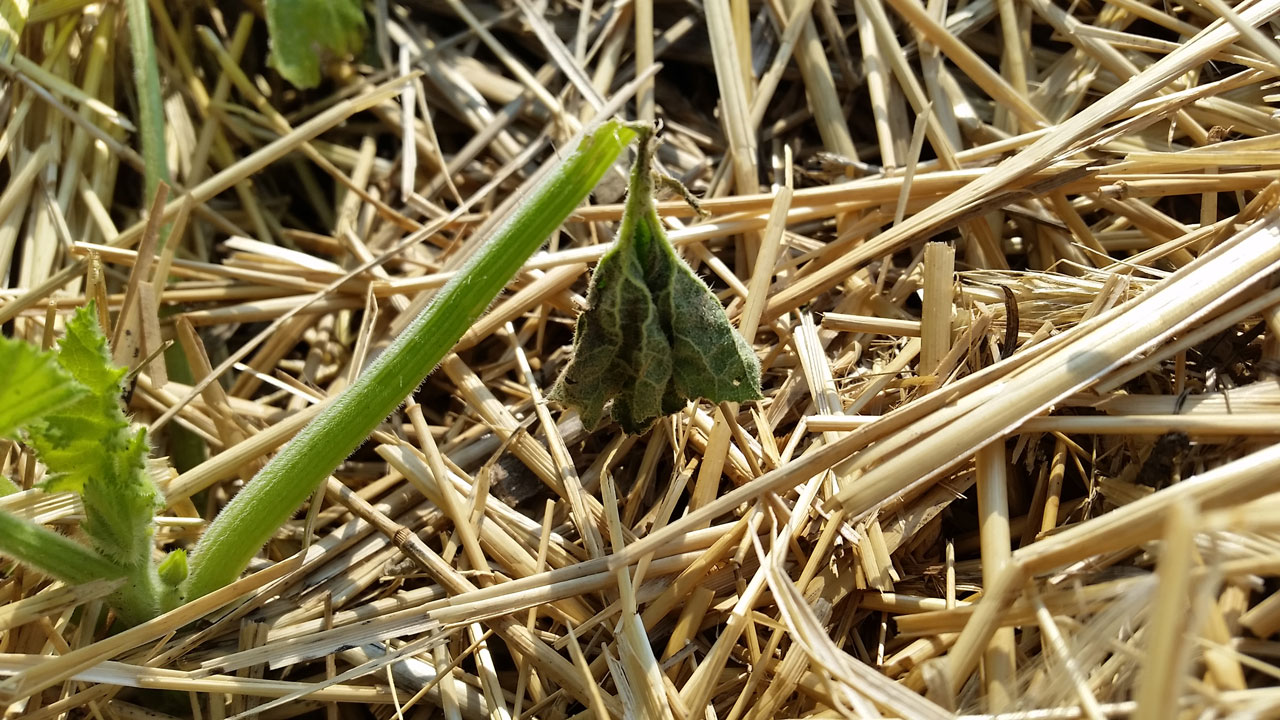
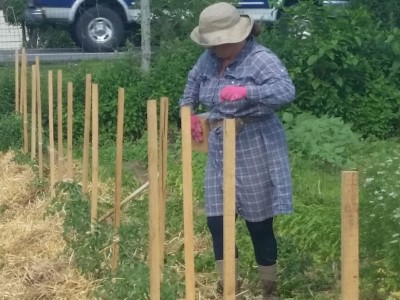
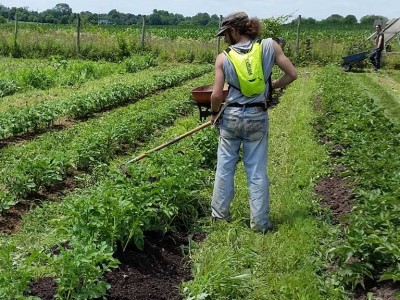
Because of the large number of hail wounds our tomatoes suffered, they became very susceptible to disease and we’ve had to go through our crop several times to clean up the Septoria and Early Tomato Blight, two fungal diseases that necessitate the cutting of dying branches by sanitized clippers. Treating these diseases is important enough to warrant it’s own later technique post, and hopefully within the next week I’ll be able to take some pictures of the process and write that up. Suffice it to say for now that we are at the very least glad that we gave our tomatoes a good amount of spacing (2 ft for a single row between each plant) because good air flow is one of the best defenses against these diseases, and that we have managed to straw mulch under them this season (protecting somewhat against weeds, which make it harder to clean up and of course reduce the room for air circulation.)
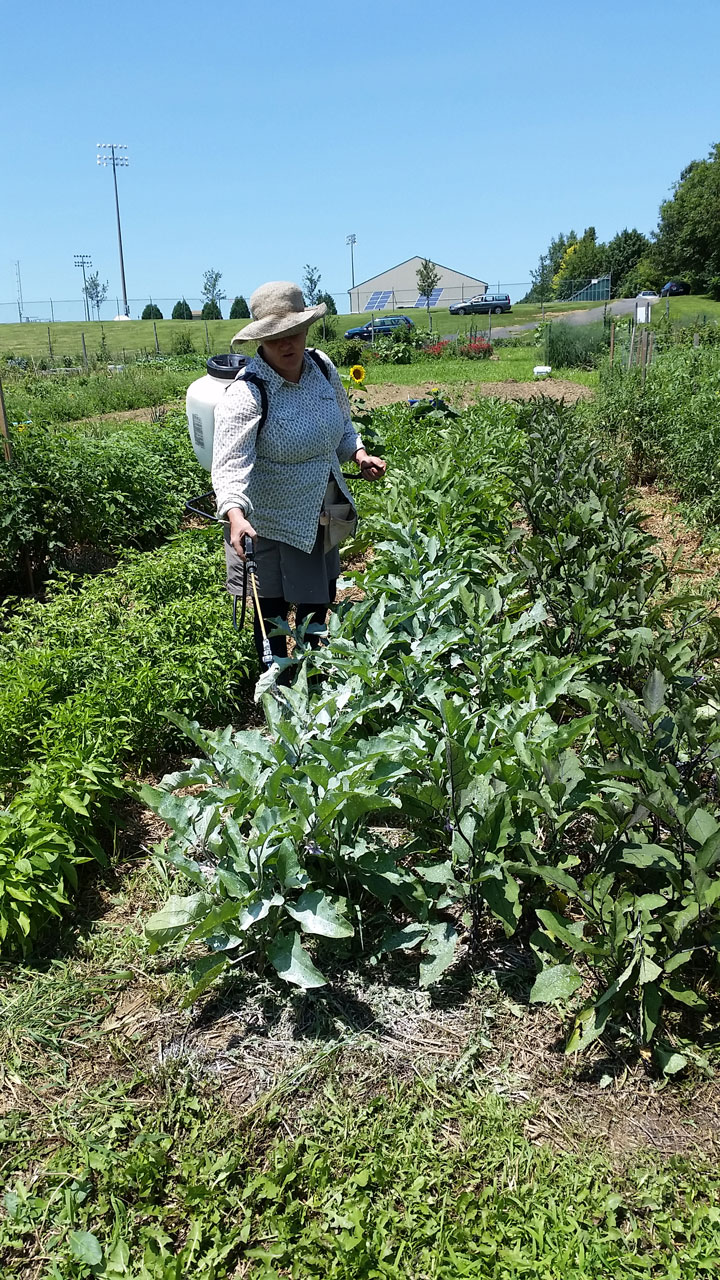
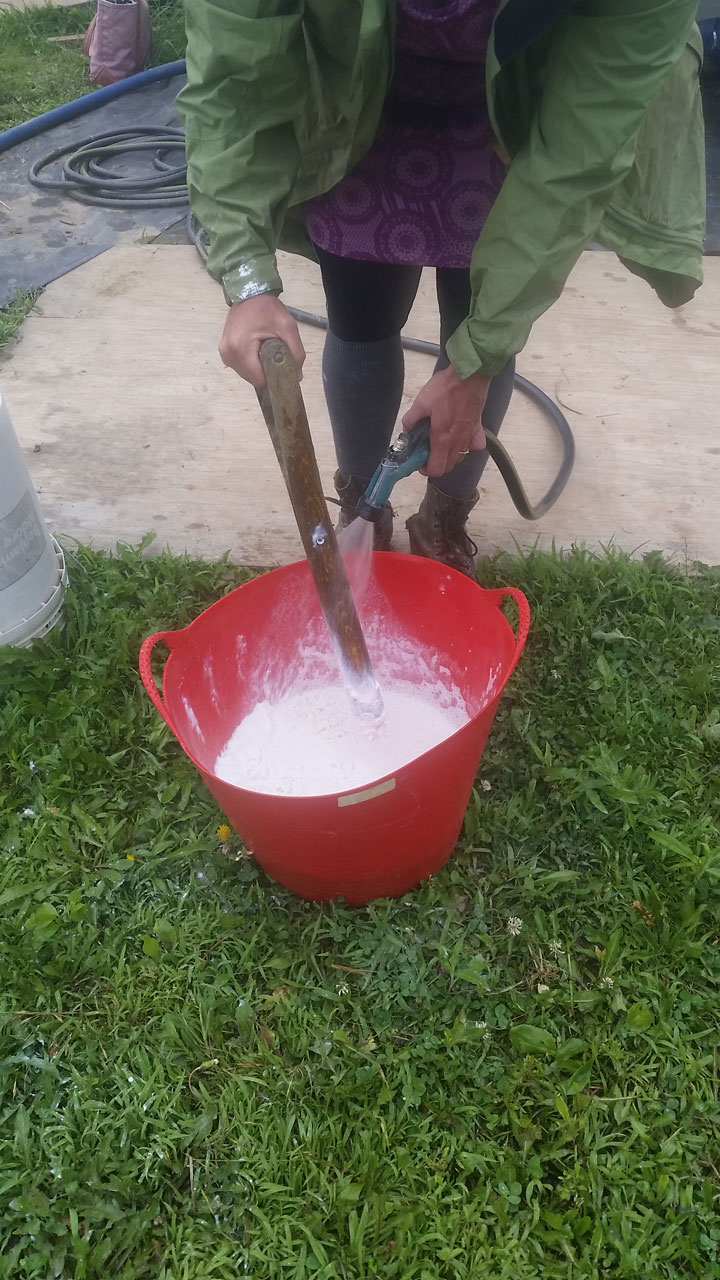
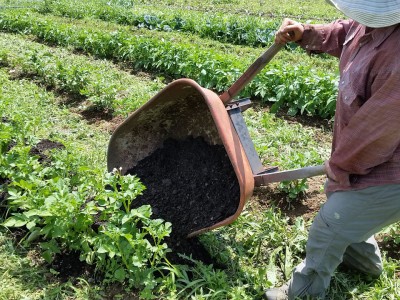
And as the previous technique post on spraying Surround is an example of, we’ve incurred some of the financial and labor burden of spraying several of the chemicals recommended by USDA Extension Agent Tianna DuPont to all the hail damaged farms in the area. In addition to that Kaolin Clay, we’ve sprayed with fish emulsion (ground fish essentially, which has many beneficial nutrients plants need and if you spray it on a mature plant’s leaves it can be absorbed into the plant,) as well as Regalia, which is a ‘biofungicide,’ basically a chemical which helps kill bacteria and fungus. Regalia specifically causes in plants what is referred to as ‘Induced Systemic Resistance,’ which basically means it actually stimulates and strengthens a plant’s immune system, so it can better fight off bacteria and fungus. There were a few more chemicals recommended to farmers like us which we elected not to use, and even just what we did get cost us around $800- which is not an insignificant amount of money for a farmer in the wake of a storm which would have drastically reduced their income. Also considering our scale (we didn’t even spray on our full 2 acres) this would have been much much more expensive for a farmer on say, 8 acres who went to spray all the different recommended chemicals. At the moment, we’re just very thankful that what we’ve done has been as successful as it has, even if not everything is perfect. Hopefully we’ll be able to completely recover from our remaining problems by the end of summer.
In the mean time, hope everyone is doing well, and happy farming!
-Joe Ingrao, Summer 2015 EXCEL Scholar


