Documenting Damage

Hey Farmers,

So we’re going to continue with the sad storm news. Although it has been two weeks since the storm, that does not mean the damage is no longer affecting us. This storm will have an impact on what happens on the farm for the rest of the season. In the overall scheme of things it will have even further reaching impacts, and I’m going to dedicate a full post later to discussing that. For now, I’m going to catalog and analyze the damage in as much detail as I can based on my experiences and what Sarah and our USDA extension agent Tianna DuPont say about it.


Walking out on the farm on Wednesday, already a day after the storm, I was astounded by how much had been done. On campus, we had just been told to stay inside for half an hour as the worst of the storm passed, and the amount damage that happened to the farm in that little time left me speechless. On Wednesday and Thursday, I spent over an hour just walking the field, taking pictures and notes on all the damage, afterward talking to Sarah about what the damage would mean.

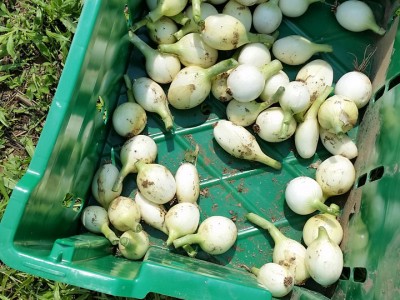
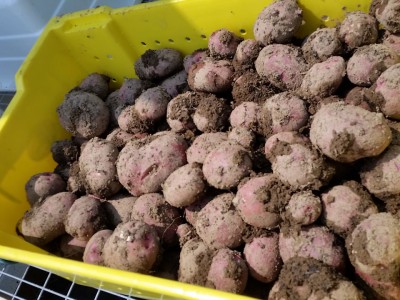
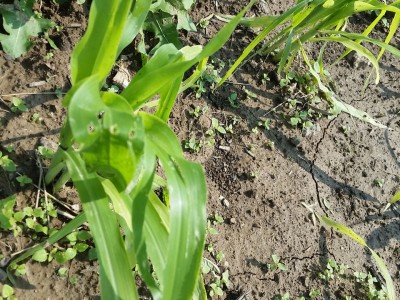
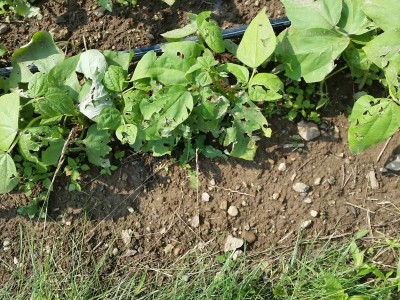
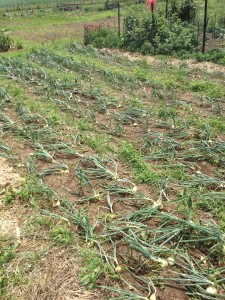
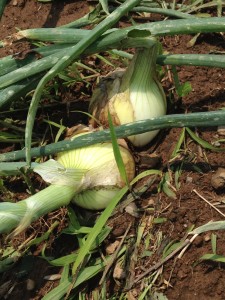
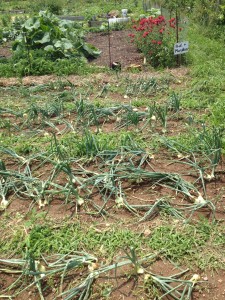
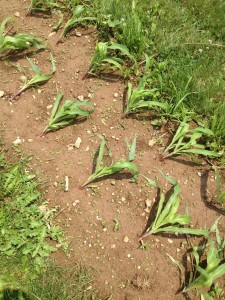
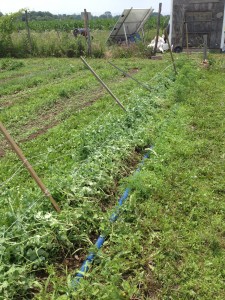
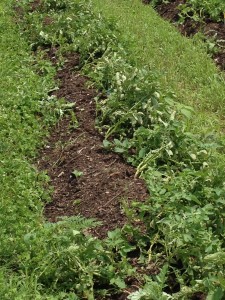
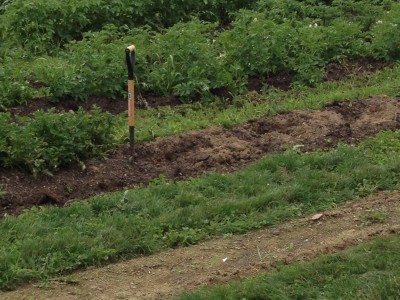
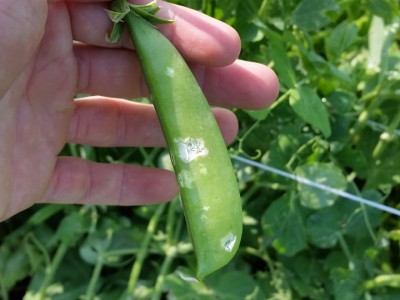
Some of the impact is obvious. The first thing through the gate of LaFarm, our onions, fall into this category, as do all our peas and a fourth of our potatoes. This damage is pretty obvious: destroyed plants can’t finish their life cycles. For our peas, the damage was absolute: broken stakes and hail damaged pea pods mean the last week or two of pea harvest was no longer feasible. Even what was on the vine wasn’t even safe to give away; hail damage to the peas would mean they would probably rot on the vine, none of it would keep long enough to be eaten. This led to hours and hours of work pulling the plants, stakes, and trellises when previously that work was going to help establish other crops. As for onions and potatoes, we could salvage what was there but a good amount of potential was lost. Our onions would have grown a significant amount more in the next several weeks, but we needed to rush to harvest and cure every onion in our northern most plot. Of our four rows of potatoes, the oldest, northernmost row acted as a wind break for the other three, but was devastated in the process. We harvested that whole row of potatoes that day and sent them to Chef John on campus, who luckily needed them that day.

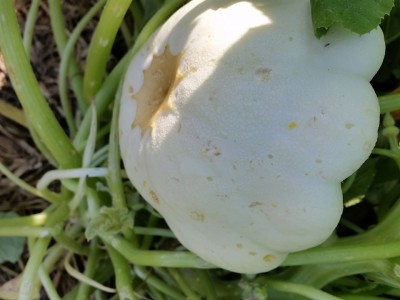
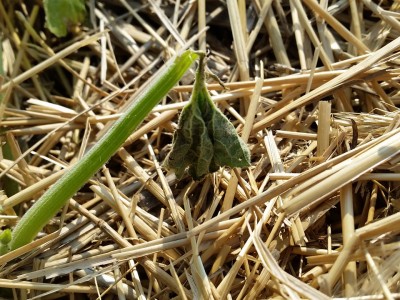
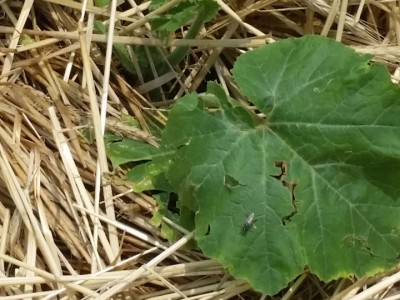
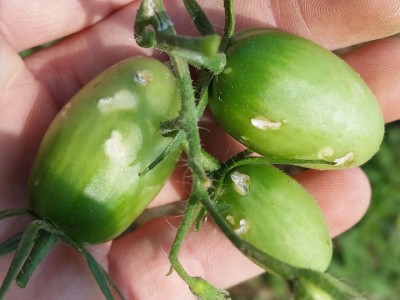
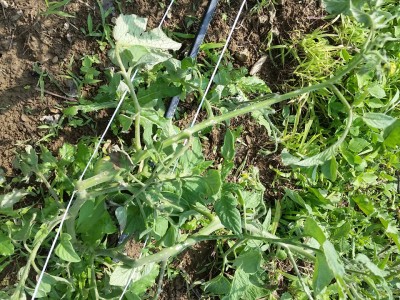
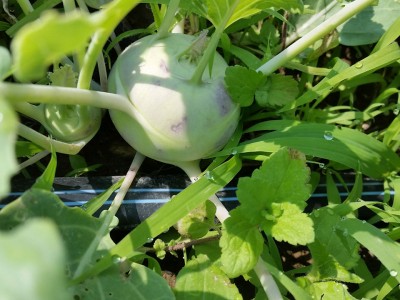
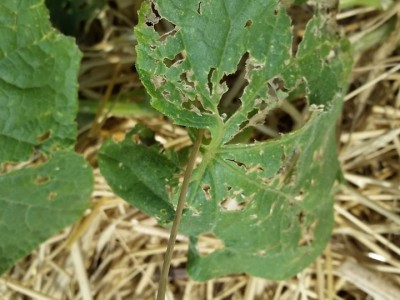
Most of the rest of the damage was less obvious, and will require more work to overcome in the long run. With these peas, onions, and potatoes, we just had to salvage what we could and rip the rest. For many of our grown but not yet producing crops, we’ll be nursing them to health for the rest of the season. USDA Extension Agent Tianna DuPont recommended to us and the other organic farms hit by the damage 5 different organic chemical treatments, plant steroids and the like, to help remediate the damage. This damage is also more uncertain in its impact. We know roughly how much we lost in time and food between the above crops, but since our other plants are still in the middle of their lives, we’ll never know for sure how much this storm took out of them. And this insidious damage comes in two degrees as well: the first is the direct damage. Trellis cages blown away, hail holes in leaves and vegetables, broken branches and stems, etc.

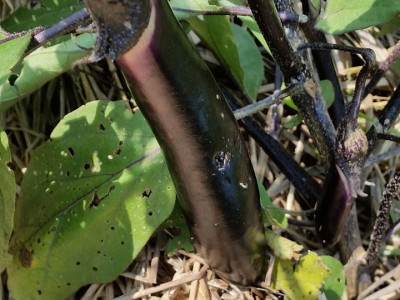
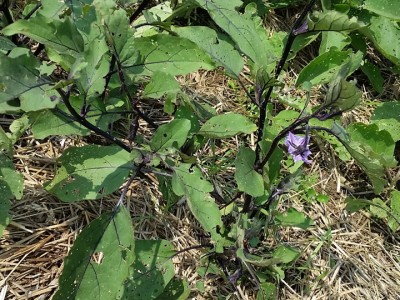
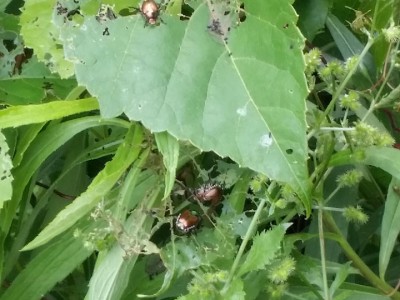
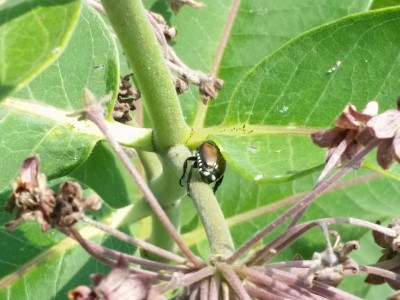
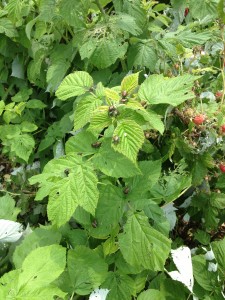
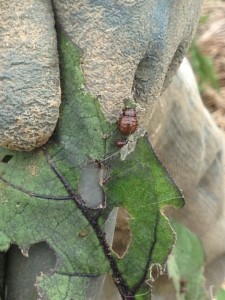
The second is much more indirect, and more long lasting. Healthy plants are more resilient against pests and diseases. This is obvious even on our scale with potatoes and eggplants: this year we composted our potatoes, and even though there are Colorado Potato Beetles around, we have hardly seen a lick of damage on them compared to last year when we didn’t compost them; our eggplants went in the ground this year before a long hot period without any rain, and were unhealthy, soon they were devastated by flea beetles. So now all of our plants are hurt, and spending their energy on trying to heal. This means they have less energy to fend off blights and beetles. It’s no coincidence that Wednesday, the day after the storm, was the first day Fletcher, Peter and I remember seeing Japanese Beetles in such huge numbers around the farm. And with early blight hitting many tomatoes in the area, we’re on the lookout and have been pruning like crazy.

This is where the damage is obviously far reaching, even if only considering LaFarm. A bad pest and disease year means for years to come we’ll have to fight back against further pest and disease damage. As Sarah put it, the storm hitting the farm is like someone training for a marathon getting in a car accident: they’re going to be spending a lot of time dealing with their injuries and probably won’t be able to finish their training before the marathon, and those injuries could hurt for years. For a starting farmer, the amount of lost money and required additional work and investment this sort of storm event caused us, this could mark the end of a career, and the loss of a farm. A CSA may have to cancel most of a season and probably need to supply refunds of money they already spent, a market gardener would lose thousands of dollars of income between direct and indirect losses. And this has a lot of implications on the broader food system, which I’ll be writing about at length in my next post.

– Joe Ingrao, Summer 2015 EXCEL Scholar
Severe Storm at LaFarm

Forward

The first part of this post was written on Wednesday, July 1st. In the immediate aftermath of the storm, there was significant concern regarding plant health. In fact, it was suggested that we plow over some of the damaged plants and start afresh. Instead, as we are not a for-profit business (but instead a unique education facility. Also, a farm), we can experiment with the regrowth of the plants. Part two chronicles this a week later, some plants came out better than others. The second part of this post was written on Monday, July 6th.


Part One: The storm strikes, damage report

On this past Tuesday, a severe storm and tornado warning reached the Lehigh Valley. Hail was a  contributor and strong winds and torrential rainfall toppled many plants and supports. Indeed, Forks Township (next-door to the Farm) was particularly hard hit with fallen power lines. It is unsurprising our farm saw damage as well. Fortunately, there were no injuries reported in the heavily-impacted towns to the immediate north and west of our location.

Straight-line winds (indication of a microburst, and that no tornadoes touched down) is the monster of the day. The wind topped out at an estimated 80 mph in nearby Whitehall Township and approached those speeds at the farm.

Here’s a general rundown of the damage to the farm:

1) Onions


These onions will see an early harvest and a reduction in overall yield.  Having been started back in February and carefully weeded the day before, it was disheartening to see the hard work ruined. “I’m not crying because of the onions, I’m crying because of the onions.”

2-4) Corn, Peas, and Potatoes.

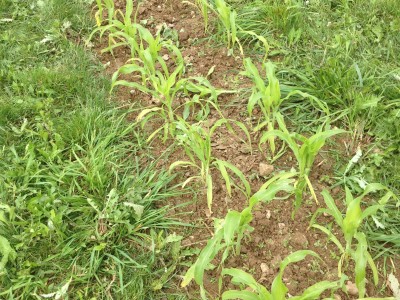
The corn is in an awkward spot, being completely sideways. The last few weeks of anticipated peas were unable to be harvested.  The potatoes are also questionable.012

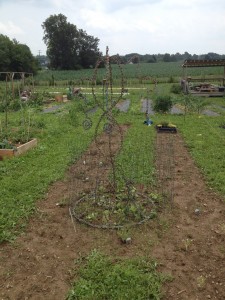
Even the chain sculpture (pictured right) was dragged several feet by the wind.

Now, last post, I indicated that I would be having less serious posts for the blog (also cabbages), but this storm is a serious issue for the farm. Beyond the damage to our own farm, there are implications for our food loop and community and discussions on the larger picture. Joe will be getting into that on the other side of the blog.

Part Two: A Week(ish) later:

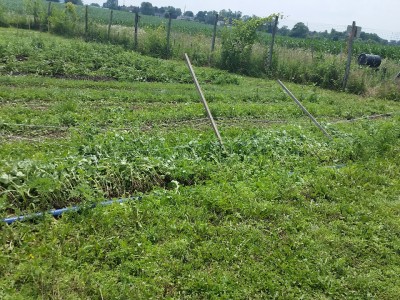
The onions, as I indicated, will see an early harvest. Perhaps unsurprisingly, the peas were chopped down and mowed over. Most of the potatoes will recover, but the one’s we deemed unlikely to survive were harvested and served at a 4th of July Picnic. The corn, fortunately, popped right back up. All in all, many of our root vegetables (garlic, onions, potatoes) saw an early harvest, while our other plants (such as tomatoes, summer squash, asparagus) is likely to hold on well*.

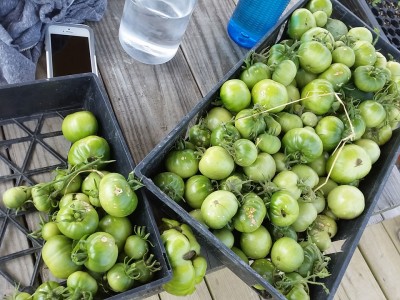
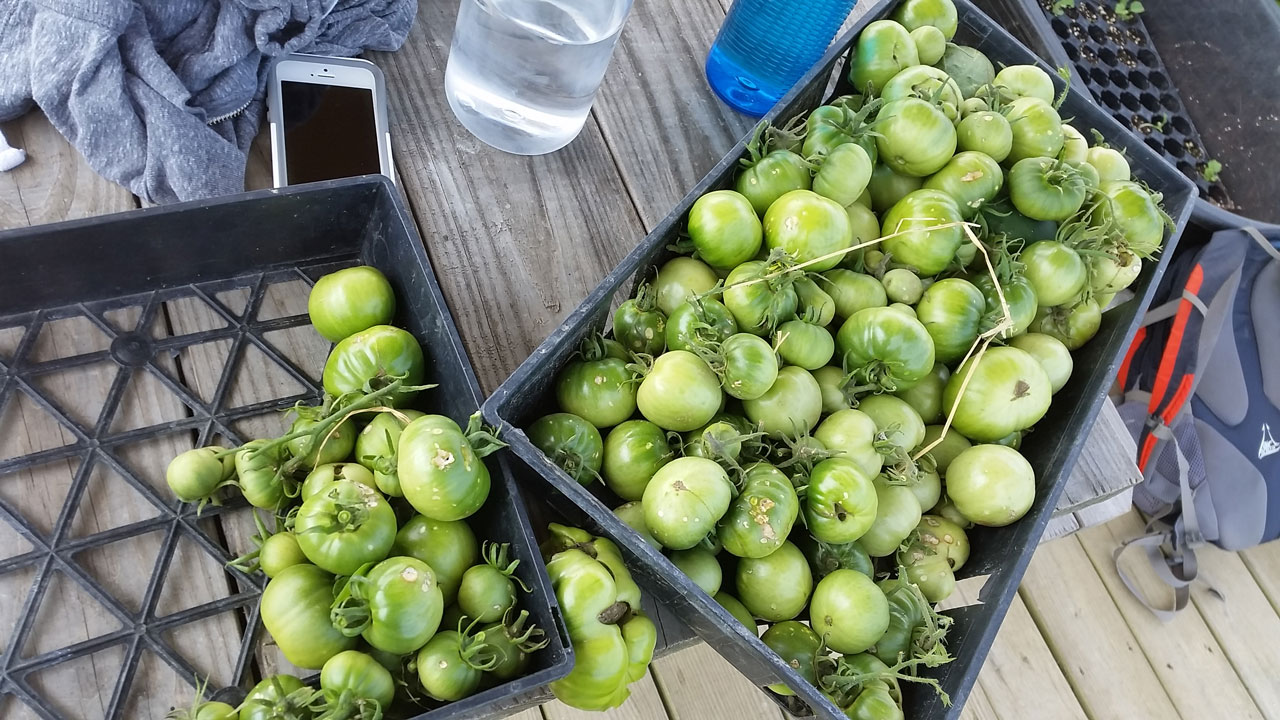
*Many of the tomato plants (and peppers, eggplant, and other fruits) will see a delayed harvest. The unripe fruits were cut from the plants to have the plant grow more leaves and stems, instead of investing the nutrients into the fruits.


Last Words:

Plague Tracker 4/10

Flies: Large numbers of Colorado potato beetles and Japanese beetles consume our plants

Locusts: Or their grasshopper cousins, anyway.

Thunderstorm and Hail: See above

Blight: Fortunately not on us, but the tomatoes suffer.


Staking and Trellising Tomatoes

Hello Farmers and Gardeners!

Some say that tomatoes are groundvines, meant to crawl all over the place. But tomatoes on the ground yield less, cannot get weeded, and in our region get all sorts of diseases from their leaves being in contact with wet soil. So although there may be proof that tomatoes evolved to be groundvines (the way that the stems will grow roots if they’re in contact with soil for example,) as stewards of human-controlled ecosystems we need to recognize that in the context of modern American farms and gardens, it’s best to trellis tomatoes.

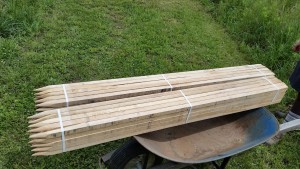
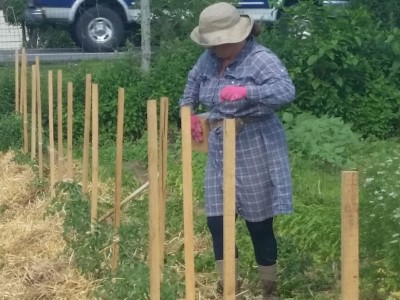
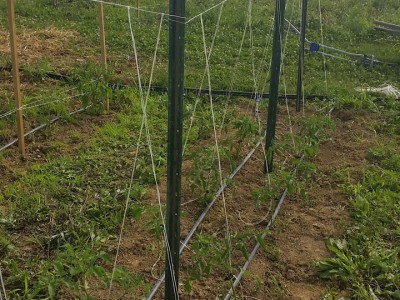
Our 5' wooden stakes. In retrospect, we should have bought 6'

Our 5′ wooden stakes. In retrospect, we should have bought 6′

There are many ways to trellis tomatoes–trellising is just the process of giving the tomatoes a structure to keep them upright, and I can think of a million ways to do that. Gardeners can get pretty creative with their trellis work if they only have to take care of 10 or so plants (or use nice, reusable metal tomato cages for a simpler path,) but with upwards of 700 row feet of tomatoes on the farm we have to use efficient, scale-able trellising techniques. Even this way there’s a lot to consider, especially as an organic farm.

Generally, you need stakes for any large row of tomatoes, and right there are a few variables. Stakes come in different lengths for different purposes, so you might want longer or shorter stakes for large or small tomato varieties. Then there’s the material to think about. Wooden stakes are much cheaper, but until recently there was no organic approved cleaner that a farm could use to soak them so they would be safe to use for more than one year (as wood is notorious for soaking up pathogens,) and even then it’s a lot more work (and outside resource input!) to reuse wooden stakes than the alternative: metal stakes. Metal stakes though, are more expensive, heavier, and generally more difficult to put in and take out of the ground. At the same time, they are easy to clean, durable, can be reused for many years, and run almost no risk of snapping during the staking process. On the farm, we have a broad collection of metal stakes of various lengths, and many wooden stakes. Some years we use a combination of both on each row, putting the metal stakes at the end and in the middle of each row to give strong anchors to our trellising; this year we used all wood stakes on several rows and all metal ones in another, and placed metal wire cages around some tomatoes in short rows we had.

Supposing you’ve decided on your stakes, then there’s still the decision of what to use between the stakes for the actual trellis. Most methods require some kind of sting or twine made of something like cotton (which is biodegradable, but not very strong) or some polymer (which will be in a landfill for a long time, but is very strong.) Again, we used a

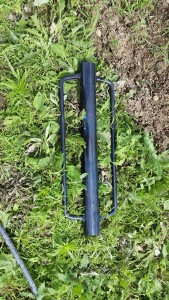
Our 20+lb stake driver

Our 20+lb stake driver

combination of different choices on various portions of our tomatoes. For many of our tomatoes we used a twine to do a Florida Weave which is a complicated technique to describe on its own. For a specific bed where we planted 2 rows, we used a completely different technique involving metal wire.

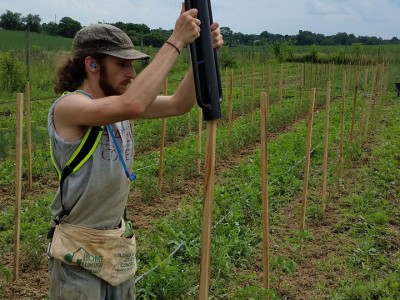
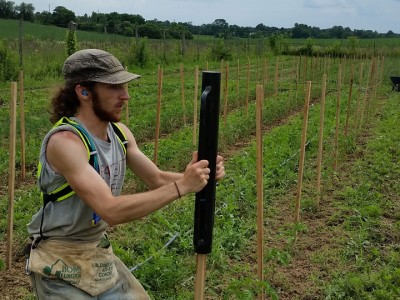
We’ll get back to that though. Before your do any trellising, you have to stake. In order to stake, you’ll need your chosen stakes, something like a mallet to begin getting them into the ground, and something to drive them with. This year, we have a nice powerful stake driver for that job, but it’s possible to use the capped end of a pipe (very, very securely capped) or even a sledgehammer if you’re desperate.

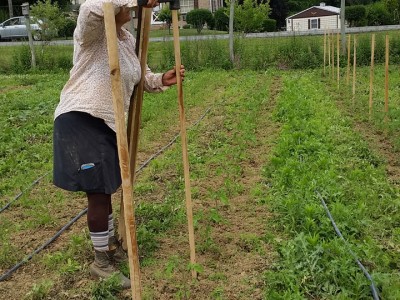
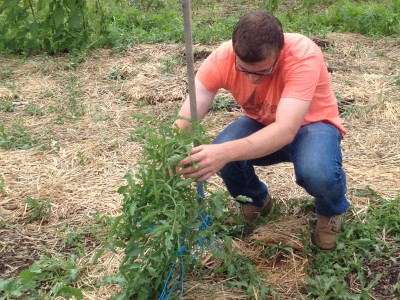
One person with a mallet goes along the row with the stakes and places them upright at the correct spacing. It’s important to make them upright or the tomatoes will follow the leaning, and the correct spacing depends on how close your plants are, how many stakes you have, and how you’re going to trellis them. We go every 2-3 plants, 2 on our rows with 2 ft spacing and 3 on our rows with 1.5 ft spacing for our Florida Weave, and we went every 3rd plant for our metal wire method. The leading person uses the mallet to get the stake somewhat in place, and then a person follows with the stake driver to really get them into the ground (I made sure to wear ear plugs for this part because the stake driver makes sharp, very loud dings.) Metal stakes usually have a little t-bar that should be buried, and wooden stakes should just go into the ground by at least a foot or two (which you should take into account when purchasing!)

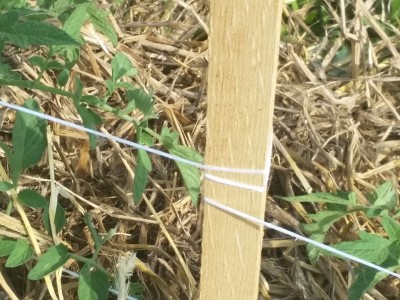
Then it’s time to trellis. Florida Weaving involves a box of twine and potentially a short piece of PVC pipe to help guide the twine. For each of your newly staked rows, you take your twine and run it in a horizontal line about 1 foot off the ground, circling it very tightly around each stake and keeping the twine taught, and then back the other way at the same height, tying each piece off at the ends. You take your tomatoes and tuck them between the lines of twine, and do it again a foot higher when the tomatoes grow taller.

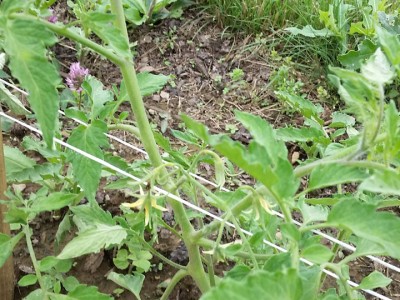
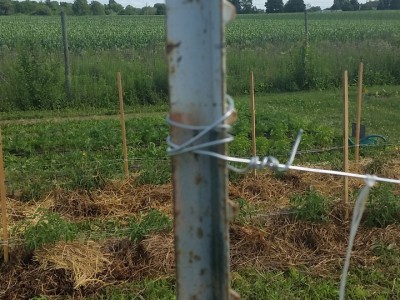
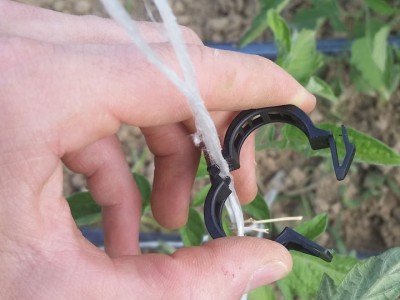
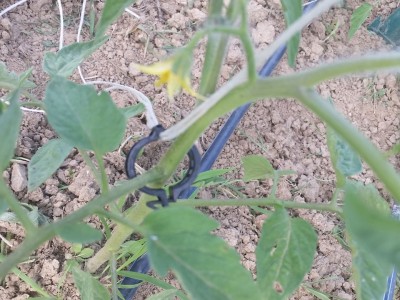
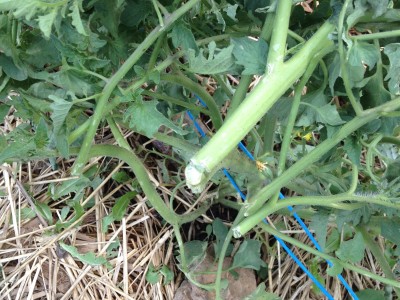
Or there’s our metal wire method. I like this way a bit better, and it actually gave us a use for some previously used polymer twine we had saved. It does require metal stakes though, because of the tension required. For this you take a roll of metal wire and run it along the tops of the stakes, wrapping it very tightly around each to make sure it’s very taught, and occasionally tying it off to increase loss in tension from overly-long lengths of wire. You want the wire so tight that you’re actually pulling the tops of the stakes toward each other every time you tie one. Once you have metal wire over the full row, you take some twine and tie a double length of it over each plant. This means you take a length of twine that goes from the wire to the ground, double it, and loop it around the metal wire so both ends get down to the ground. Then you take black tomato clips (which can be washed and reused, but sometimes break over the course of a season,) and clip each plant into the twine. Some plants that have multiple main stems will need a clip on each one (with one end of the double length of wire in each clip.) And as your tomatoes get taller, you only need to take more clips and add them higher up on the plants.

That is one of the most important job on any farm that grows a good number of tomatoes. There are many more methods than those in this post, you can tell us about your favorite in the comments!

-Joe Ingrao, Summer 2015 Excel Scholar

Greetings from LaFFCo

Hello good friends, family, and strangers, and welcome to the LaFFCo blog at LaFarm! I am Fletcher, and I shall be your guide for today. As this is a first post, I find it prudent to give introductions, and let the more traditional bloggy posts come next week.


Perhaps the most significant introduction to make is LaFFCo as an organization. On the first tier, we are a club at Lafayette College. The initialism LaFFCo stands for Lafayette Food and Farm Cooperative. As of this writing, we have existed for approximately half a year and we’re already thinking about the coming school year.


On the second tier, we endeavor to be the liaison between the greater student body and LaFarm. We’re passionate about food and the environment (Our board also affiliates with SEES and LEAP, among other organizations). More than our own farm, however, we support sustainable practices for the people that work across the globe, the food they grow, and the land and water resources that go into it.


The third and final tier is our mission statement, plastered in large block letters across the metaphorical walls: “The Food and Farm Club helps members develop a sense of ecological citizenship through action regarding food and agriculture choices and education in the Lafayette and Easton community, while taking advantage of Lafayette’s multifaceted food loop and working with the various actors involved in that loop.”


As I mentioned, my name is Fletcher, and I am proud to be a founding board member. The rest of the board includes Joe, Club President and author of the other side of the blog, Alexa, Peter, and Molly.


Please look forward to future bloggery in a less serious nature than Joe’s blog. While we all give our blood, sweat, and tears (actually, very little blood and tears, just lots of hard work), I believe important to make this challenging work emotionally satisfying instead of a chore. Needless to say, please look forward for bad puns and references to silliness next to straightforward and honest recounting of the week’s events.

LaFFCo logo

Postscript:

Here’s a sneak peak at the next post, regarding cabbages, Monty Python, and Indiana Jones. Stay tuned! Come back next time for it!


064

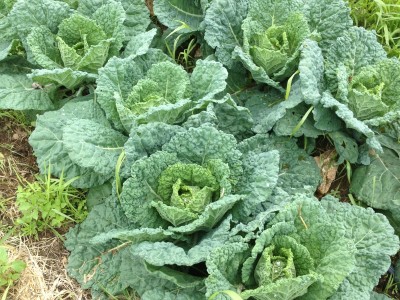
Adventurers seek fabled cabbages, but in the heart of the jungle, they might just find more than they are prepared to handle.


Compost Hilling Potatoes

June 24th 2015

Hello Farmers and Gardeners!

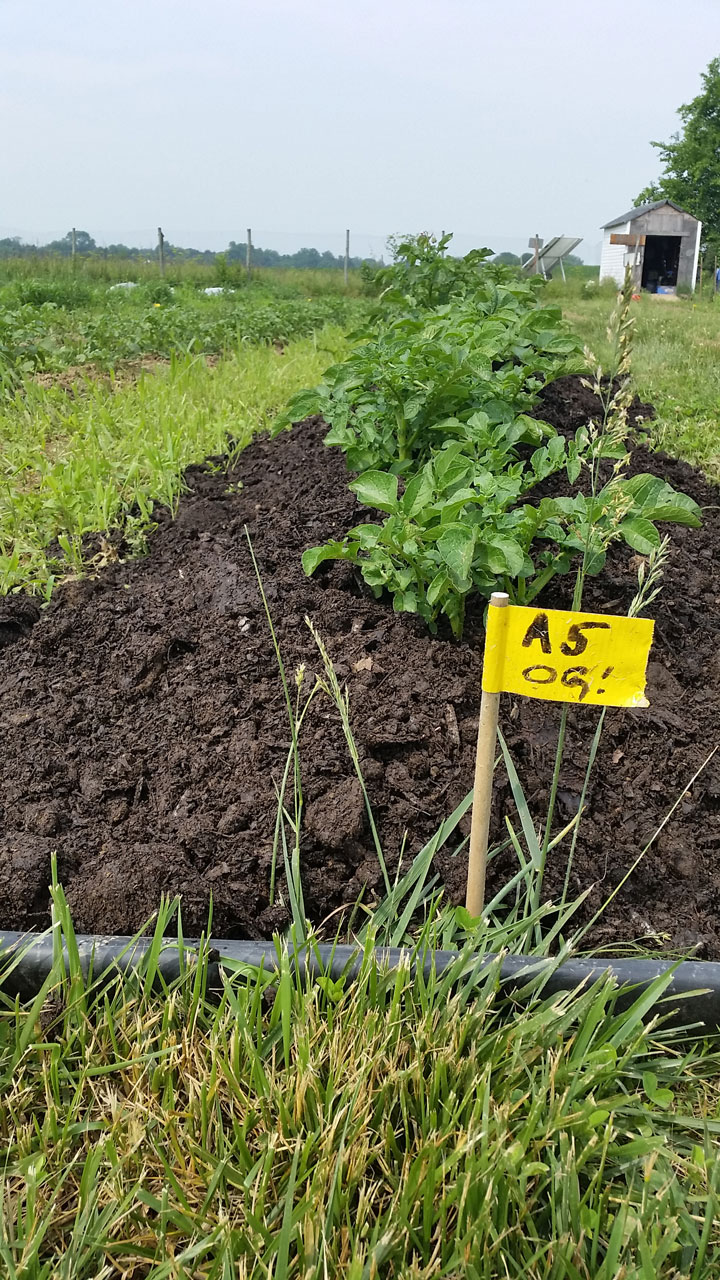
A row of potatoes, pre-hilling

A row of potatoes, pre-hilling

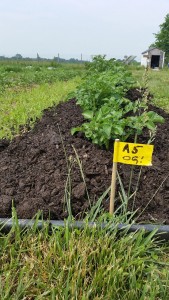
Done-Job

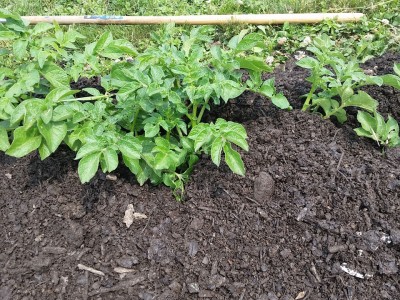
The same row of potatoes, post-hilling

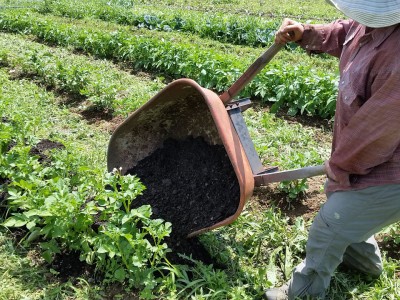
So last year I made a post about hilling potatoes. Hilling potatoes yields more potatoes per plant, keeps weeds down so less weeding, and stops the potatoes from widening and getting all over the place, tricking them into growing higher instead. So hilling is advantageous for many reasons, but there are many ways to do it. My last post about it just involved using dirt. We’ve also used straw and compost to hill, and they are very different techniques. As you may have guessed from the title, this year we’ve been hilling with compost, and that’s what I want to explain in this post.

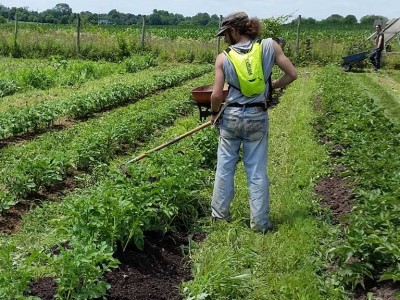
For this you’ll need a flat hoe, a wheelbarrow, a shovel, and compost (obviously.) Once your potatoes have grown up a foot or so, you can hill them, we’ve been hilling our potatoes that went in the ground in late April for the last 3 or so weeks, so most potatoes don’t require much more than a month or so of growing. We always do make sure to weed each row of potatoes right before we mulch them this way, and we mow the paths between the rows to make it easier for us as well.

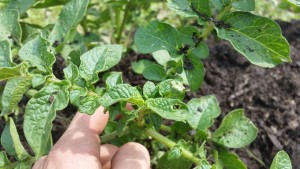
The growing point-or the place where the stem will continue rising, is at the convergence of the highest set of branches on any plant, right here on potatoes. This is the part that it's important to never block from the sun.

The growing point, which is the place where the stem will continue rising, is at the convergence of the highest set of branches on any plant, right here on potatoes. This is the part that it’s important to never block from the sun.

First thing you do is fill a wheelbarrow with compost, and dump it right next to your potatoes. It’s ok if it get’s right on the plants, as that is the point of hilling them. Once your potatoes are nice and strong, you can pile the compost 6-8 inches or higher, as long as you don’t cover the growing point on each plant (pictured.) After you’ve poured it on, you can take your flat hoe and kind of rake the compost into place, covering the bottom branches of each plant as best you can.

After that, you leave the potatoes as they are. They will grow up very happily and yield many delicious spuds for you. Happy Farming!

– Joe Ingrao, Summer 2015 EXCEL Scholar
Direct Seeding Beans

June 17th 2015

Hello farmers out there! I’m back to LaFarm for another summer, and have had my hands in the dirt quite a bit already. To best capture the spirit of the season (a very goal-oriented, don’t-stop-working-all-day-and-there’ll-be-plenty-of-work-left-anyway spirit,) I’m going to be writing about a season appropriate topic: planting beans!

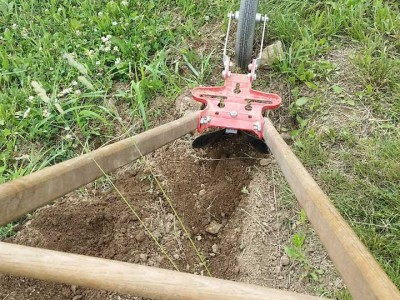
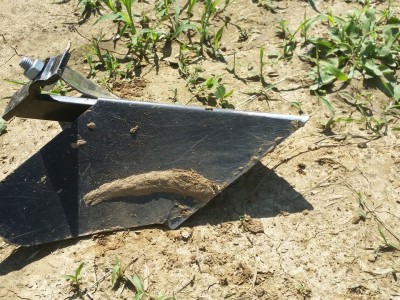
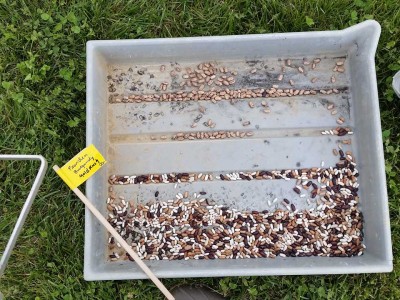
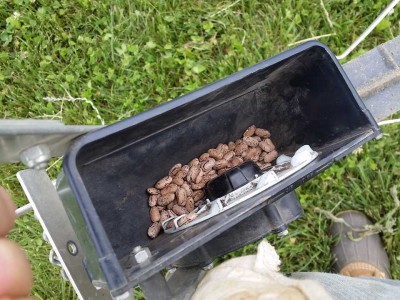
Late summer beans need to be planted around early to mid June, as we did ours just last week. For this process, you need a single row direct seeder (we used an old EarthWay vegetable Seeder,) something to furrow with (we used a wheel how with a furrow attachment,) the beans you want to plant, and potentially some organic seed inoculant.

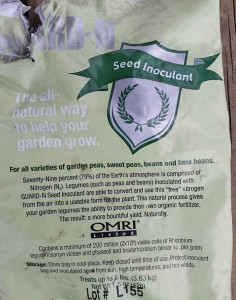
The package of our GUARD-N Seed Inoculant

The package of our GUARD-N Seed Inoculant

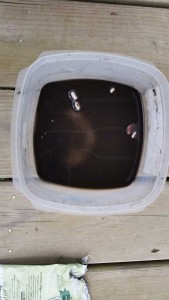
The inoculant as we used it to soak our beans.

The inoculant as we used it to soak our beans

Beans, like all legumes such as peas and certain types of clover, grow nitrogen nodules on their roots to leave in the ground, which boosts the nitrogen in soil tremendously. This is why farmers really like legumes as cover crops and designing crop rotations that have nitrogen intensive crops like corn following legumes. Seed Inoculant facilitates beans’ conversion of in-air nitrogen into these nitrogen nodules, increasing the nitrogen fixing effect even further! This makes it useful to use innoculant. To use seen inoculant, you actually create a bath of the stuff and soak your beans in them a bit before you plant.

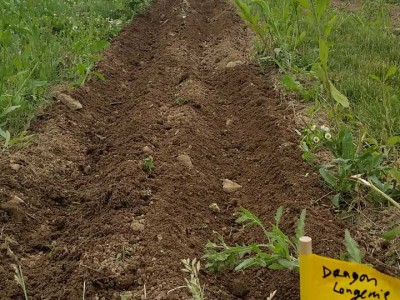
The next thing you must do is prepare the bed. We used a freshly-tilled, 100′ long, 3′ wide bed, and we knew we wanted 2 rows of beans in the bed. So, we took our trusty wheel hoe with a furrowing attachment and ran it down the length of the row twice, 1′ from each end of the bed (and the other furrow.)

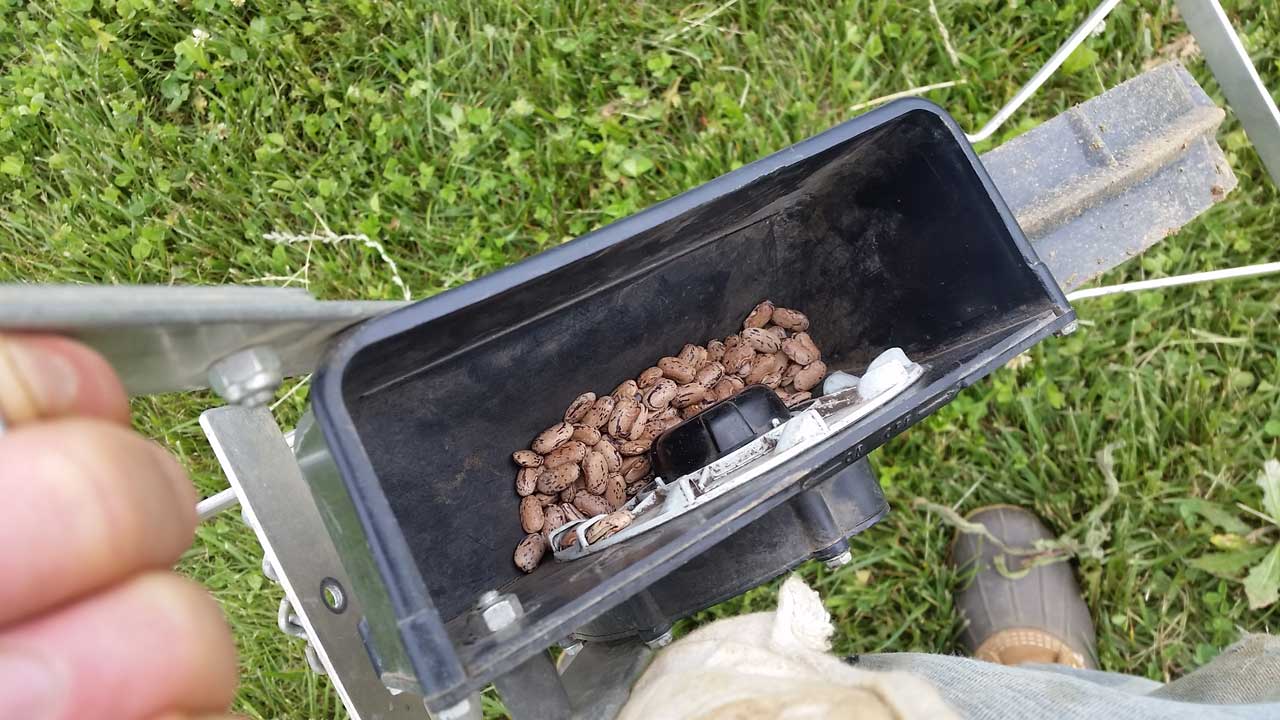
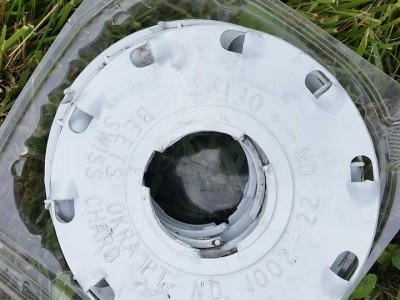
Once you have inoculated your beans and furrowed your bed, you need to get your seeder ready. Make sure you have the correct sized disc for beans in your seeder before you start loading the beans into the seeder!

From here, you need to only take the seeder and run it down the furrow, keeping as straight as possible. Most modern seeders are designed to cover the seeds right after they come out of the dispenser and then compact the soil over them, but if your seeder does not you will need to go down the furrow after you’ve planted and cover your seeds by pulling dirt from the furrow over top of them.

Hope this helps, and happy farming!

Joe Ingrao, Summer 2015 EXCEL Scholar
The Smell of Spring

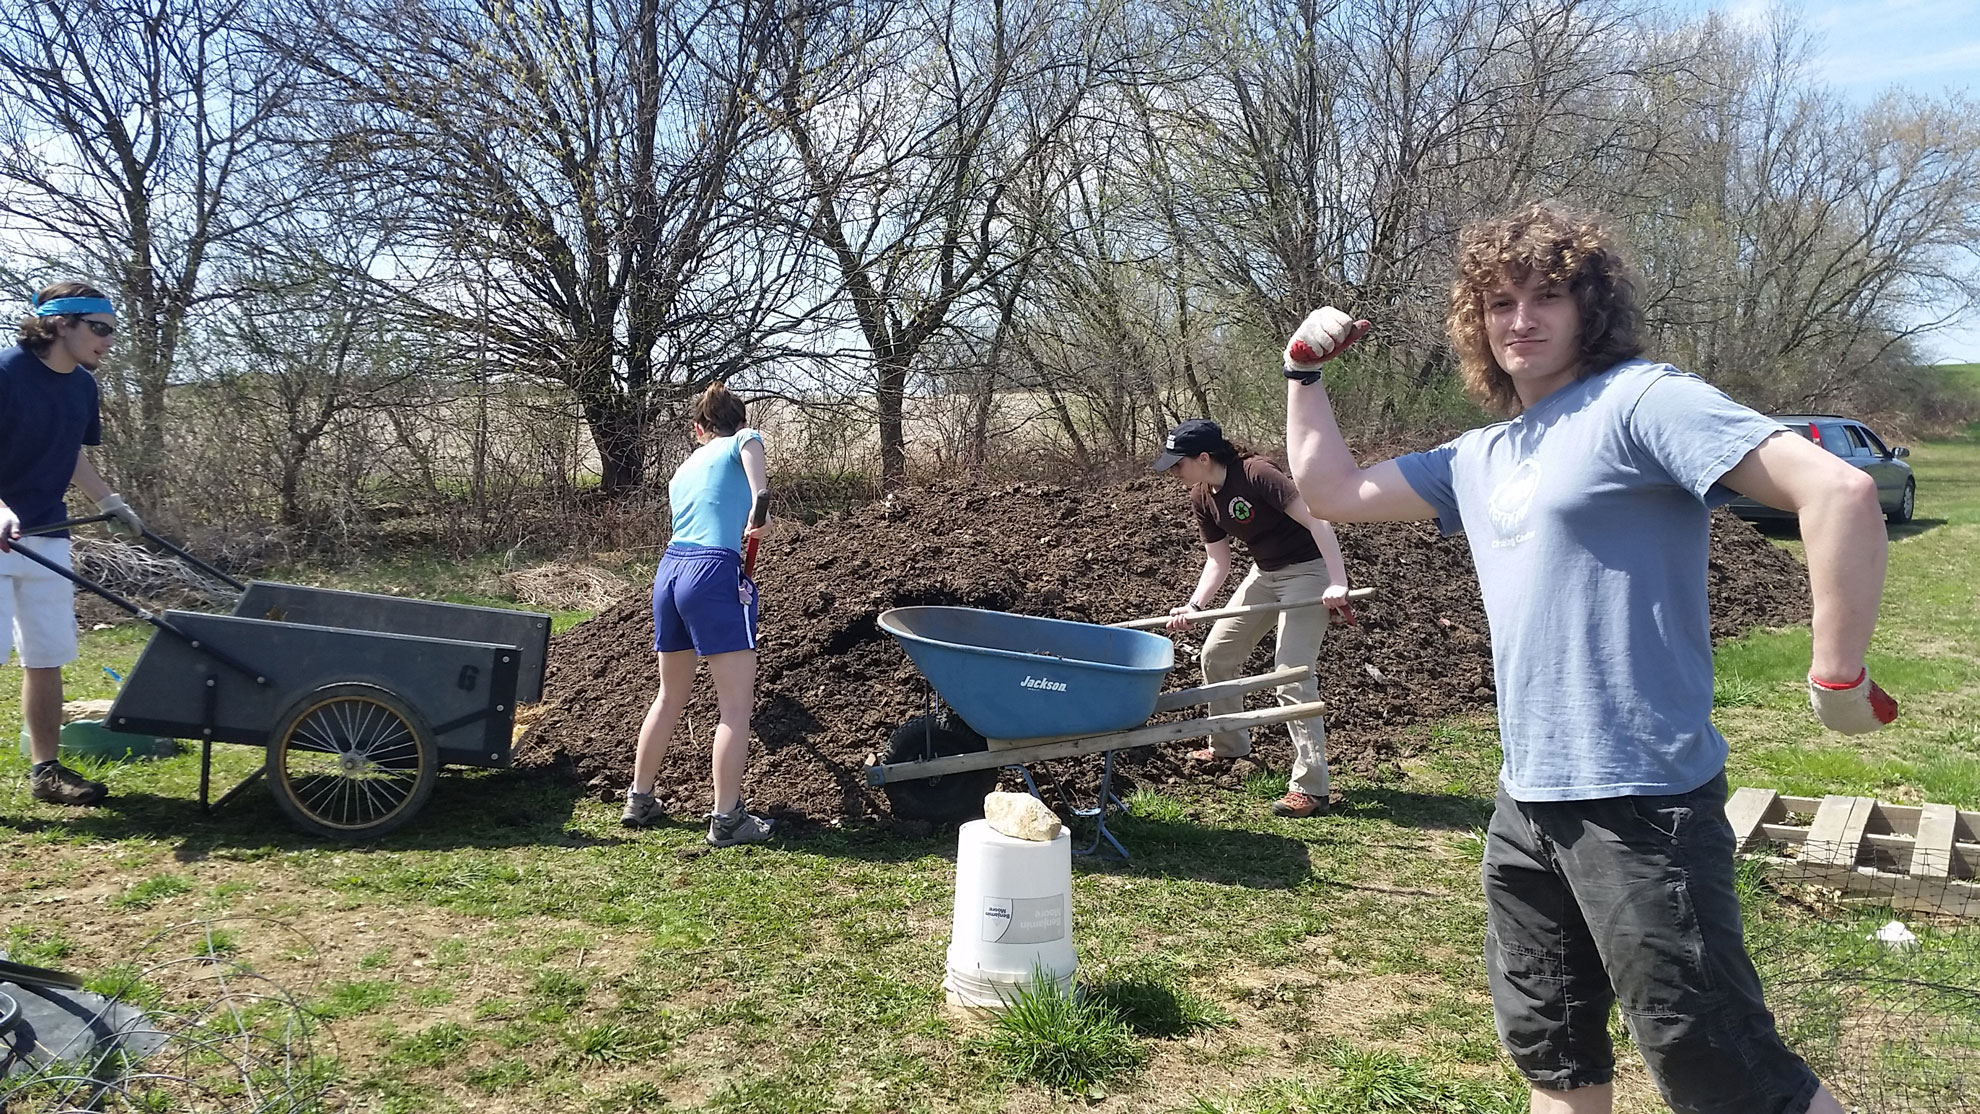
When I imagine Spring, I think of sunshowers and wildflowers. And when I think of farm work in Spring, I think of early plantings like onions, peas, and potatoes. I don’t usually think of the smell of compost (I no longer have anything against the smell of good compost though—now that I’ve seen the amazing results of such compost the smell just reminds me of success.) But one of the most grueling—and important—tasks of Spring farming is spreading compost. So we invited our friends to help!

Shoveling compost takes a lot of strength!  Pictured: (from left to right) Fletcher Horowitz, Miranda Wilcha, Monica Wentz, and Benji Helbein.

Shoveling compost takes a lot of strength!
Pictured: (from left to right) Fletcher Horowitz, Miranda Wilcha, Monica Wentz, and Benji Helbein.

Work is much more fun when you make it a party, and Spring farm days definitely make good parties! Even getting a team of 5 or so people out to shovel compost evokes feelings of community and family which we don’t get everyday in our modern, disconnected lives. So it’s very nice to get a bunch of people together to do something like this (especially if it means that just one person needs to do it for 5 times as long later on!) which is totally doable because it doesn’t take much background knowledge to shovel and spread nutrient rich dirt.

Spreading compost is not the most glamorous farm job, but it is necessary and still fun in groups.

Spreading compost is not the most glamorous farm job, but it is necessary and still fun in groups.


After your primary cultivation (your first tilling of the soil in the Spring) you take your compost (we get ours straight back from the dining halls we sell to) and spread it over your beds until it’s about an inch thick. For this, we dump piles of compost on the field with a wheelbarrow or cart and then use a rake (tilling rakes work especially well) to spread it evenly. After spreading, we till the beds again to mix the wonderful nutrients in with our normal topsoil.

But truly, it feels wonderful to be back outside, no matter what you’re doing on the farm, and all the more so when you can share it with friends. Here’s to hoping for a good season!

Joe Ingrao, Spring 2015 EXCEL Scholar
 

Seeds, Spring, Software, and Spreadsheets

So I posted several months ago about choosing seeds and planning fields for the 2015 season. Well, now that the season is finally starting, our plans have come a long way, and it’s funny to think how much has gone into it.

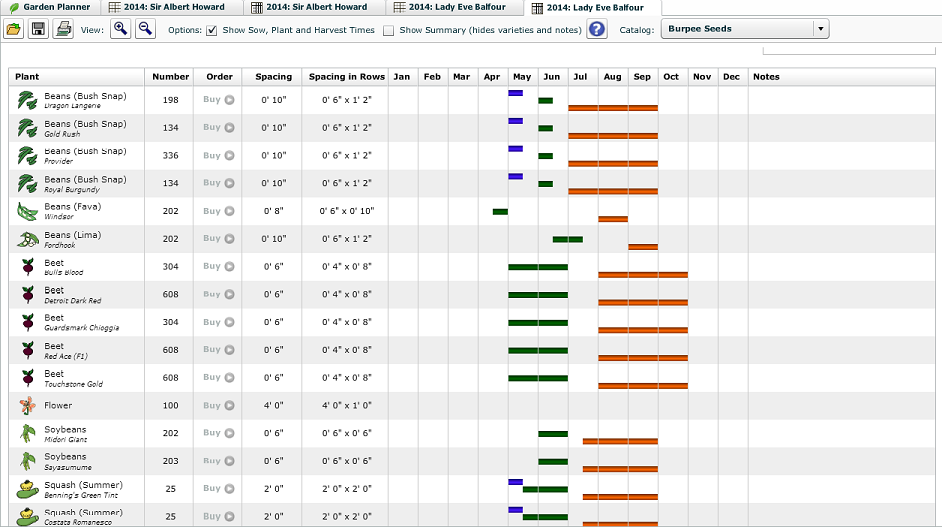
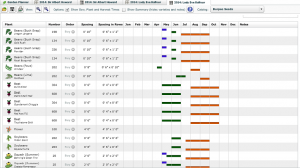
As you place specific varieties of crops onto your Garden Plan in Mother Earth Garden Planner, it generates a sheet with the number of plants, when they need to planted, and more useful data.

As you place specific varieties of crops onto your Garden Plan in Mother Earth Garden Planner, it generates a sheet with the number of plants; starting, planting and harvesting dates; and more useful data.

After we looked over what crops and varieties we wanted to grow, we had to consider what farm planning software to use to mock up LaFarm. Last year we worked with AgSquared but it wasn’t able to do everything we wanted in the most convenient way, so we switched. First, we were considering the open source Farm Data, being developed by some friends at Dickinson College, but given its relatively rough current state, we chose to go with the Mother Earth Garden Planner. Though the Mother Earth Planner is not actually made for a full sized farm and is more apt for smaller gardens, we were able to fit it to our fields, and the useful visuals as well as the printable data sheets give us the information we’ll need in the field in a good form.

With a rough idea of what we wanted and where, we made a preliminary plan with this software. After that, it was time to narrow down some details. I looked through all our saved seed and made a very extensive inventory with Microsoft Excel that I was able to cross reference with information from our Garden Planner as well as from seed catalogs about growing and pricing.

With that information, I was able to revise our Garden Plan to be much closer to what it will likely look like. This office farming has been happening concurrently with the start of our outdoor work and the purchasing of our earliest crops like leeks, potatoes, and onions, (the last of which we already have in the ground!) The Plan will be indispensable for us in knowing what else we need to get, and keeping track of what goes where and when, and having it now means not having to do extra office work when there’s too much to do outside. Even in cases when we might have to change the plan because of unforeseeable circumstances like weather or a failure in someone’s greenhouse, having a plan already makes recouping from something like that much more manageable.

-Joe Ingrao, Spring 2015 EXCEL Scholar
Famous Names and Connecting to the Earth

Here at LaFarm, we figured a good way to get closer to our land was to give our fields and plots their own names, rather than the traditional 1 2 3, or A B C. And not just any names were good enough for our fields, no we decided to make our whole farm a history lesson. Each field we have is named after a famous agriculturalist. We even chose a lot of the names for our specific fields because those fields connected to the legacies of the people they were named for. And then we also decided to name our shed Eliot Coleman and our Gazebo Jethro Tull to boot!
Eventually I’ll be going into some more detail about who each of these people are, but here’s a quick rundown of the important names we have at the farm.

Sir Albert Howard
Many see Sir Albert Howard as the father of organic agriculture. Starting his work in England in the early 1900s, he was one of the first people to begin studying the effect of new agricultural chemicals on the health of the soil-and the nutrition of our food. Any familiar with Rodale over in Emmaus should know that it was information released by Howard that first shocked Jerome Irving back in the day to start all of his projects.

Lady Eve Balfour
If Sir Albert Howard was the father of the organic movement, Lady Eve Balfour was certainly the mother and, just like most mothers, ended up doing a lot more important things than Sir Albert in this humble farmer’s opinion. Howard started things off by studying them first, but Balfour started the Soil Association in England and really got the gears turning on an international alternative agriculture movement.

Masanobu Fukuoka
Because farming, and alternative farming, isn’t just a history of white people in the western hemisphere realizing that chemical agriculture isn’t sustainable, I made sure to bring up Masanobu Fukuoka (the original Japanese name order would actually make it Fukuoka Masanobu but he’s always referred to in the westernized order so that’s how it is here,) who pioneered what he calls “do-nothing” farming, which is a Japanese parallel to permaculture that uses no tilling, no chemicals, and not even pre-prepared compost. Doing this in Japan starting in the 40s and well into the 70s and 80s, Fukuoka was able to actual have yields that rivaled those of even the most chemically intensive farms in Japan. Also make sure to check out my small review of Fukuoka’s The One Straw Revolution on LaFarm’s Bookshelf.
Since he was very much about doing the least work for the most gain, we gave his name to our field of perennials.

Rudolf Steiner
Among this man’s many, many hobbies, he found the time to develop the idea of biodynamics a more extreme level of organic agriculture which has been both praised as amazing foresight and laughed at by others as complete insanity. The only people I know who’ve actually tried it all stand by the methods though. Just because hanging a deer bladder from a tree hasn’t been endorsed by modern agribusiness doesn’t mean it doesn’t keep pests away, and just because cow skulls aren’t in everybody’s compost doesn’t mean they don’t help aerate the soil.
We  have a small field that does very, very well which we named after Steiner, because that’s kind of how biodynamics have been working.

Gary Paul Nabhan
First person on this list who’s actually still living, GPN is an amazing farmer out in the desert who emphasizes social connections and slow money for farmers in their communities. He came to speak here at Lafayette last year about the Monarch Butterfly Crisis, and found the time to make it out to look at our two humble acres. Since he’s so well known for keeping high organic matter in his soil (Seven Percent! Seven Percent! That’s astounding!!) we gave his name to a field that we’ve kept well maintained with cover crop and has more organic matter than most of our others.

Ruth Stout
Gardening in a similar tradition to Fukuoka, Ruth Stout was a proponent of “no-work gardening.” She was very actively part of the gardening scene for much of her long, 96 year life, and gets major respect from us for starting the roots of much of no-till farming in America in response to not wishing to be reliant on men to do the plowing before she could plant, or waste her own time doing what wasn’t necessary in the end.

Will Allen
The founder and leader of Growing Power, an urban agriculture group dedicated to helping feed Chicagoans with sustainably produced food, Will Allen is an important name in the local sustainable food discourse for all his great work. He focuses on equity (being a black man in an inner city, it is understandably a very salient issue for him and Growing Power), solving one problem at a time and not letting discouragement stop you, wisdom I think we could all follow. We named the closest plot to our entrance after this former professional basketball player, to remind ourselves that what we’re trying to do starts at the grassroots level, just like Allen did.

Joel Salatin
An expert in animal husbandry without using unsustainable practices, and well known among LaFarmers as the author of Everything I want to do is Illegal, Joel Salatin is a great farmer who is quick to point out the problems of big farming and the unnecessary obstacles facing local farmers.

Sandor Katz
Perhaps most well known for his ideas about wild fermentation, Sandor Katz is an openly gay culinary author who is well respected for his skill and innovation, and gains major props for being one of the Radical Faeries trying to shake up the establishment.

Wendell Berry
Although his Agrarian Populism is problematic in many respects (see the book Agrarian Dreams on our bookshelf for details on what I mean by that), we had to give a spot to the famous poet-farmer Wendell Berry. He’s been a voice for the alternative agriculture movement since the 1960s and 70s when he challenged USDA secretary Earl Butz in his support of big, chemical agriculture.

Karen Washington
If Will Allen is the face of urban farming in Chicago, this amazing woman is the face of urban farming in New York. She studied at the Center for Agroecology at the University of California Santa Cruz and took her skills back to the Bronx. She helped urban gardening in New York greatly with her aptly named Garden of Happiness.

Crop Rotation

It’s an ancient tradition to rotate crops, because it didn’t take modern science for farmers to realize that growing the same thing in the same place every year wasn’t working so well. It’s widely accepted now that the longer your crop rotation, or the more time between growing the same family of plants in a specific place, the more healthy and balanced your soil and plants will become. There’s also generally accepted principles of which plant families “follow” each other best. Like onions work well following potatoes, and potatoes follow brassicas, meaning that each year it’s best to plant onions where last year there were potatoes and potatoes where there were brassicas, etc.

These things aren’t ironclad rules at all, and some people still say tomatoes do best if you don’t move them, but much of the reason crop rotation is really effective is the way different plant families interact with the soil. So corn for example, guzzles nitrogen from the soil, but legumes (beans, nuts, peas, clover grasses) take nitrogen from the air and store it in the ground, so they can replenish what the corn takes (or leave a good deal for the corn to eat up.) Other plants need other micronutrients (like Phosphorus or other metals) in higher amounts so they’ll do better in other places.

And there’s the even more pivotal result of crop rotation: pest and disease control. Growing tomatoes in the same place year after year, you’re bound to get some nematodes that love not having to move to find more roots to munch. And try keeping your squash anywhere near where cucumber beetles have been, or your potatoes in a place the Colorado Potato beetle knows to look. Devastation would result! And usually, just moving something 10 or 20 feet away will actually confuse bugs enough that they don’t find their food and die off.

We have a very good 10 year rotation plan (meaning nothing will be back to the same plot until it’s been 10 years since the last time they were there.)  That’s thanks to the wonderful planning and foresight of our garden manager Sarah, with some help from Eliot Coleman’s New Organic Grower. In the book, Coleman details how to plan your crop rotation, what follows what best, and goes into a lot more detail than I have here.

And while we were going through this years crop rotation plan, we also happened to name all of the fields after famous agriculturalists. I will be writing up some information about each of our fields and why the people they’re named after are important in the coming weeks. Look forward to it!

-Joe Ingrao EXCEL Scholar Spring 2015