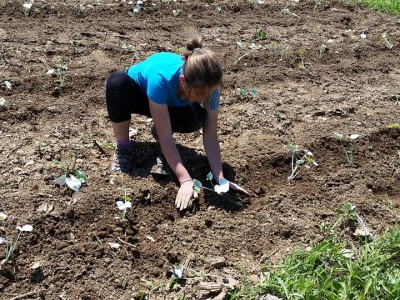
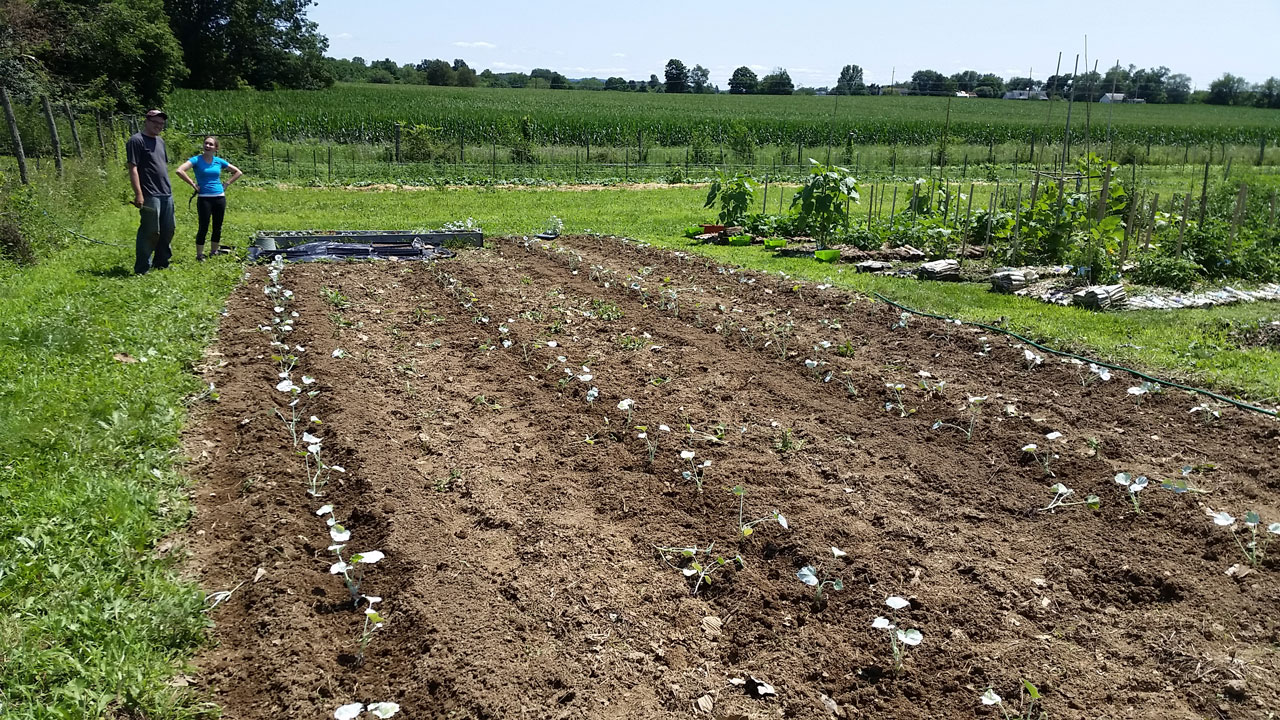
Hello Farmers and Gardeners!
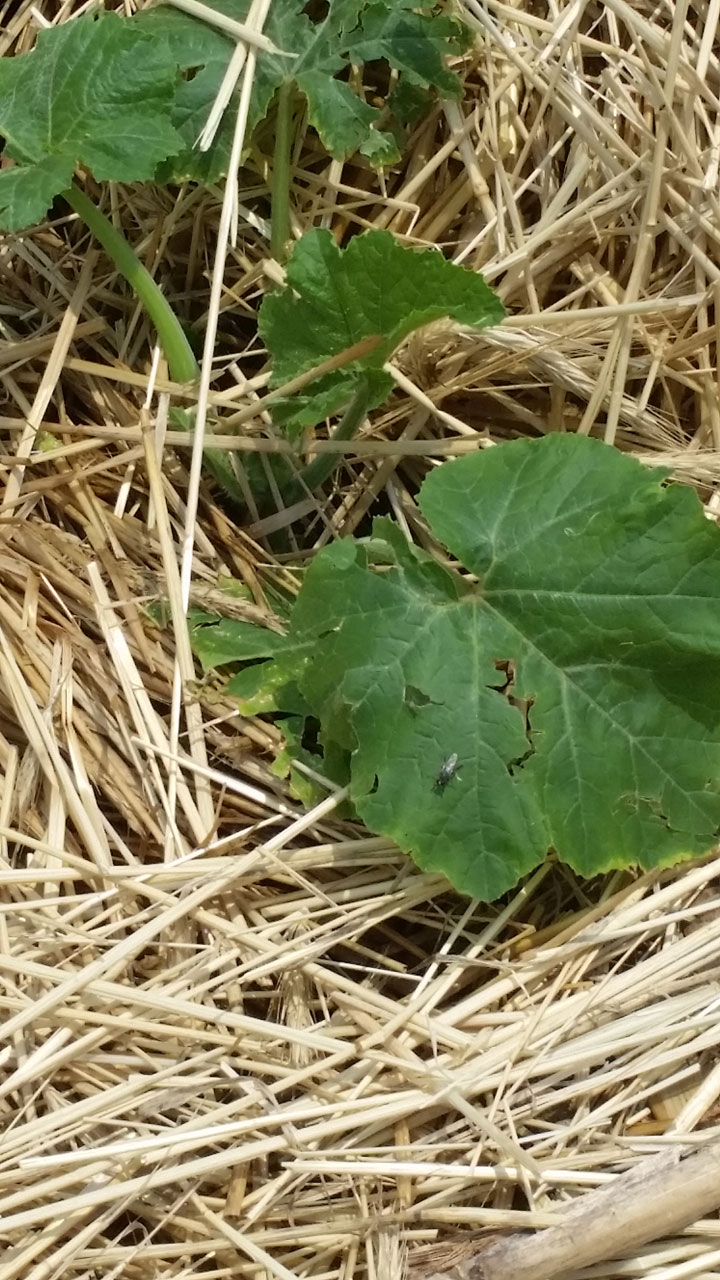
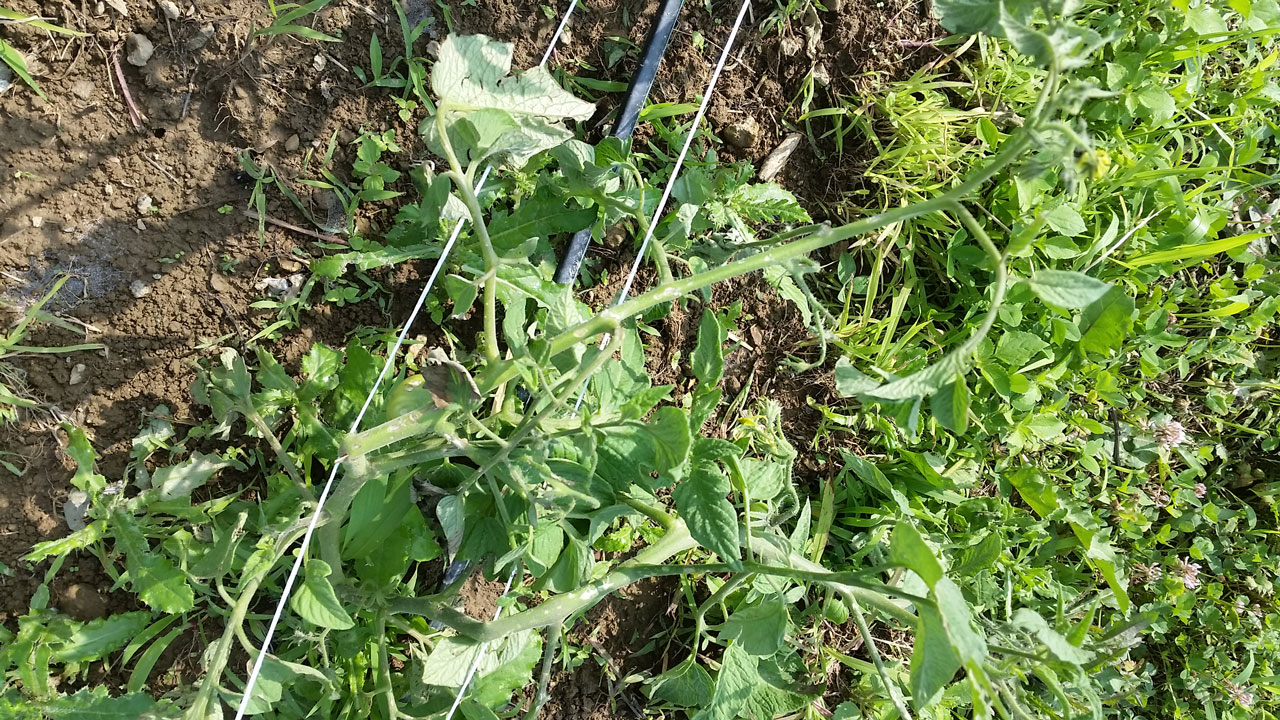
Some say that tomatoes are groundvines, meant to crawl all over the place. But tomatoes on the ground yield less, cannot get weeded, and in our region get all sorts of diseases from their leaves being in contact with wet soil. So although there may be proof that tomatoes evolved to be groundvines (the way that the stems will grow roots if they’re in contact with soil for example,) as stewards of human-controlled ecosystems we need to recognize that in the context of modern American farms and gardens, it’s best to trellis tomatoes.
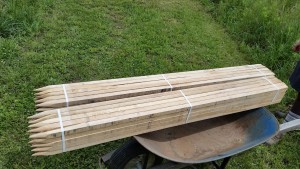
Our 5′ wooden stakes. In retrospect, we should have bought 6′
There are many ways to trellis tomatoes–trellising is just the process of giving the tomatoes a structure to keep them upright, and I can think of a million ways to do that. Gardeners can get pretty creative with their trellis work if they only have to take care of 10 or so plants (or use nice, reusable metal tomato cages for a simpler path,) but with upwards of 700 row feet of tomatoes on the farm we have to use efficient, scale-able trellising techniques. Even this way there’s a lot to consider, especially as an organic farm.
Generally, you need stakes for any large row of tomatoes, and right there are a few variables. Stakes come in different lengths for different purposes, so you might want longer or shorter stakes for large or small tomato varieties. Then there’s the material to think about. Wooden stakes are much cheaper, but until recently there was no organic approved cleaner that a farm could use to soak them so they would be safe to use for more than one year (as wood is notorious for soaking up pathogens,) and even then it’s a lot more work (and outside resource input!) to reuse wooden stakes than the alternative: metal stakes. Metal stakes though, are more expensive, heavier, and generally more difficult to put in and take out of the ground. At the same time, they are easy to clean, durable, can be reused for many years, and run almost no risk of snapping during the staking process. On the farm, we have a broad collection of metal stakes of various lengths, and many wooden stakes. Some years we use a combination of both on each row, putting the metal stakes at the end and in the middle of each row to give strong anchors to our trellising; this year we used all wood stakes on several rows and all metal ones in another, and placed metal wire cages around some tomatoes in short rows we had.
Supposing you’ve decided on your stakes, then there’s still the decision of what to use between the stakes for the actual trellis. Most methods require some kind of sting or twine made of something like cotton (which is biodegradable, but not very strong) or some polymer (which will be in a landfill for a long time, but is very strong.) Again, we used a
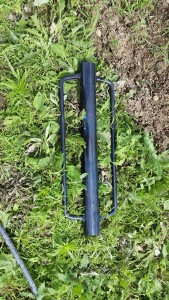
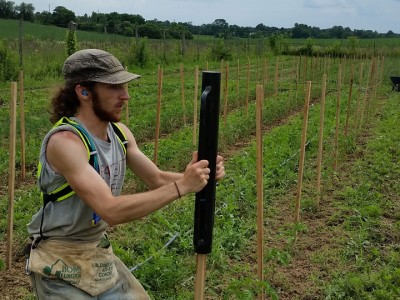
Our 20+lb stake driver
combination of different choices on various portions of our tomatoes. For many of our tomatoes we used a twine to do a Florida Weave which is a complicated technique to describe on its own. For a specific bed where we planted 2 rows, we used a completely different technique involving metal wire.
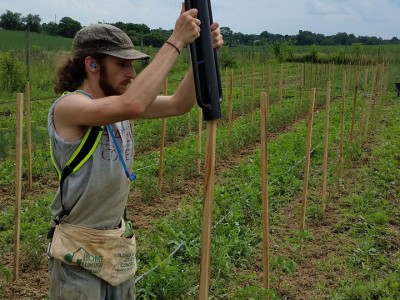
We’ll get back to that though. Before your do any trellising, you have to stake. In order to stake, you’ll need your chosen stakes, something like a mallet to begin getting them into the ground, and something to drive them with. This year, we have a nice powerful stake driver for that job, but it’s possible to use the capped end of a pipe (very, very securely capped) or even a sledgehammer if you’re desperate.
One person with a mallet goes along the row with the stakes and places them upright at the correct spacing. It’s important to make them upright or the tomatoes will follow the leaning, and the correct spacing depends on how close your plants are, how many stakes you have, and how you’re going to trellis them. We go every 2-3 plants, 2 on our rows with 2 ft spacing and 3 on our rows with 1.5 ft spacing for our Florida Weave, and we went every 3rd plant for our metal wire method. The leading person uses the mallet to get the stake somewhat in place, and then a person follows with the stake driver to really get them into the ground (I made sure to wear ear plugs for this part because the stake driver makes sharp, very loud dings.) Metal stakes usually have a little t-bar that should be buried, and wooden stakes should just go into the ground by at least a foot or two (which you should take into account when purchasing!)
-
-
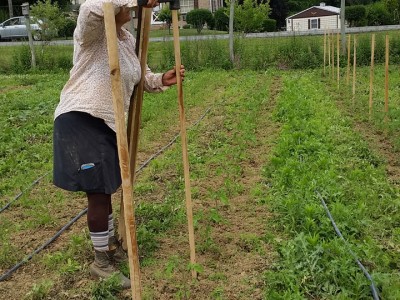
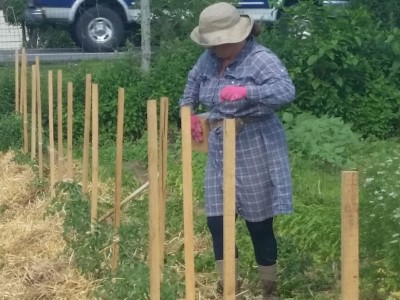
Sarah, going along the row with a mallet to put the stakes in a straight line, perpendicular to the ground
-
-
The proper technique for using a stake driver this heavy is to guide and let it’s weight do all the work
-
-
Just make sure the stake is straight up and not about to snap in half!
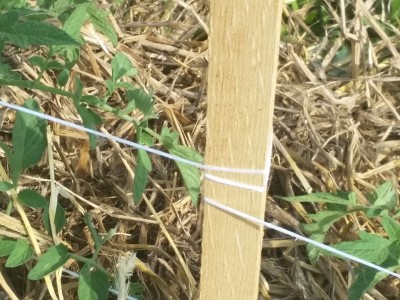
Then it’s time to trellis. Florida Weaving involves a box of twine and potentially a short piece of PVC pipe to help guide the twine. For each of your newly staked rows, you take your twine and run it in a horizontal line about 1 foot off the ground, circling it very tightly around each stake and keeping the twine taught, and then back the other way at the same height, tying each piece off at the ends. You take your tomatoes and tuck them between the lines of twine, and do it again a foot higher when the tomatoes grow taller.
-
-
Sarah wrapping the twine carefully around each stake
-
-
There has to be a lot of tension, so you should go around each stake multiple times
-
-
The tomatoes should be nestled in between the twine, you can hang them off a branch if necessary
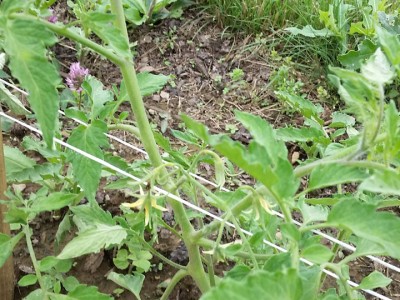
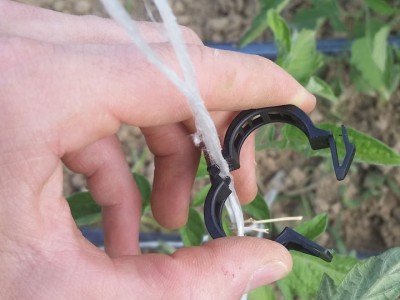
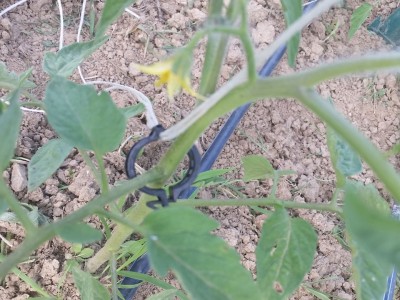
Or there’s our metal wire method. I like this way a bit better, and it actually gave us a use for some previously used polymer twine we had saved. It does require metal stakes though, because of the tension required. For this you take a roll of metal wire and run it along the tops of the stakes, wrapping it very tightly around each to make sure it’s very taught, and occasionally tying it off to increase loss in tension from overly-long lengths of wire. You want the wire so tight that you’re actually pulling the tops of the stakes toward each other every time you tie one. Once you have metal wire over the full row, you take some twine and tie a double length of it over each plant. This means you take a length of twine that goes from the wire to the ground, double it, and loop it around the metal wire so both ends get down to the ground. Then you take black tomato clips (which can be washed and reused, but sometimes break over the course of a season,) and clip each plant into the twine. Some plants that have multiple main stems will need a clip on each one (with one end of the double length of wire in each clip.) And as your tomatoes get taller, you only need to take more clips and add them higher up on the plants.
-

-
This method requires just as much tension as a Florida Weave, but you’re using a metal wire, so make sure to really pull them taught and wrap them around the stakes!
-
-
These black clips are useful for many purposes. Here, you can see that there is a nook at the joint of the clip for the strings to go
-
-
You want to place the clips right under a few branches so they get some tension, and replace them when they start drooping
-
-
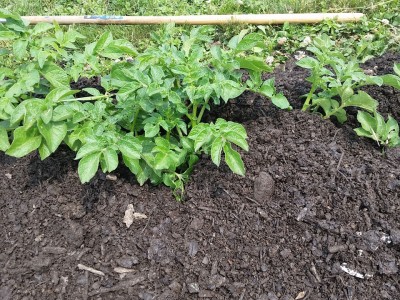
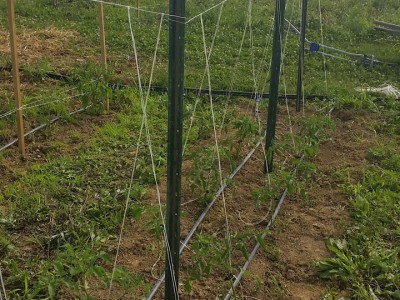
A nice finished row. These tomatoes will grow tall and happy!
That is one of the most important job on any farm that grows a good number of tomatoes. There are many more methods than those in this post, you can tell us about your favorite in the comments!
-Joe Ingrao, Summer 2015 Excel Scholar