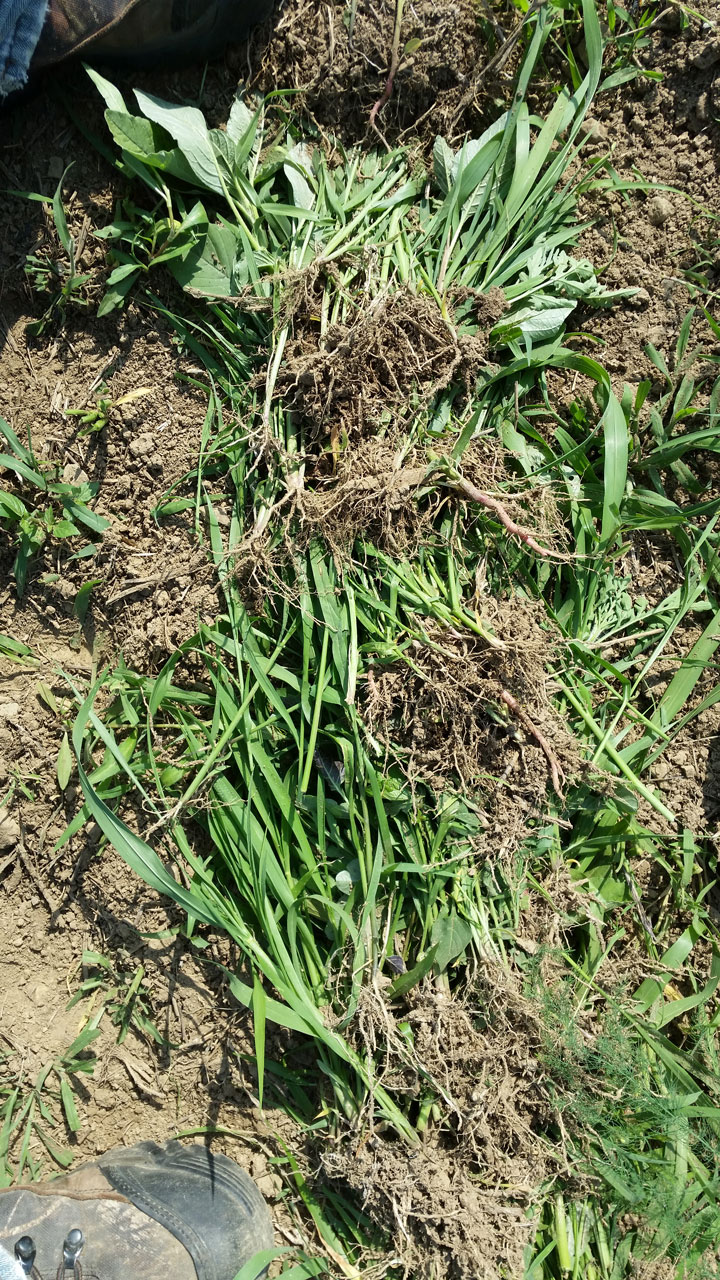
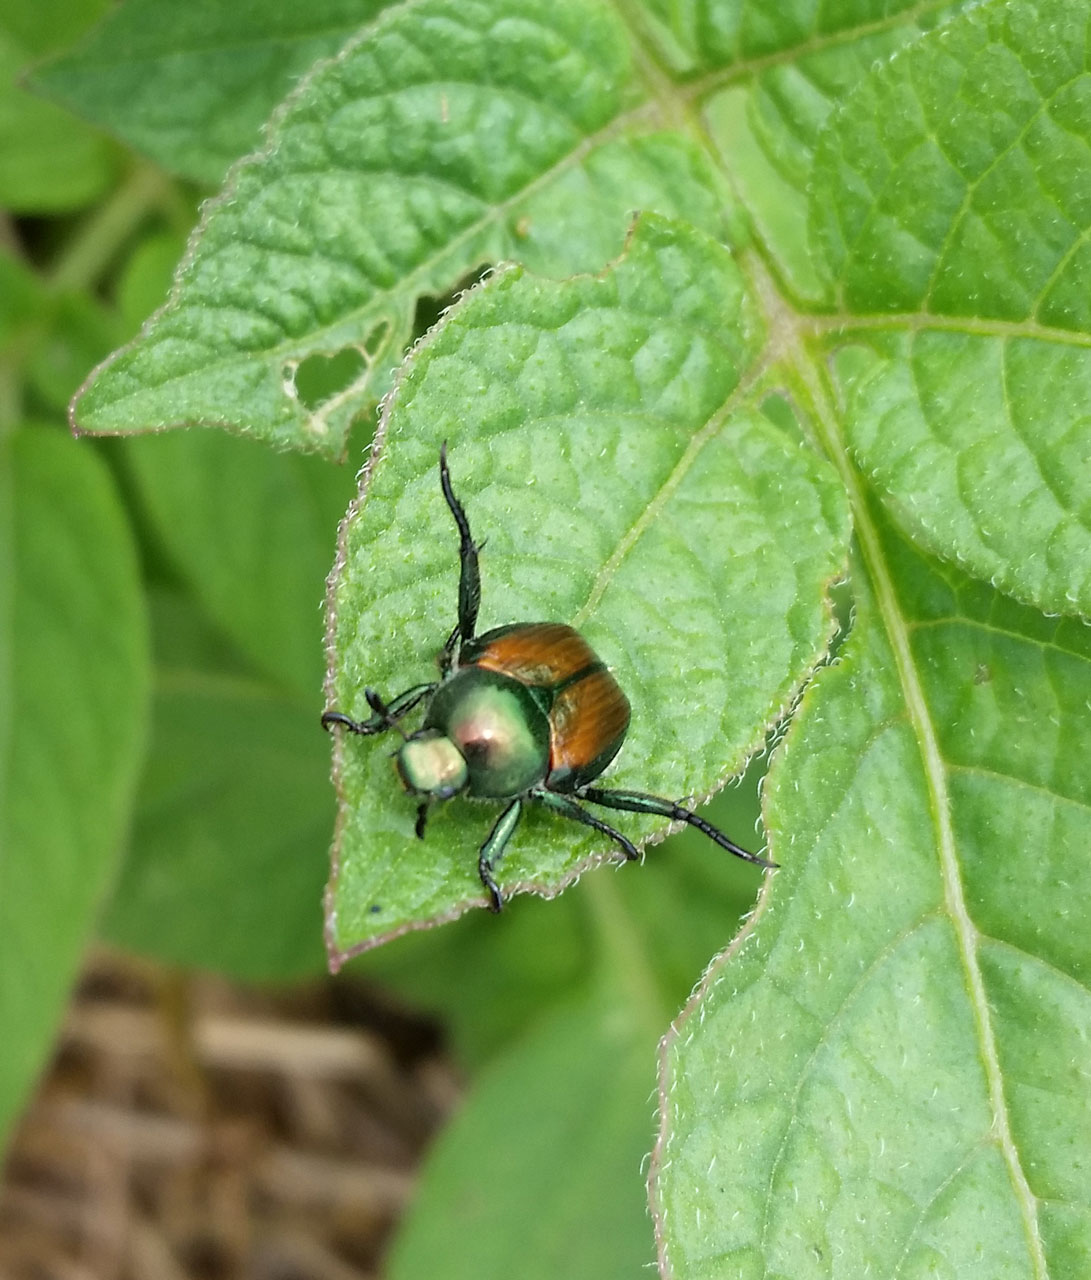
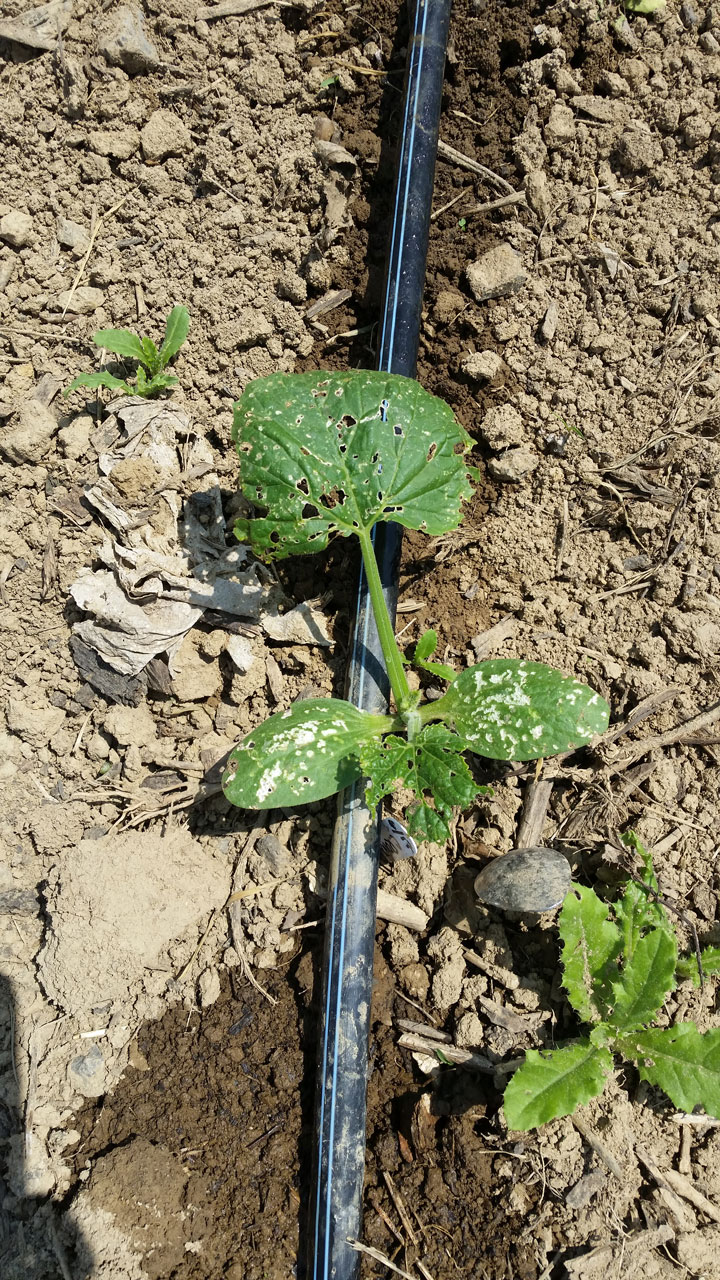
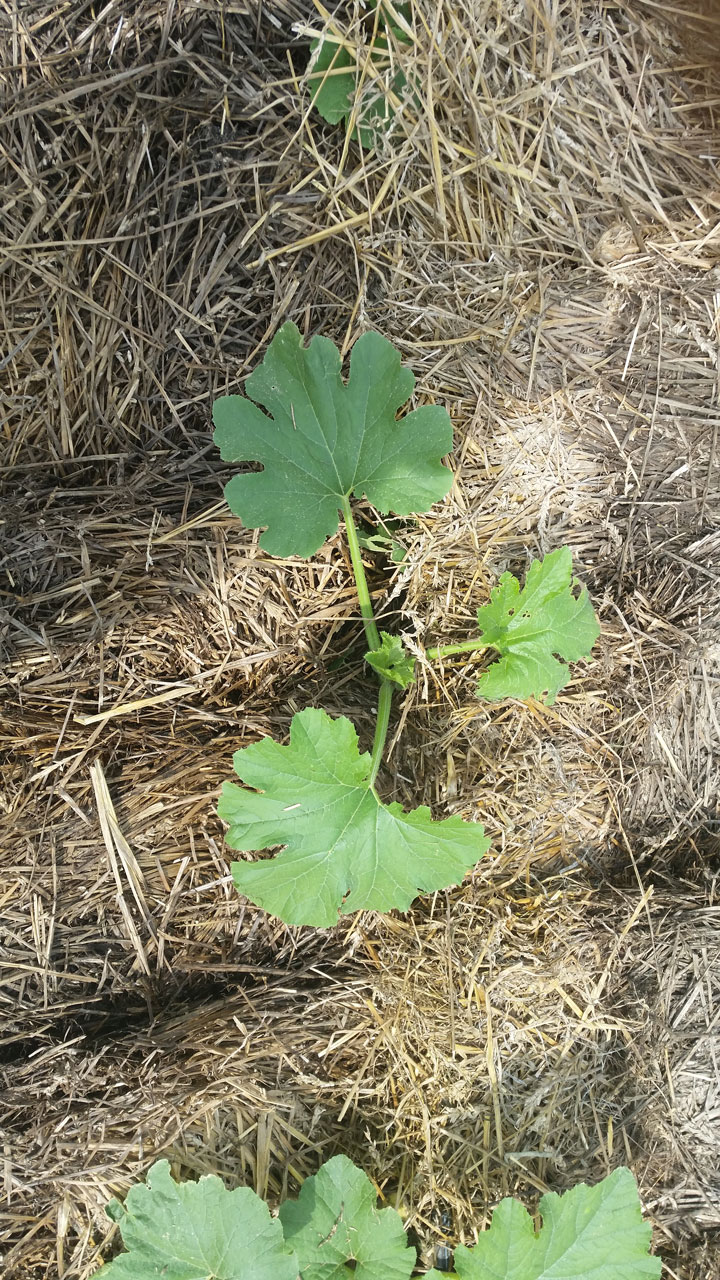
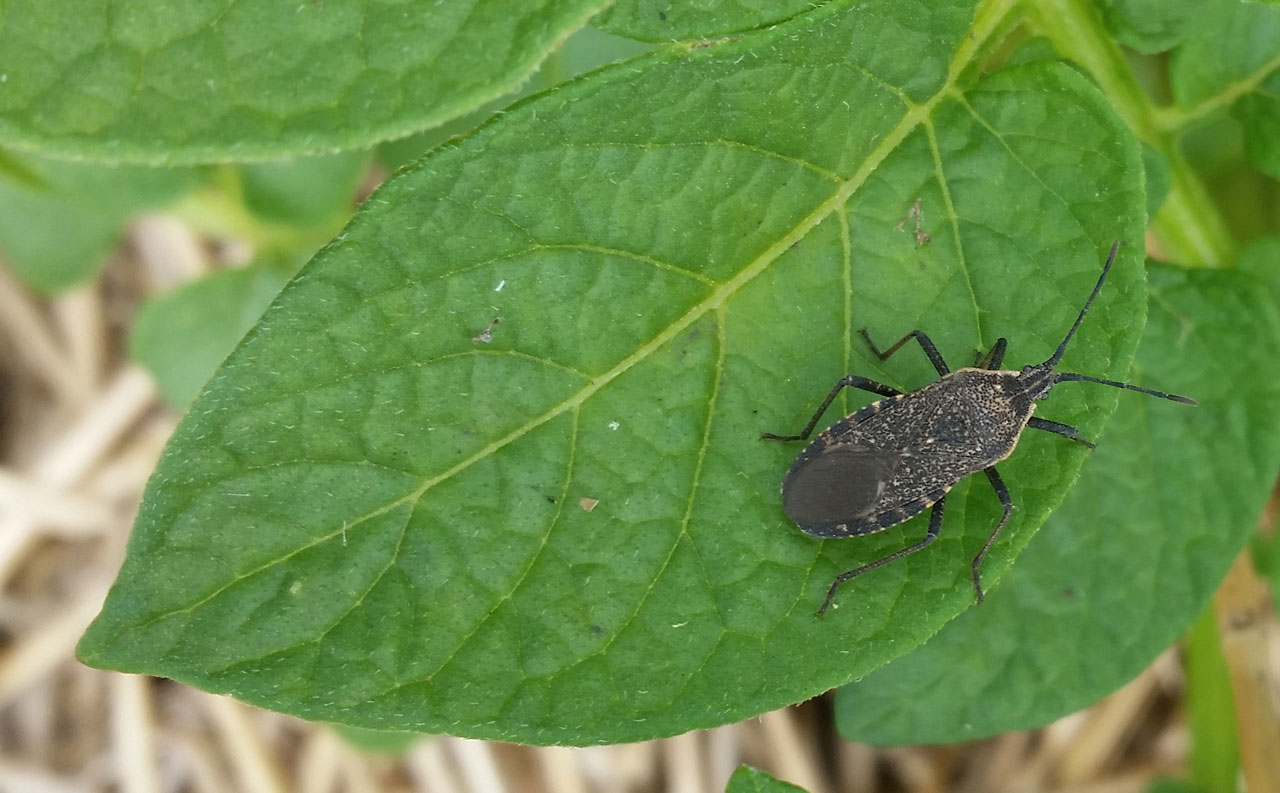
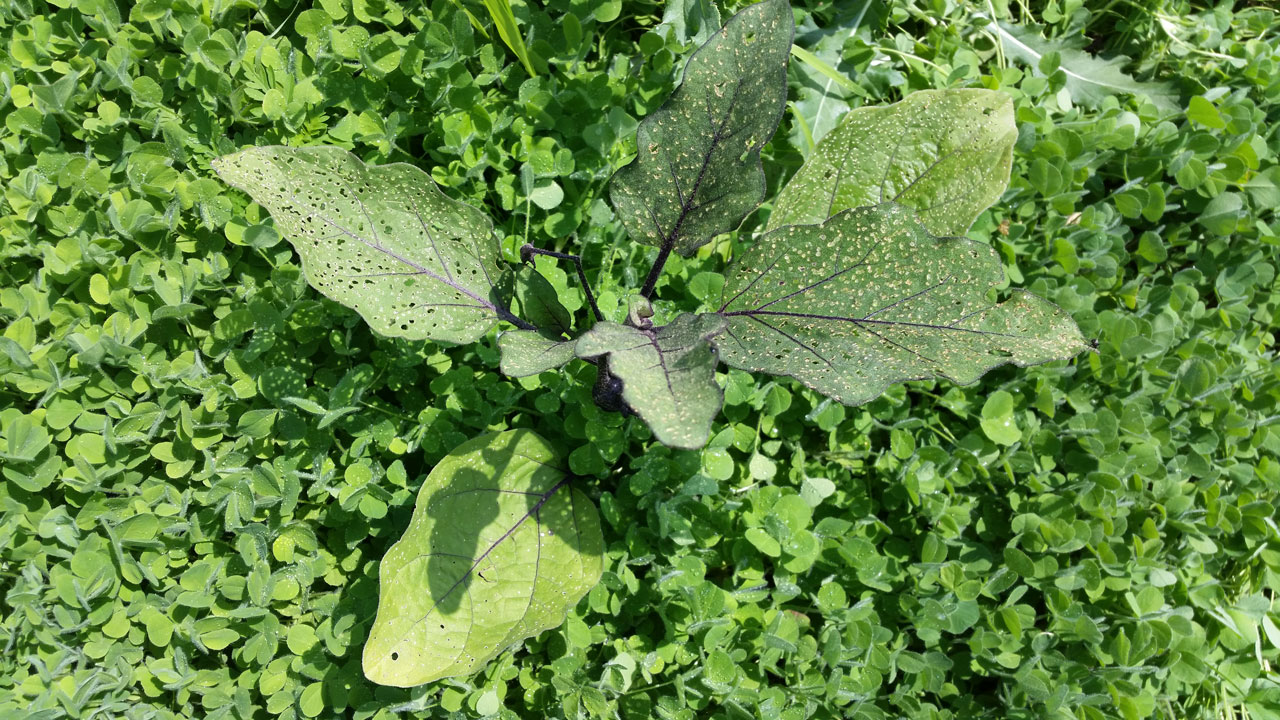
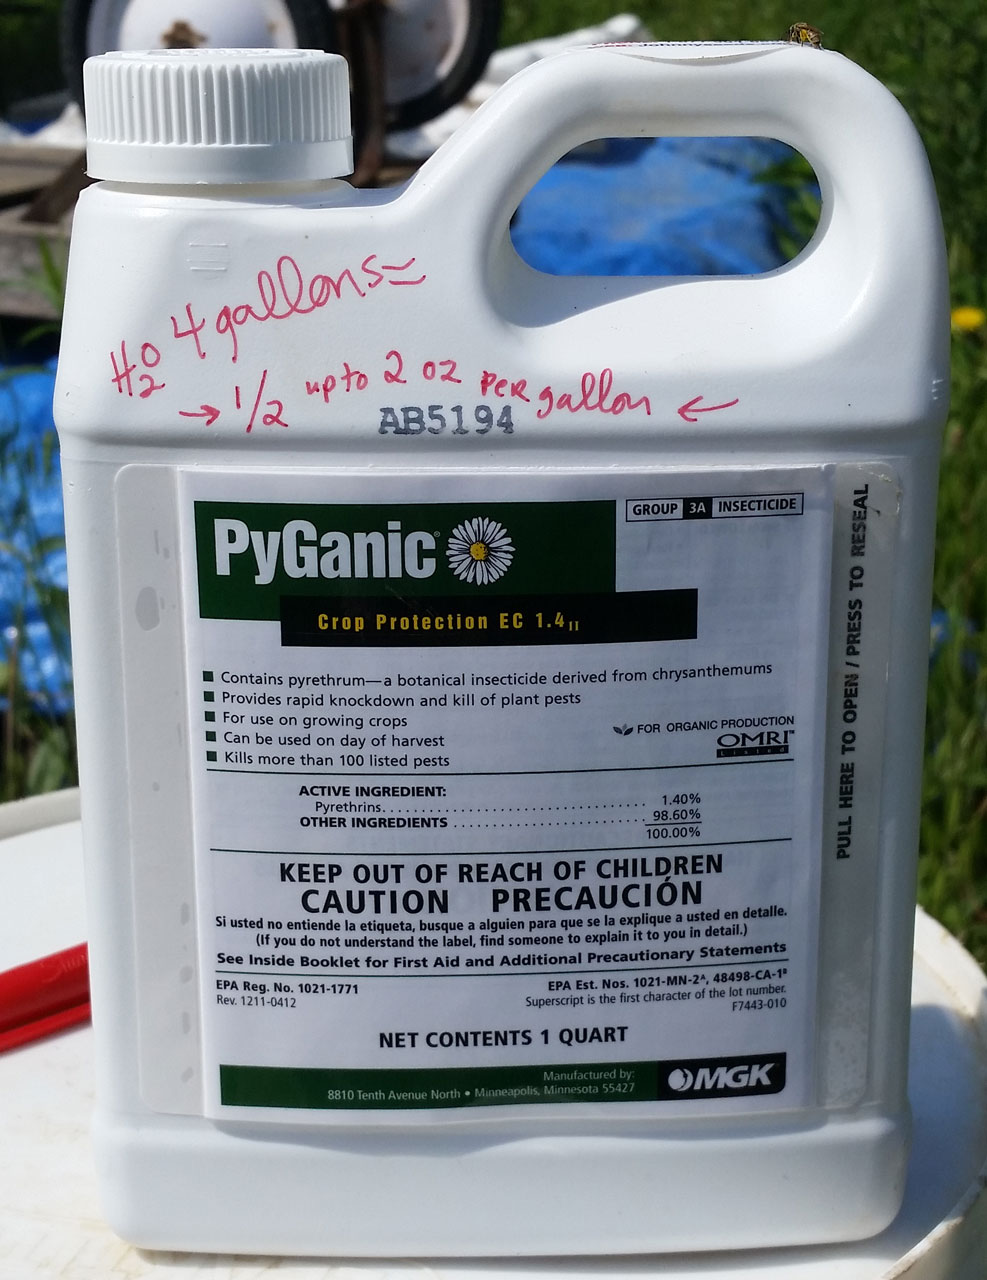
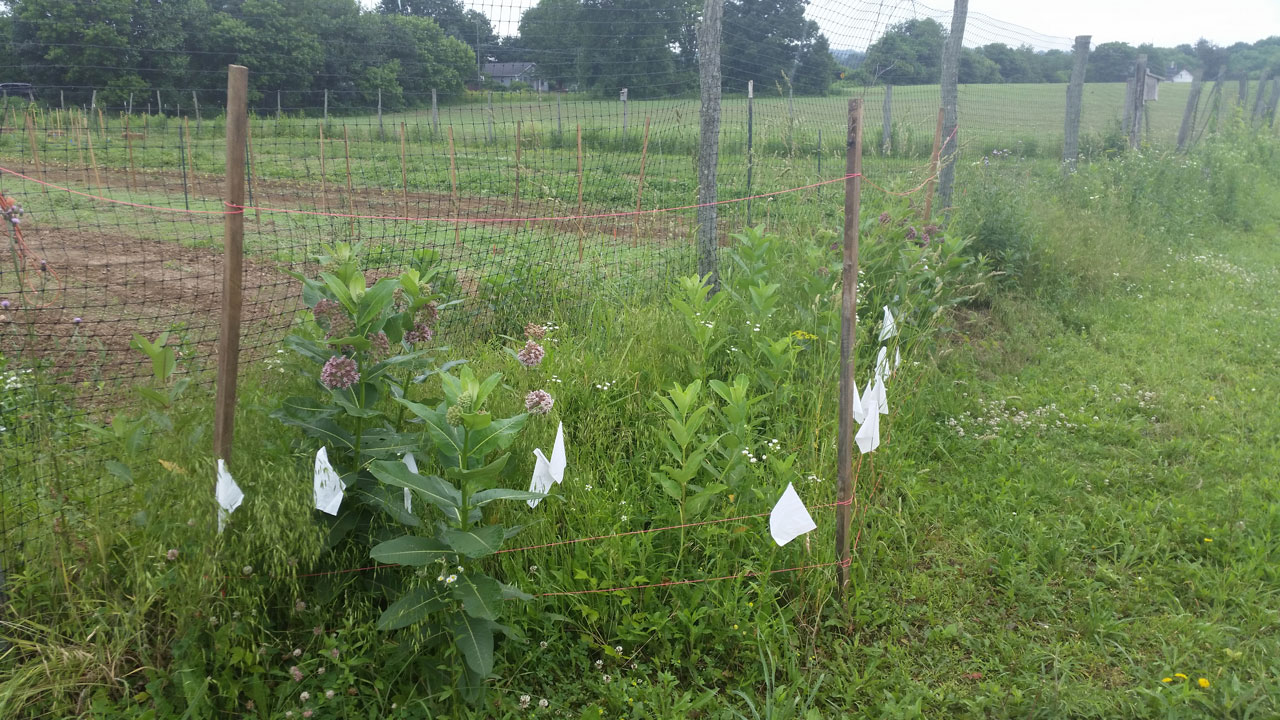
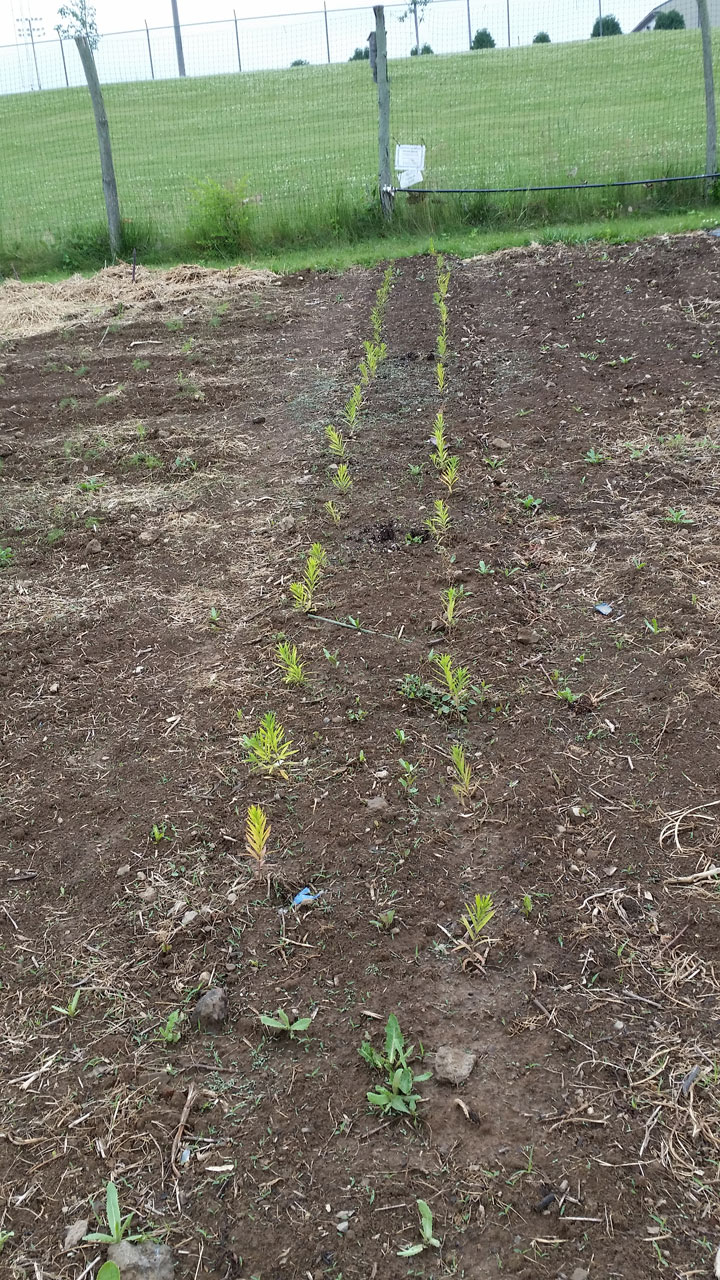
This Monday before doing anything else, Sarah led a 2 hour walk of the farm, seeing how the new crops were germinating, where we were getting weeds and where we weren’t, inspecting for pest damage, and checking which crops would be ready for harvest. This sort of farm walk is a must for small scale farmers who want to do what is needed at just the right time, instead of doing the same things on the same days every year and hoping for it all to work out.
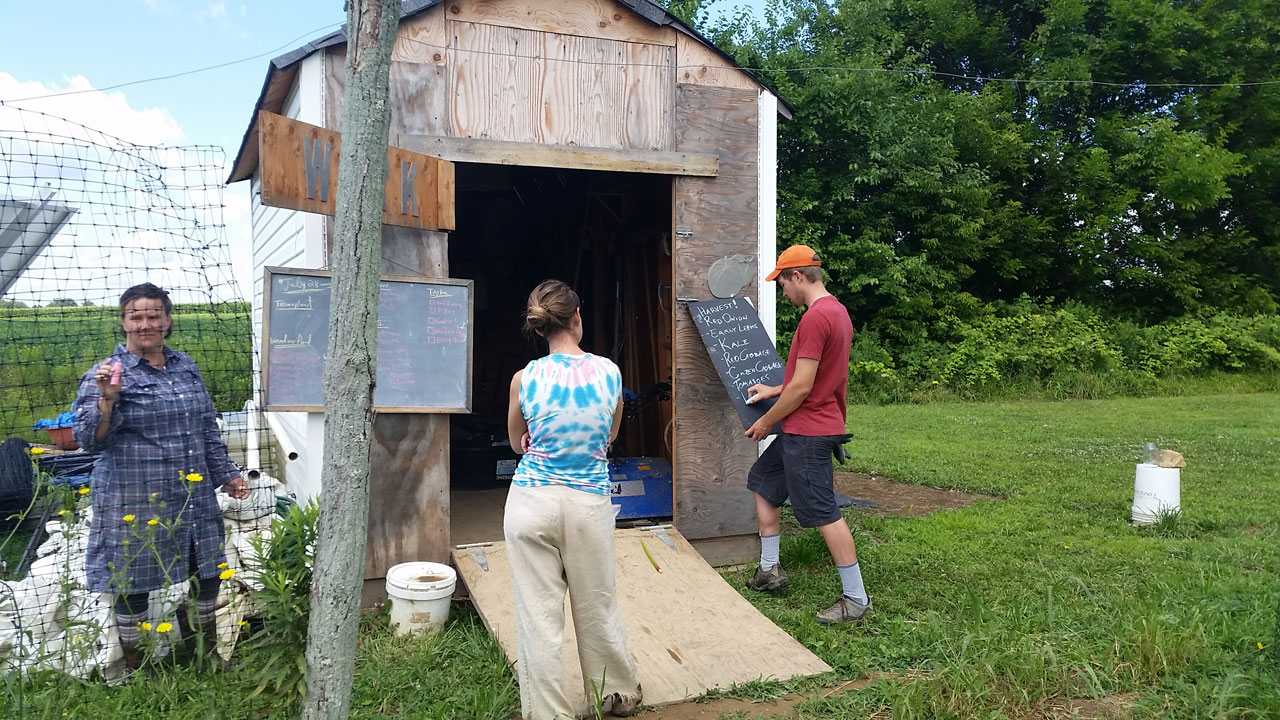
The farm crew for today (Sarah, Jenn, and Eric) talking over and writing down everything we need to do this week.
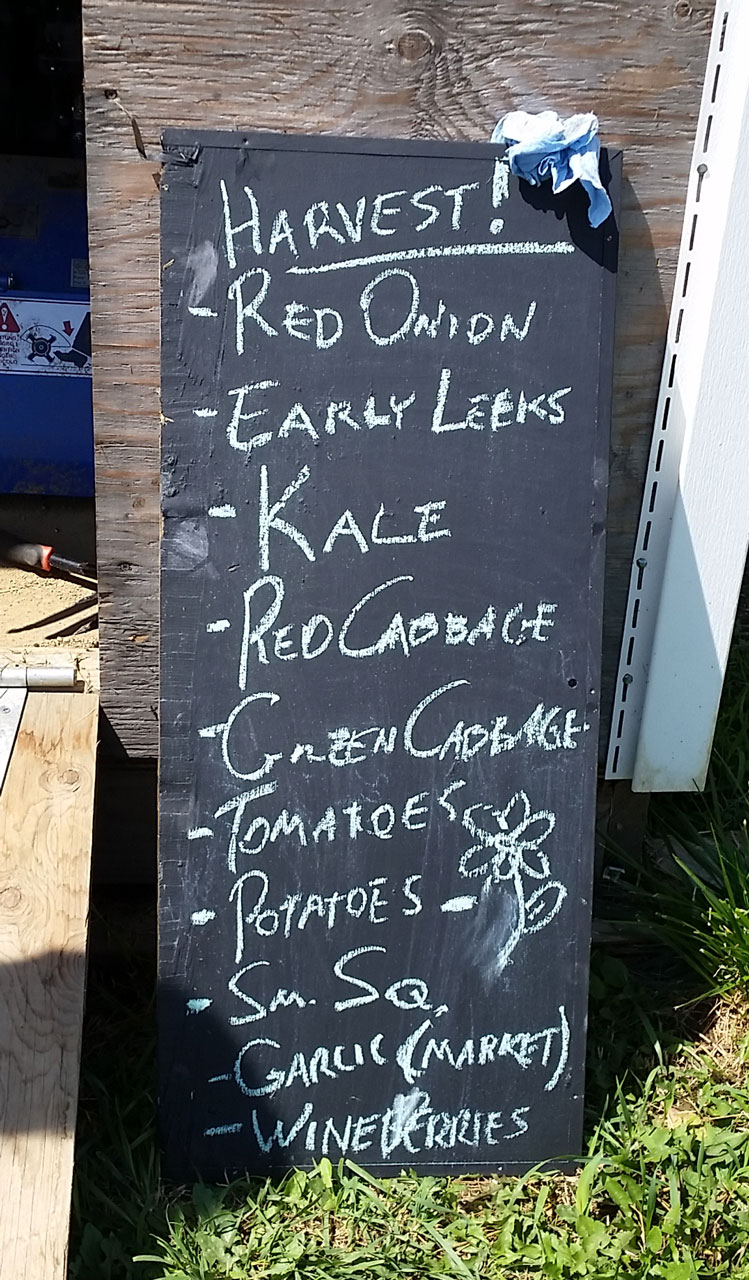
Writing down what needs to be harvested this week really helps keep track of what we’re producing.
Going around and taking note of everything that we need to do for a week is a great time and energy saver, and allows us to get higher quality produce at the same time. For us, the employees, finally seeing the attention and work that goes into planning out the week and writing up what needs to be done on our chalk board (which we hang in an easily visible place) gives us motivation to do more. At the same time, it shows us all the things a farmer must balance on their land, thinking of what needs to be done and when.
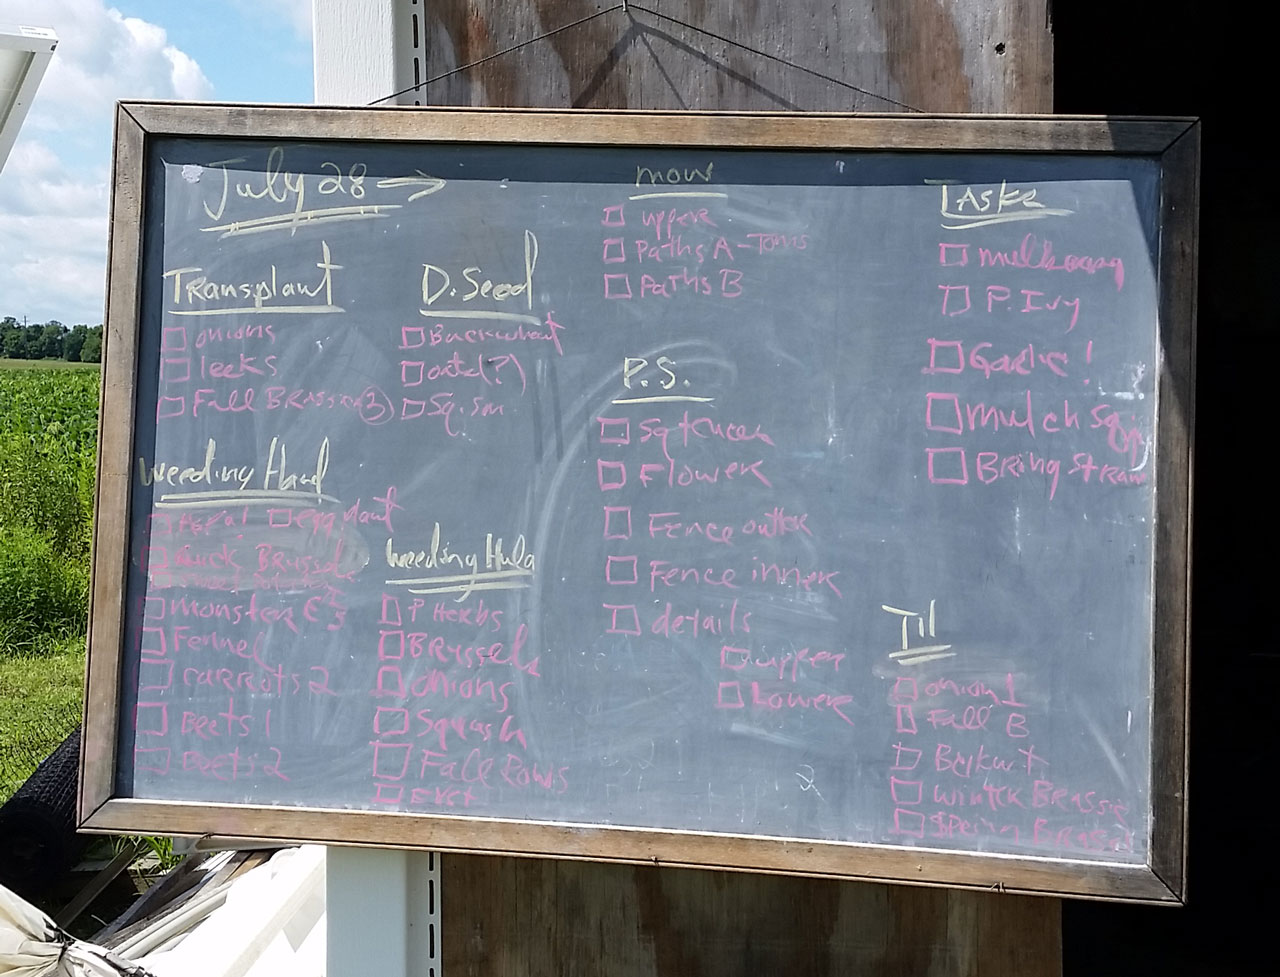
The completed to-do list for the week. Of course, we don’t hesitate checking things off, removing things altogether and of course adding things as the week goes on.
Overall, the time spent on the farm walk, which may feel less satisfying than going at 100%, 100% of the time, actually gives us more time to do what is needed, and brings us closer to the earth and the plants in both a metaphorical and literal sense. Not only do you get more of the feeling that you’re really working with the earth and your plants, but you actually understand how they work better by observing them actively rather than passively while doing some task. Some farmers do walks of their land at the end of each work day, both to review what they’ve done and plan for the next day, and at peak times in the season this may seem like a lot of extra work, but the time and crop saved is more than worth the effort.
-Joe Ingrao, Excel Scholar Summer 2014