Hey Farmers,
So we’re going to continue with the sad storm news. Although it has been two weeks since the storm, that does not mean the damage is no longer affecting us. This storm will have an impact on what happens on the farm for the rest of the season. In the overall scheme of things it will have even further reaching impacts, and I’m going to dedicate a full post later to discussing that. For now, I’m going to catalog and analyze the damage in as much detail as I can based on my experiences and what Sarah and our USDA extension agent Tianna DuPont say about it.
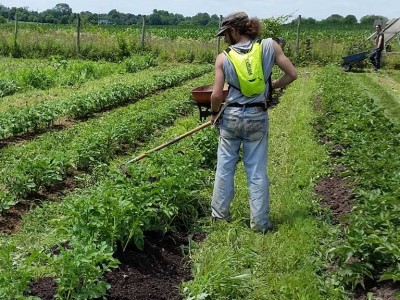
Walking out on the farm on Wednesday, already a day after the storm, I was astounded by how much had been done. On campus, we had just been told to stay inside for half an hour as the worst of the storm passed, and the amount damage that happened to the farm in that little time left me speechless. On Wednesday and Thursday, I spent over an hour just walking the field, taking pictures and notes on all the damage, afterward talking to Sarah about what the damage would mean.
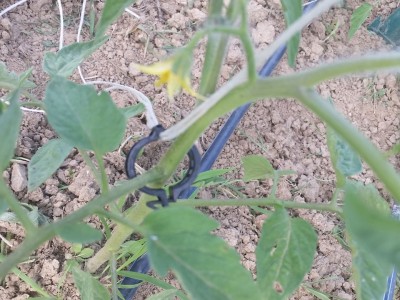
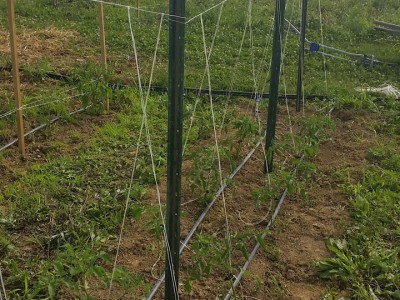
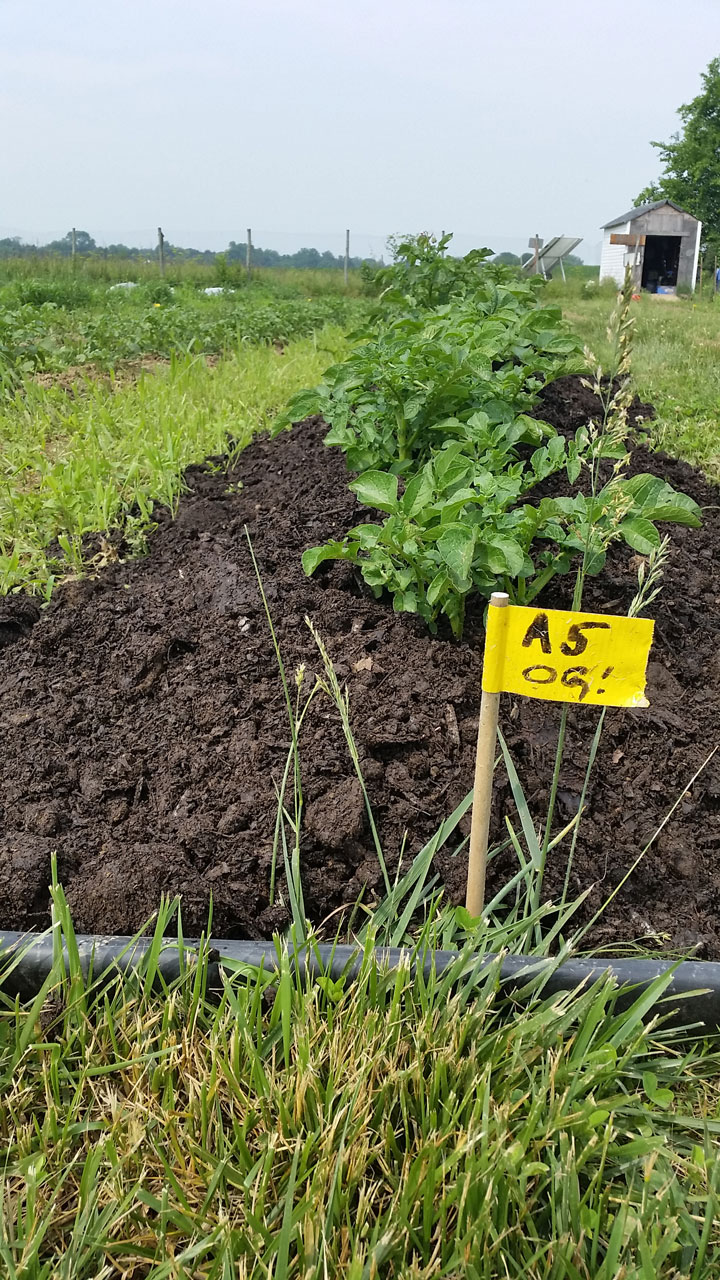
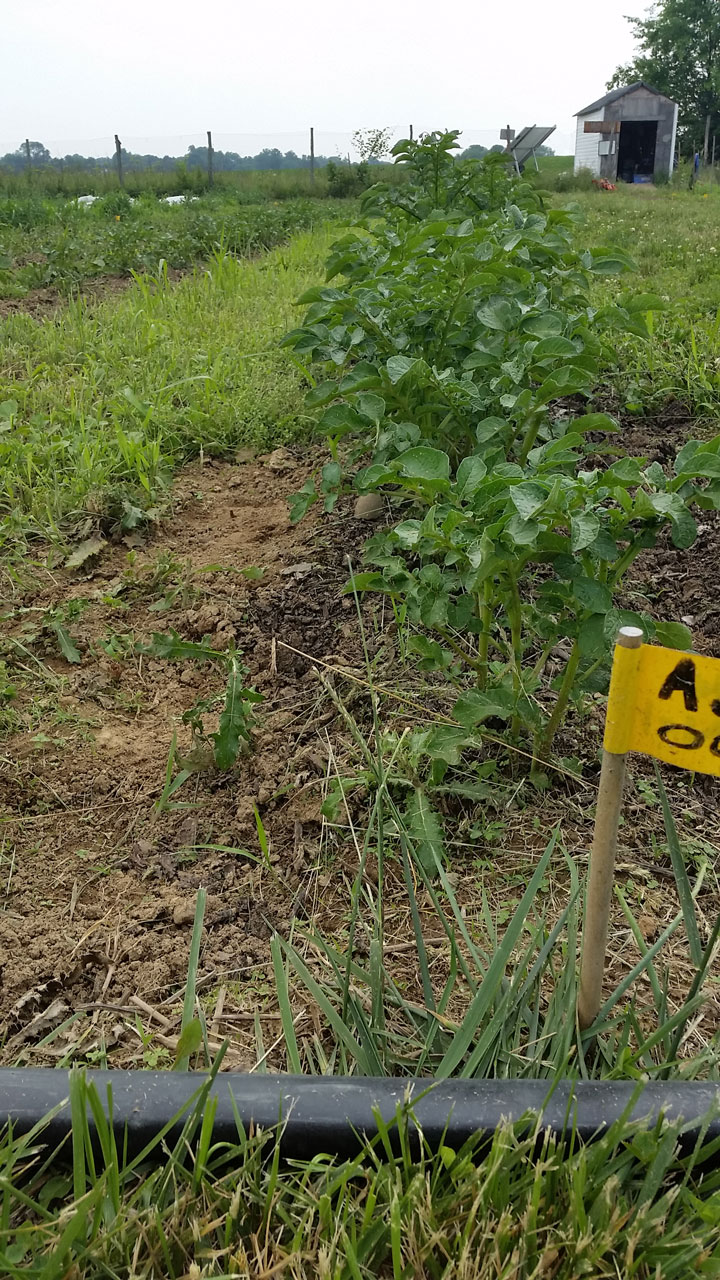
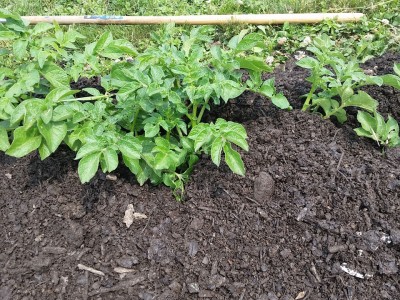
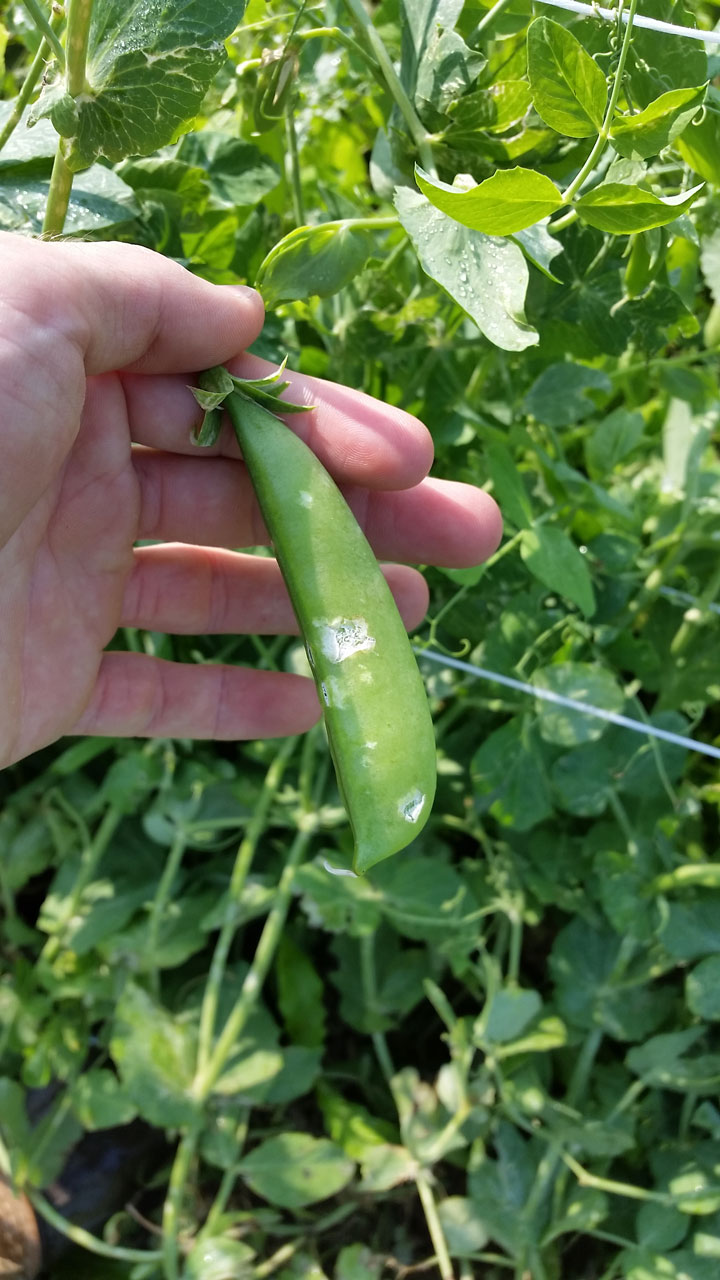
Some of the impact is obvious. The first thing through the gate of LaFarm, our onions, fall into this category, as do all our peas and a fourth of our potatoes. This damage is pretty obvious: destroyed plants can’t finish their life cycles. For our peas, the damage was absolute: broken stakes and hail damaged pea pods mean the last week or two of pea harvest was no longer feasible. Even what was on the vine wasn’t even safe to give away; hail damage to the peas would mean they would probably rot on the vine, none of it would keep long enough to be eaten. This led to hours and hours of work pulling the plants, stakes, and trellises when previously that work was going to help establish other crops. As for onions and potatoes, we could salvage what was there but a good amount of potential was lost. Our onions would have grown a significant amount more in the next several weeks, but we needed to rush to harvest and cure every onion in our northern most plot. Of our four rows of potatoes, the oldest, northernmost row acted as a wind break for the other three, but was devastated in the process. We harvested that whole row of potatoes that day and sent them to Chef John on campus, who luckily needed them that day.
-
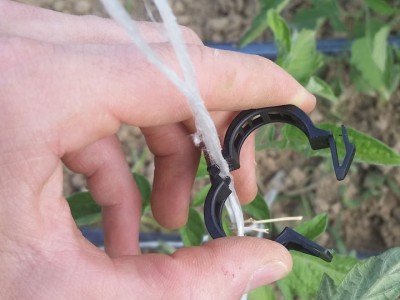
- Broken and blown over stakes in every pea bed was one of the most obvious effects of the storm, and it made pea removal both more necessary and more difficult
-
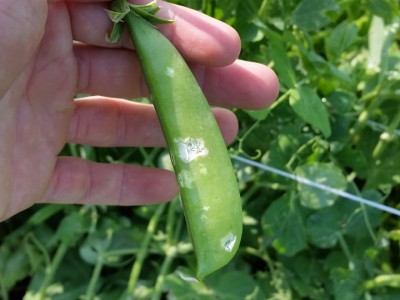
- Hail rips hols through plants more easily than you can imagine. These peas wouldn’t make it on any shelf or in any fridge with this much damage
-

- We were able to donate some of the onions before curing the rest. For multiple pictures of the damage to the onions and potatoes, see Fletcher’s post below

-
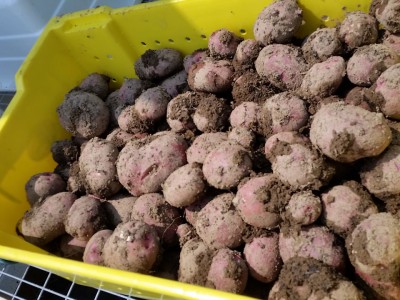
- Half of our potato harvest from the 2nd, only two days after the storm. Luckily the tubers themselves were safe from hail and wind

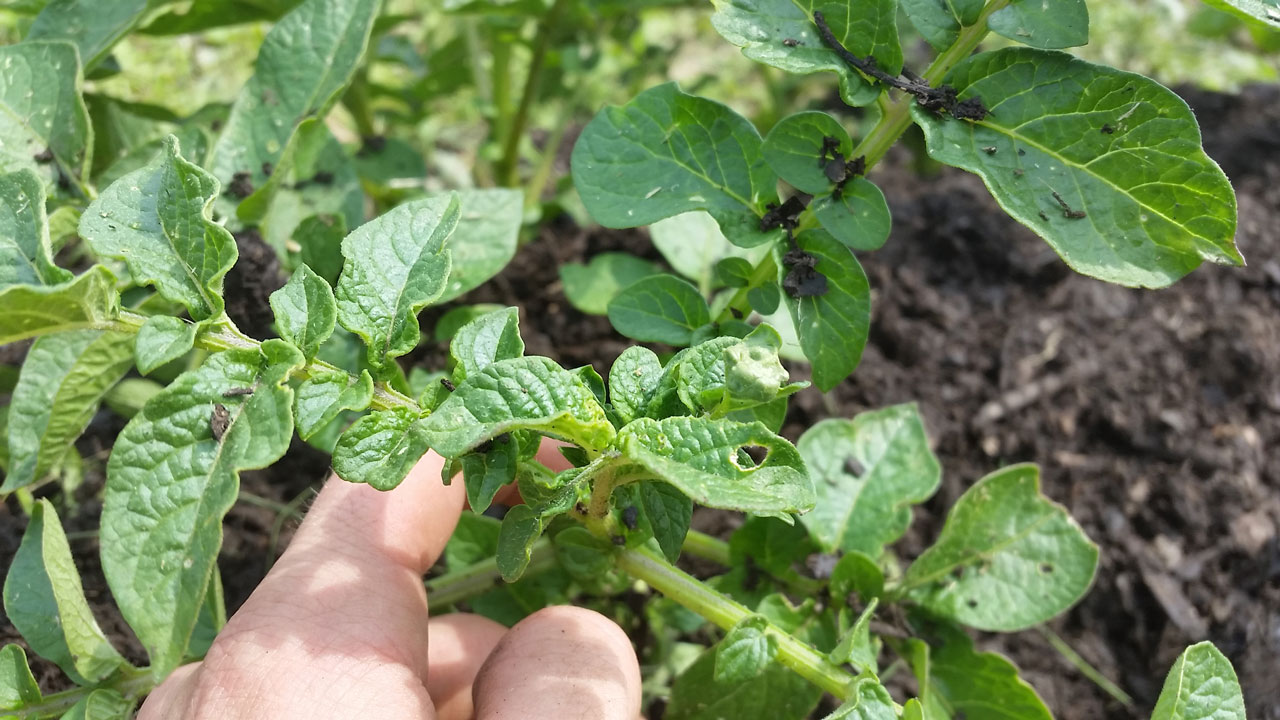
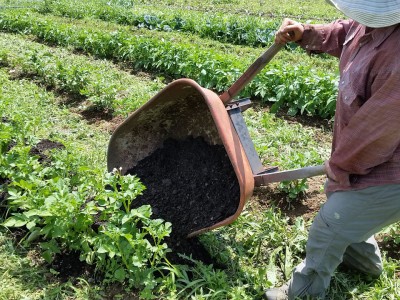
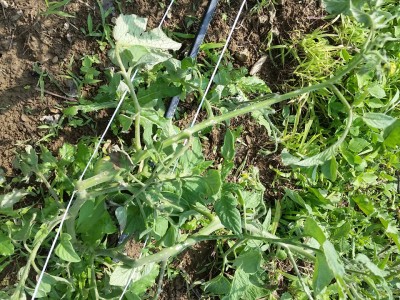
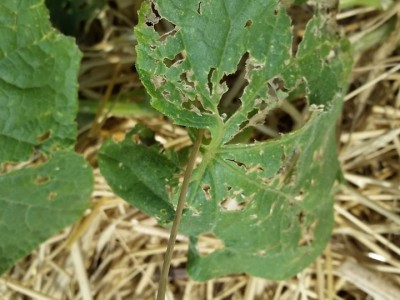
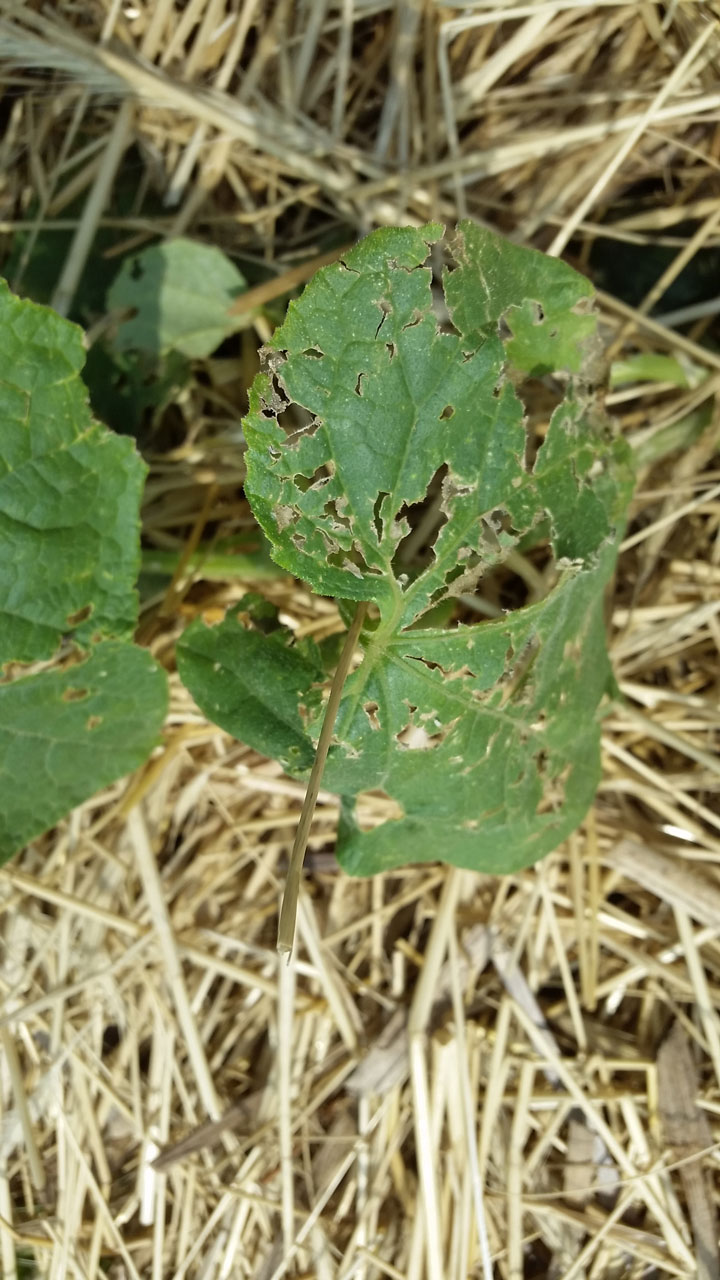
Most of the rest of the damage was less obvious, and will require more work to overcome in the long run. With these peas, onions, and potatoes, we just had to salvage what we could and rip the rest. For many of our grown but not yet producing crops, we’ll be nursing them to health for the rest of the season. USDA Extension Agent Tianna DuPont recommended to us and the other organic farms hit by the damage 5 different organic chemical treatments, plant steroids and the like, to help remediate the damage. This damage is also more uncertain in its impact. We know roughly how much we lost in time and food between the above crops, but since our other plants are still in the middle of their lives, we’ll never know for sure how much this storm took out of them. And this insidious damage comes in two degrees as well: the first is the direct damage. Trellis cages blown away, hail holes in leaves and vegetables, broken branches and stems, etc.
-
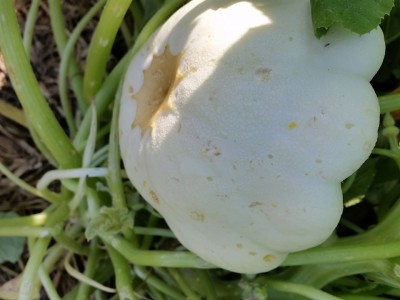
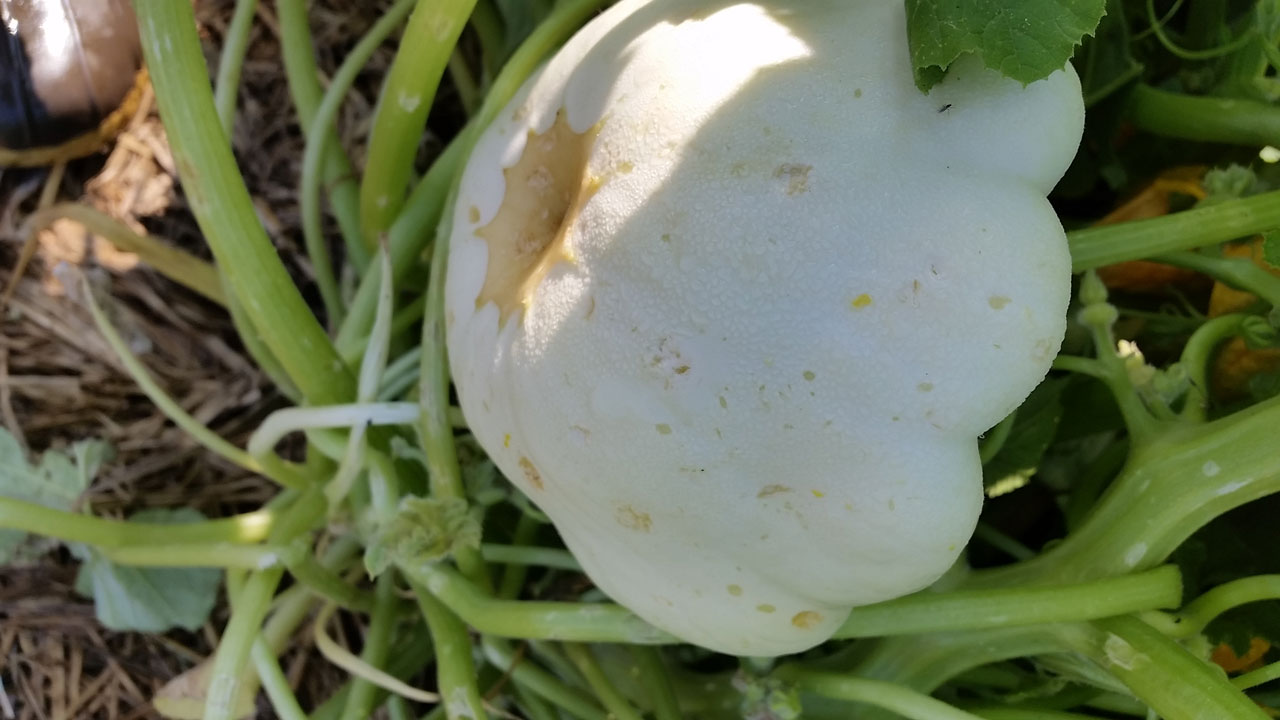
- You can see the many potholes on this patty pan squash caused by hail
-
- Our freshly transplanted winter squash, with a broken stem
-
- Winter squash. The rips in the leaves as seen here are textbook hail damage
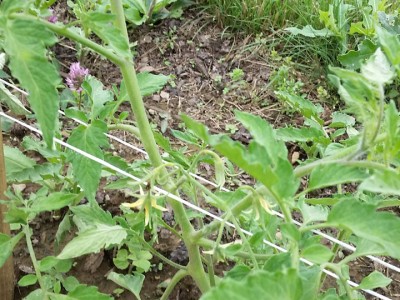
-
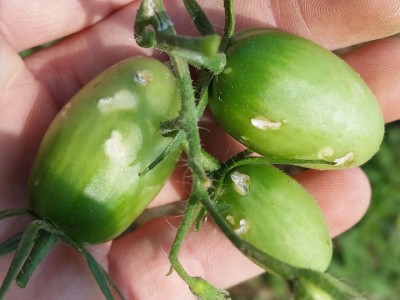
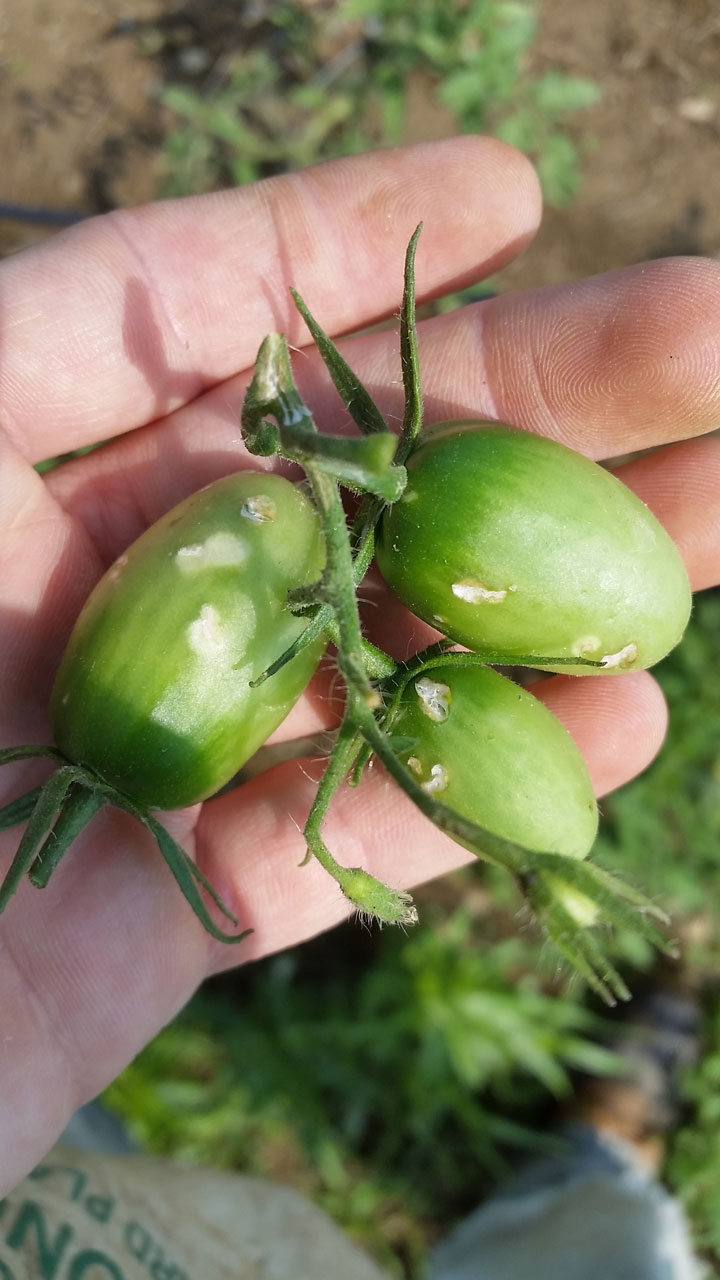
- The holes on these tomatoes make it too risky to leave them on the plant
-
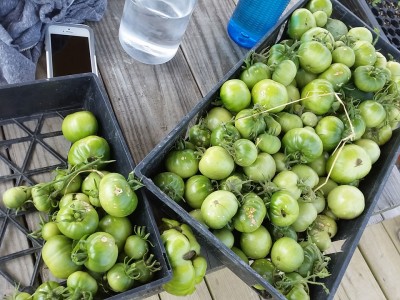
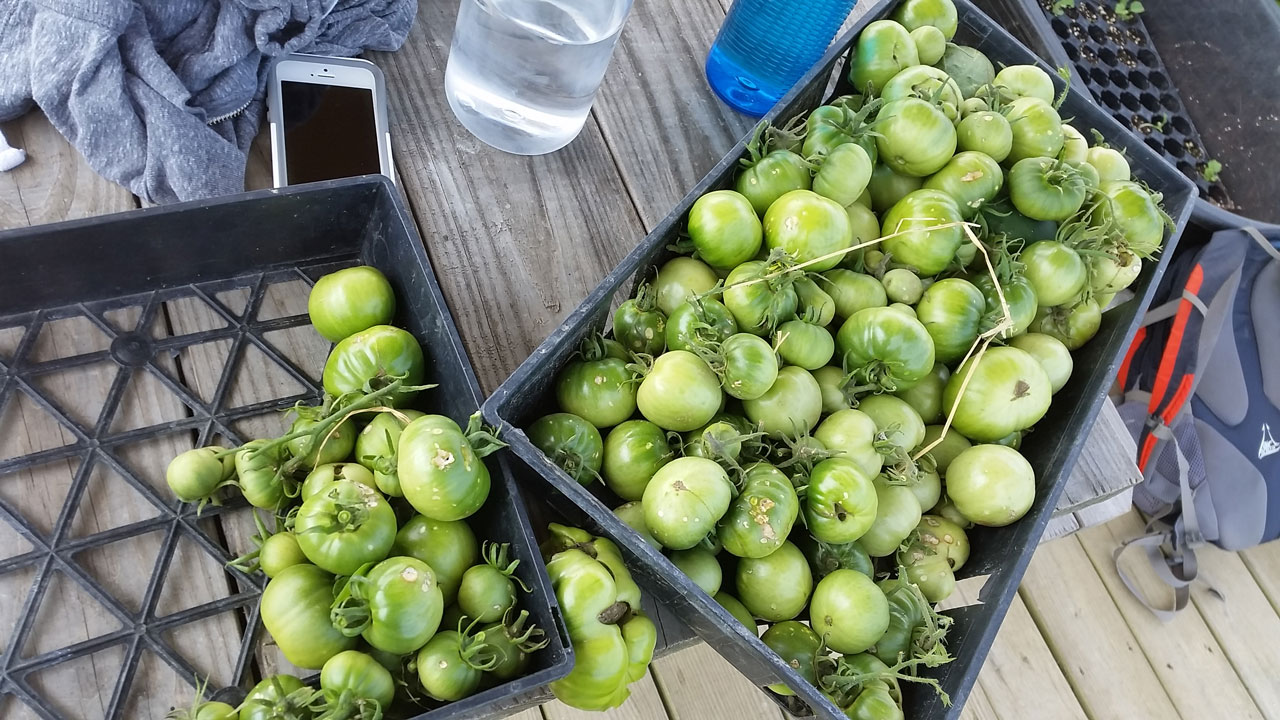
- The saddest tomato harvest. Each of these tomatoes represents wasted energy from the soil, plant, and our labor
-
- Tomatillo leaves, ripped through by hail
-
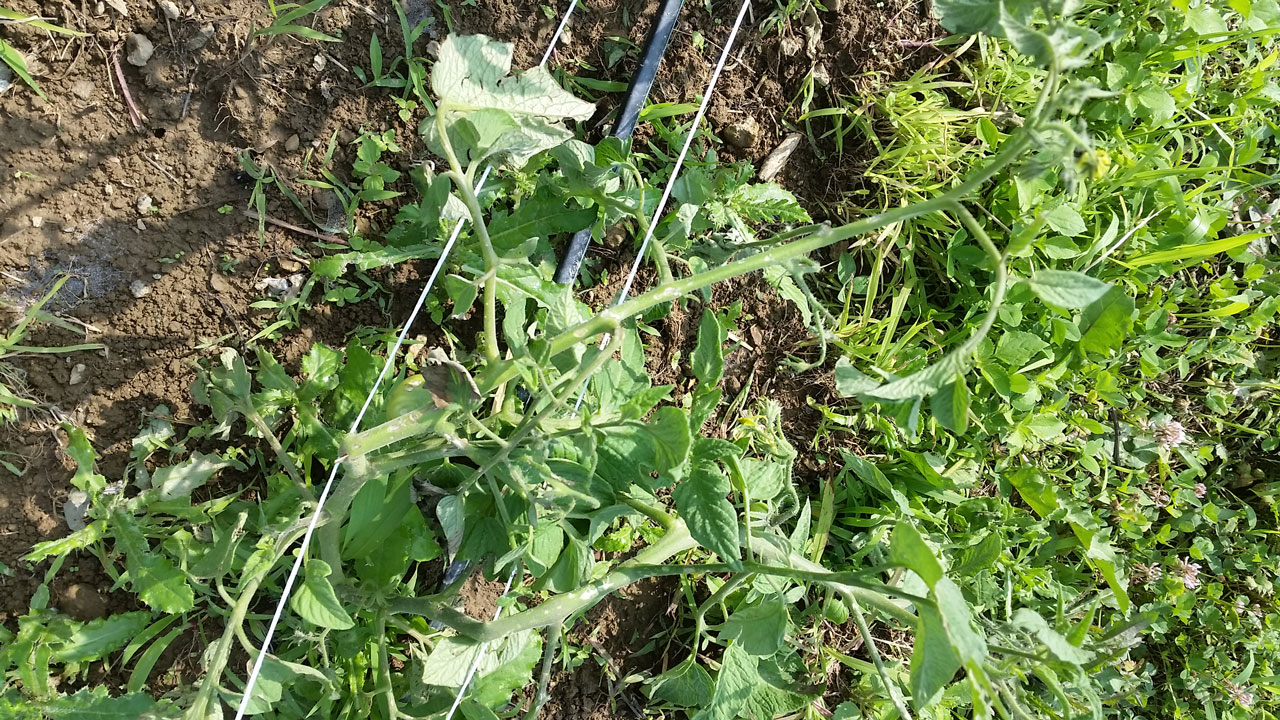
- On this tomato stem, you can see white damage spots caused by the hail, as well as bent and broken branches caused by wind
-
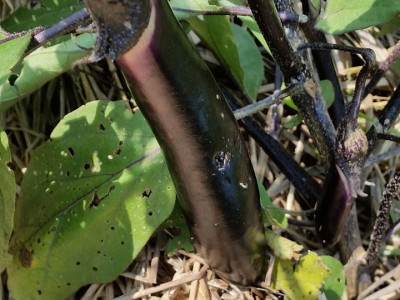
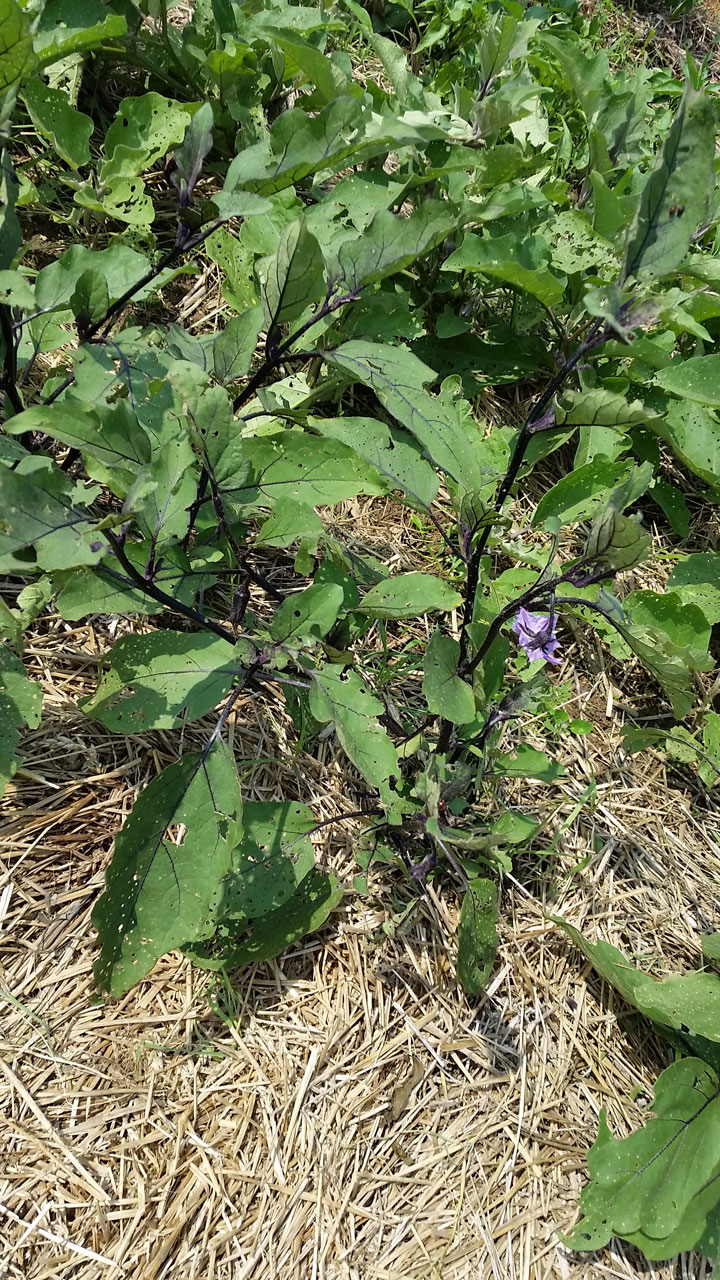
- Our eggplant, already weak from poor weather at planting time, suffers more from hail

-
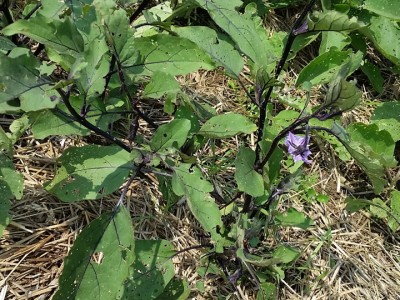
- The already bug damaged eggplant leaves were additionally ripped apart by the hail
-
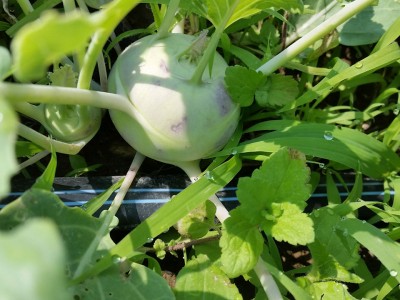
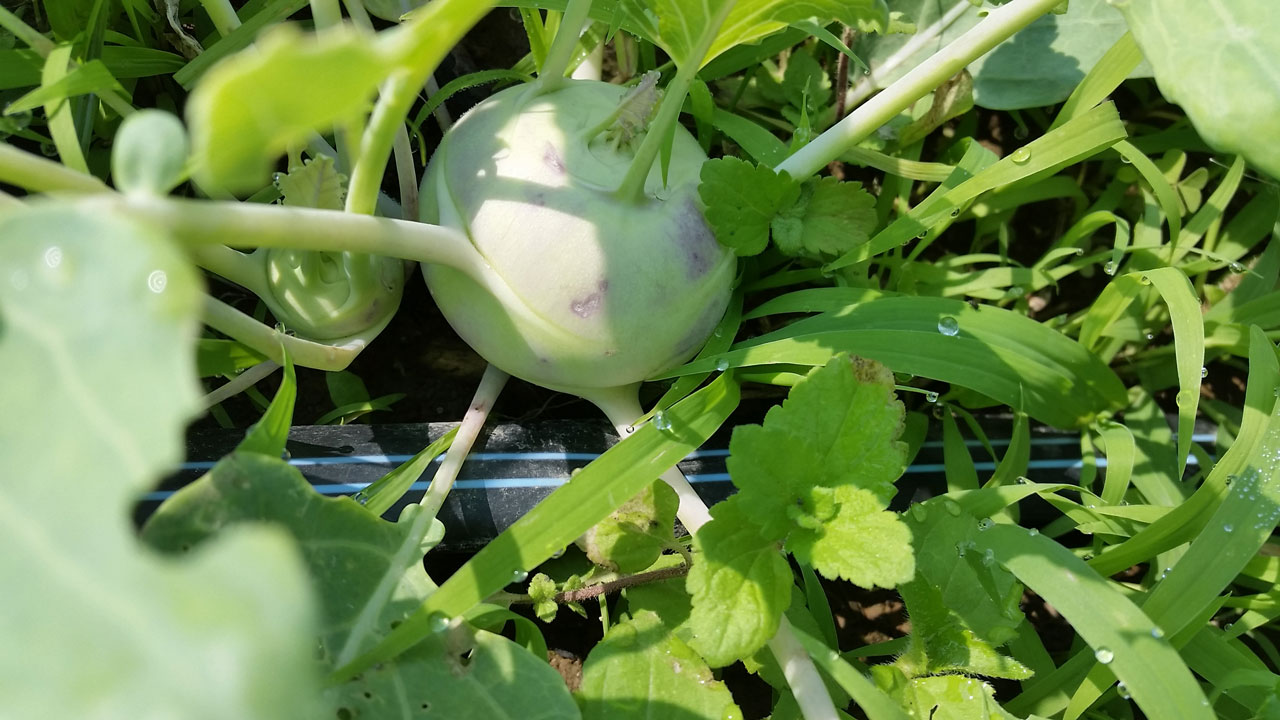
- Even our young kohlrabi has small dents
-
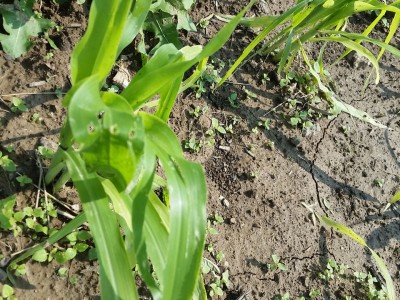
- In addition to being blown over, many corn leaves were broken and ripped, like this one

-
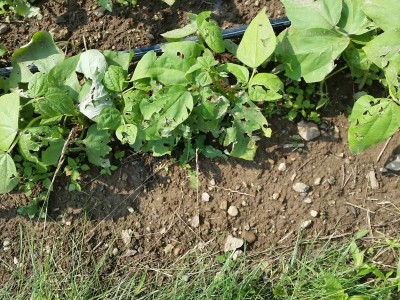
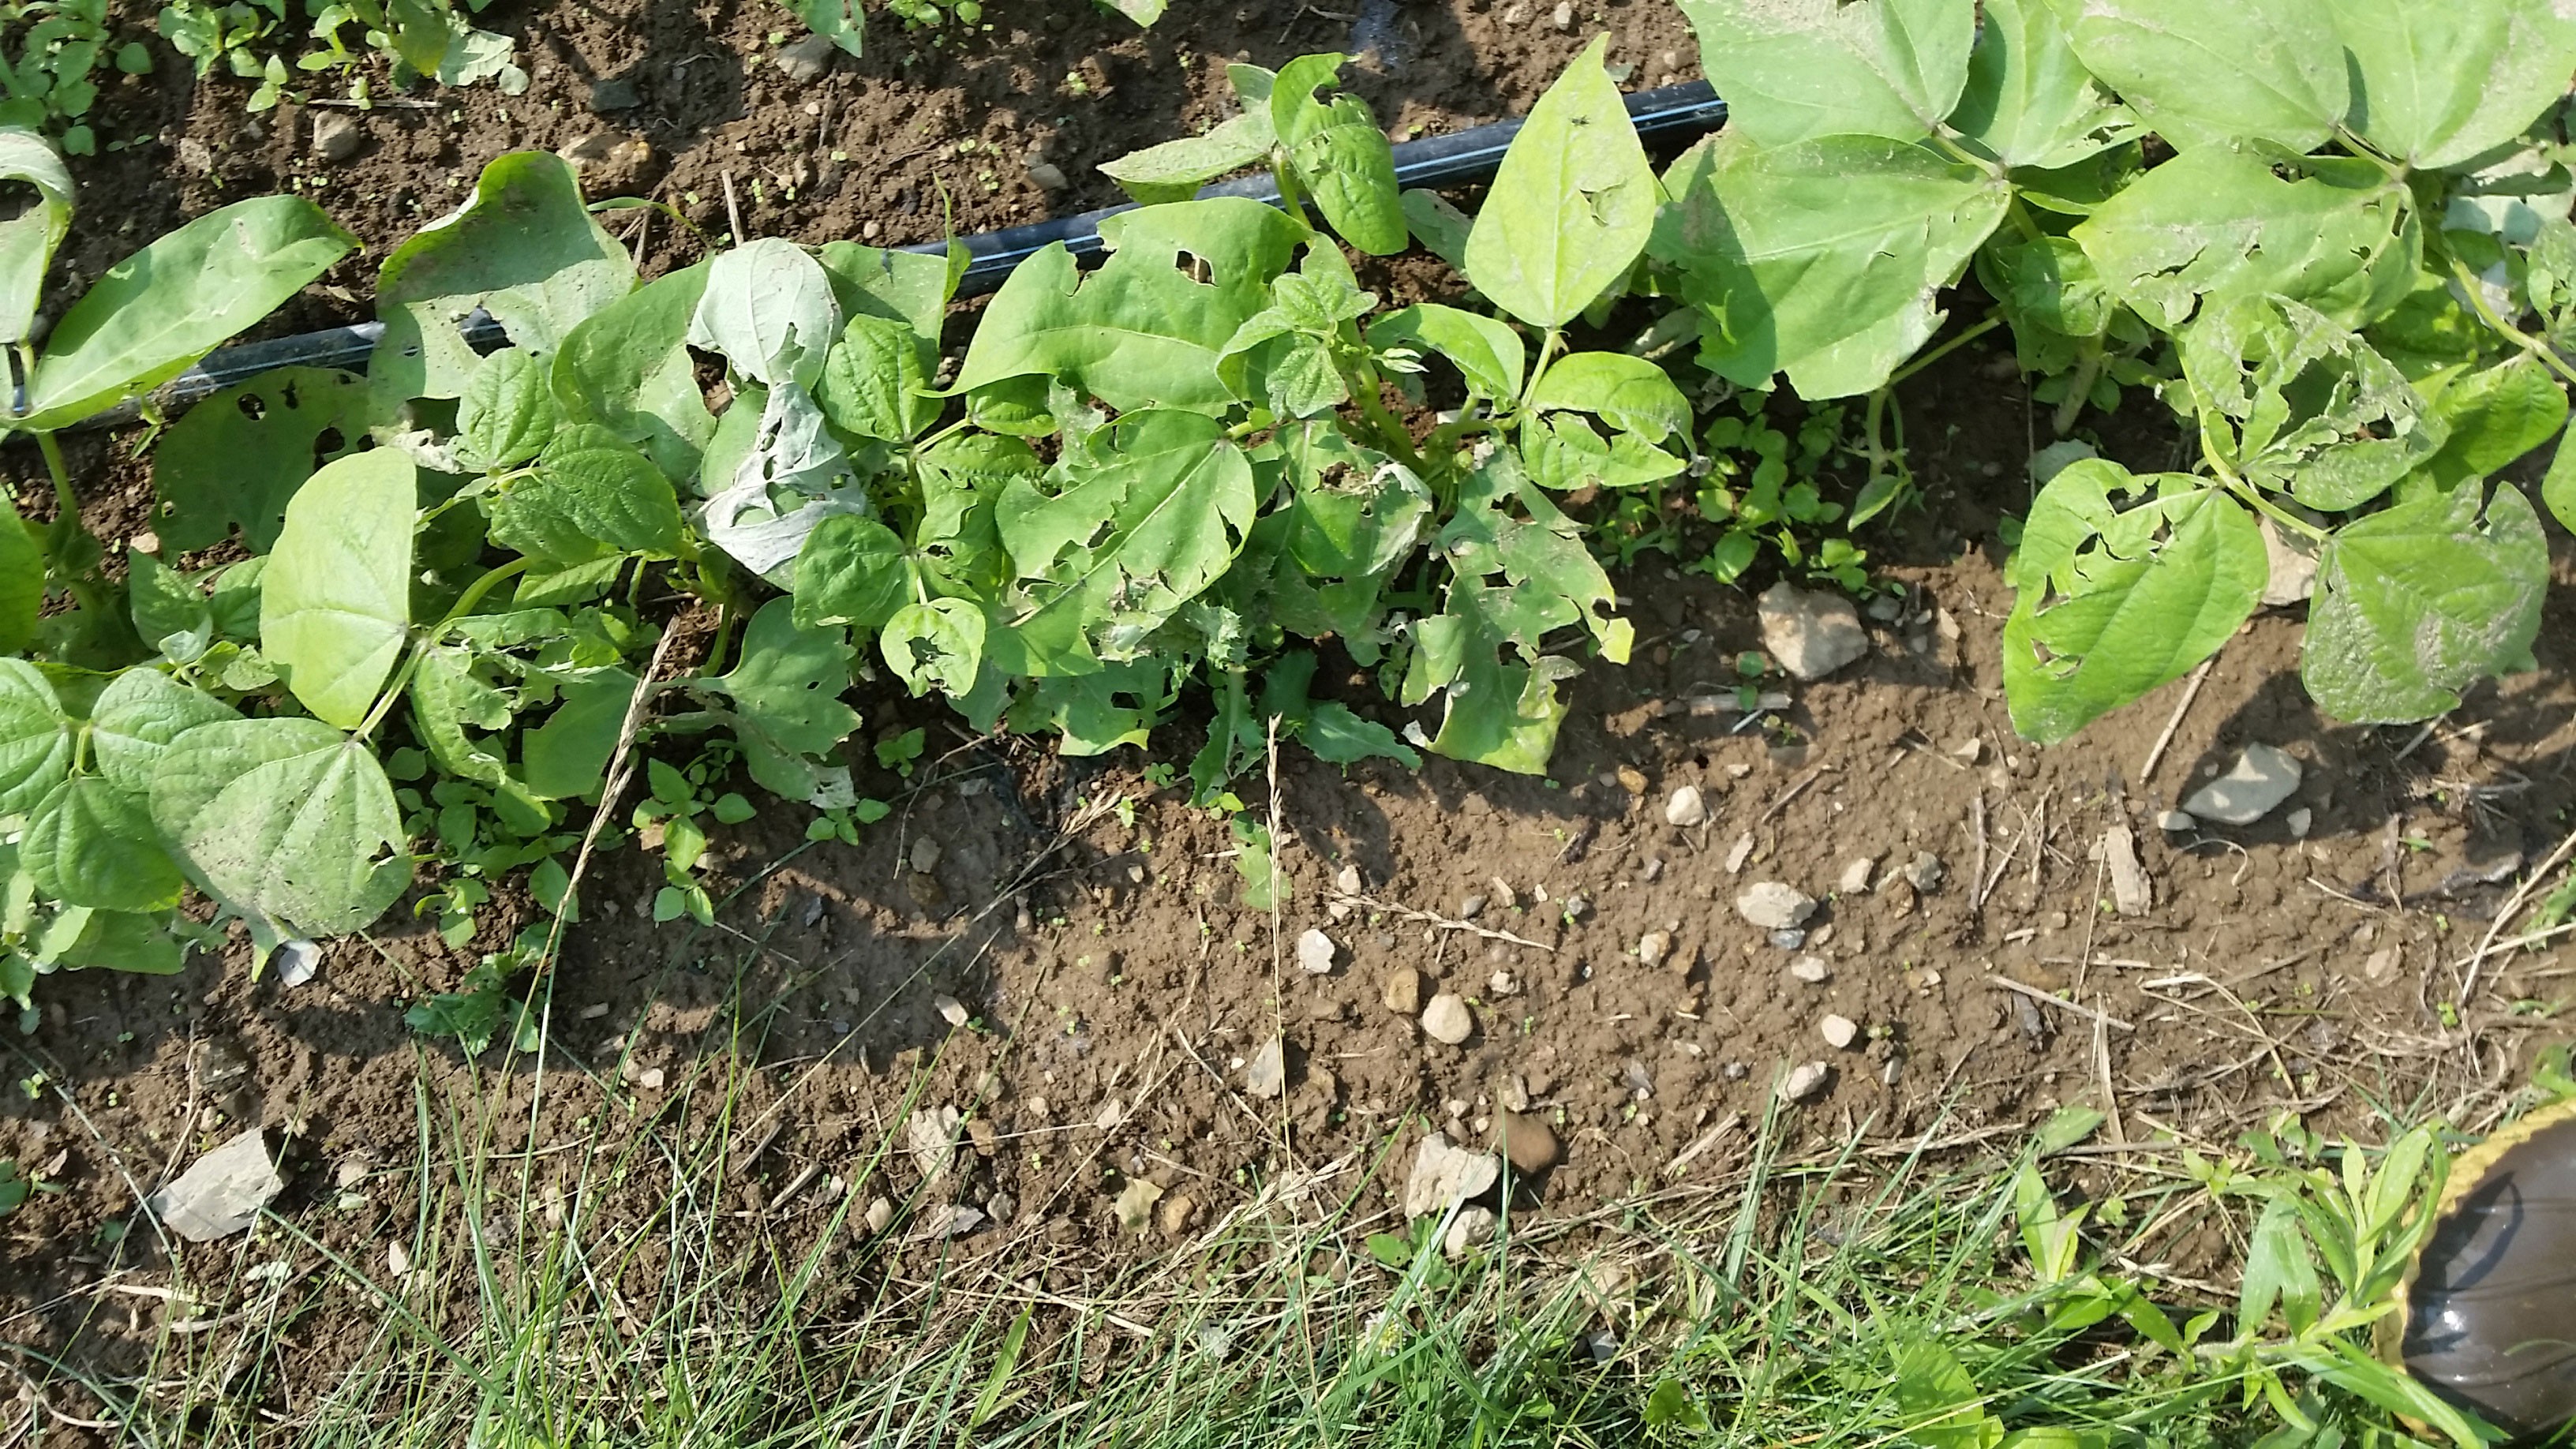
- The beans right after the hail storm of June 30th
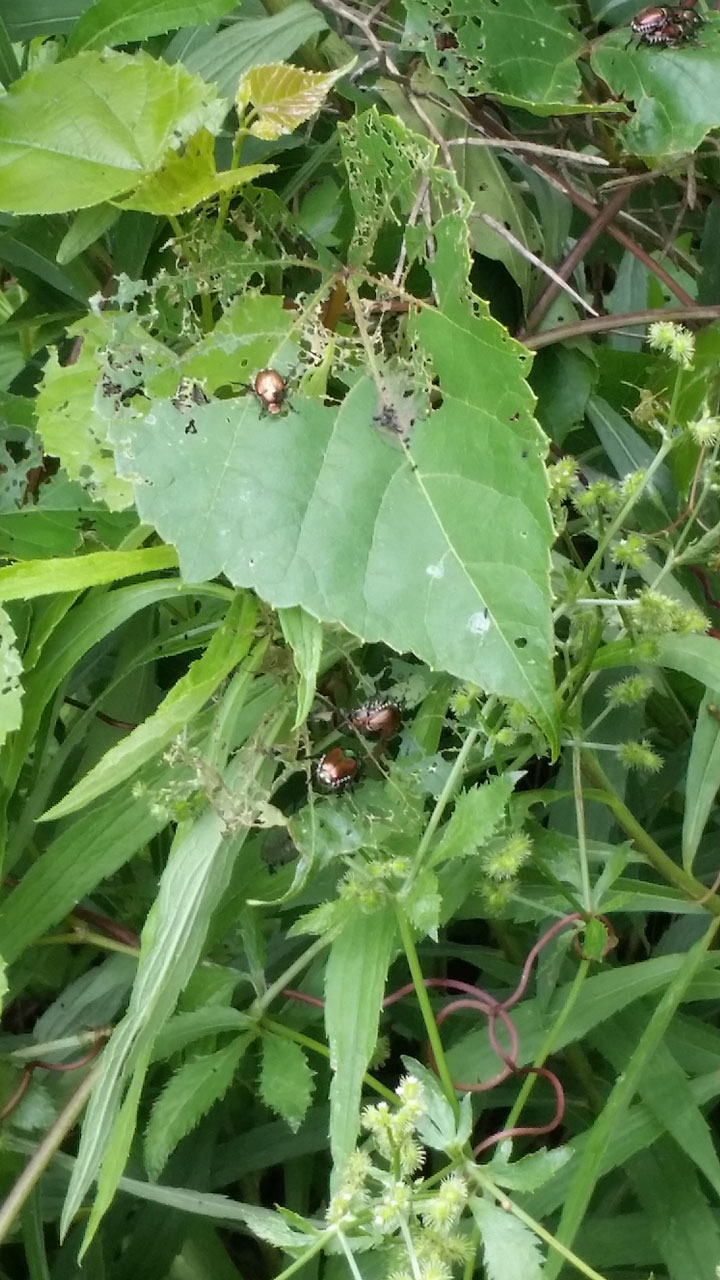
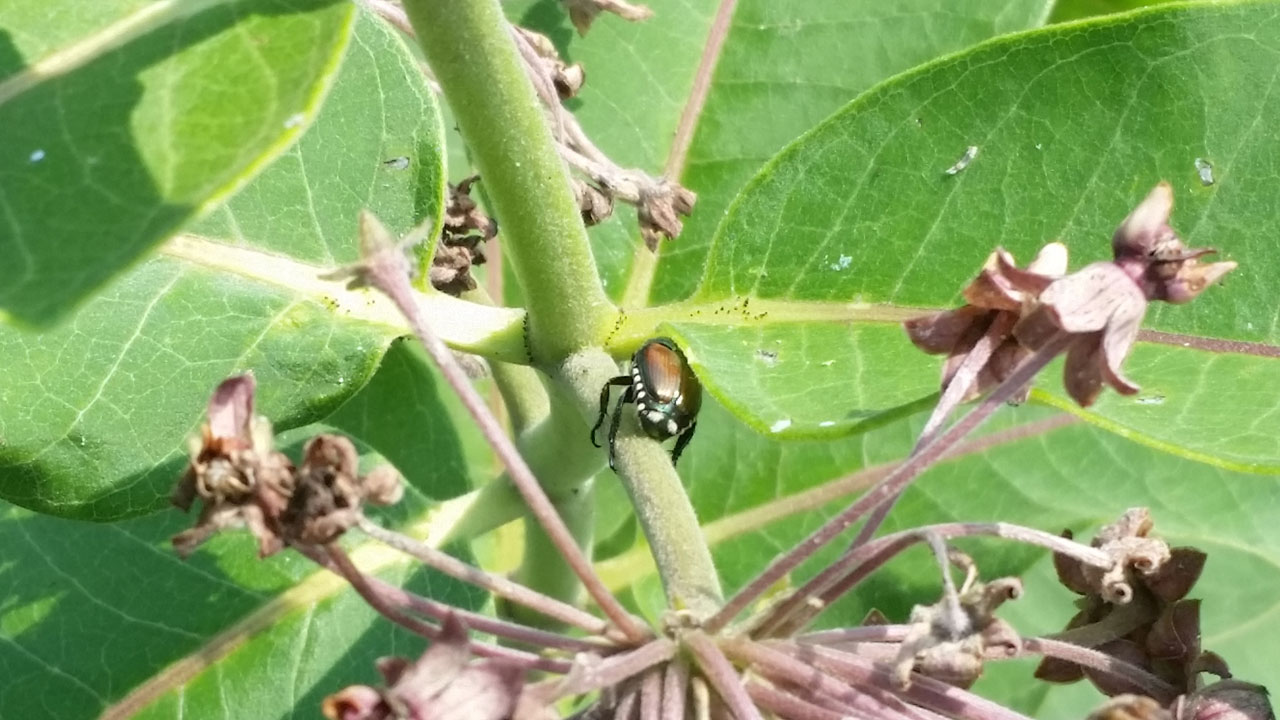
The second is much more indirect, and more long lasting. Healthy plants are more resilient against pests and diseases. This is obvious even on our scale with potatoes and eggplants: this year we composted our potatoes, and even though there are Colorado Potato Beetles around, we have hardly seen a lick of damage on them compared to last year when we didn’t compost them; our eggplants went in the ground this year before a long hot period without any rain, and were unhealthy, soon they were devastated by flea beetles. So now all of our plants are hurt, and spending their energy on trying to heal. This means they have less energy to fend off blights and beetles. It’s no coincidence that Wednesday, the day after the storm, was the first day Fletcher, Peter and I remember seeing Japanese Beetles in such huge numbers around the farm. And with early blight hitting many tomatoes in the area, we’re on the lookout and have been pruning like crazy.
-
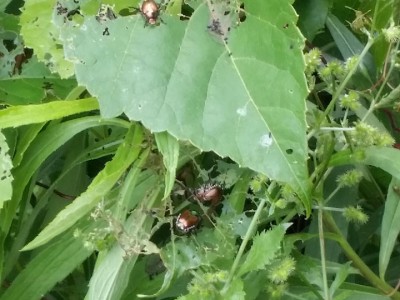
- The Japanese Beetle can really hit an already weak plant
-
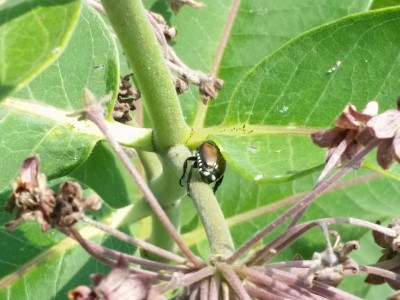
- This dangerous, invasive species munches will munch on the leaves of almost any plant
-
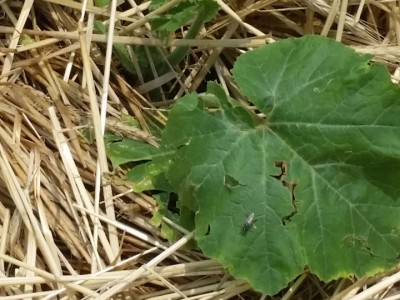
- Every rip in every leaf, stem, or fruit is an open wound waiting for disease
This is where the damage is obviously far reaching, even if only considering LaFarm. A bad pest and disease year means for years to come we’ll have to fight back against further pest and disease damage. As Sarah put it, the storm hitting the farm is like someone training for a marathon getting in a car accident: they’re going to be spending a lot of time dealing with their injuries and probably won’t be able to finish their training before the marathon, and those injuries could hurt for years. For a starting farmer, the amount of lost money and required additional work and investment this sort of storm event caused us, this could mark the end of a career, and the loss of a farm. A CSA may have to cancel most of a season and probably need to supply refunds of money they already spent, a market gardener would lose thousands of dollars of income between direct and indirect losses. And this has a lot of implications on the broader food system, which I’ll be writing about at length in my next post.
– Joe Ingrao, Summer 2015 EXCEL Scholar