Everyone knows the beauty of a good tomato. From tomatoes that are good for sauces (known as paste tomatoes) to heirlooms and big beefsteaks for dicing up and cherry tomatoes for throwing in salads, tomatoes are a versatile crop.
To plant a good row of tomatoes, you start out with a 3 ft wide tilled bed. With a post-hole digger you want to go down the middle of the row and dig a new hole every 2 ft. The depth of the hole depends on the size of the plant. Tomatoes are aggressive rooters, so they’ll grow roots off their stem wherever they’re on or in the ground, but you don’t want to bury much more than a fifth of the main stem into the ground. You should place the plants into the holes and fill in around the stem, creating a bit of a mound around the plant if it’s longer than say, a foot.
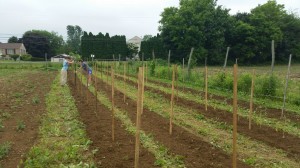
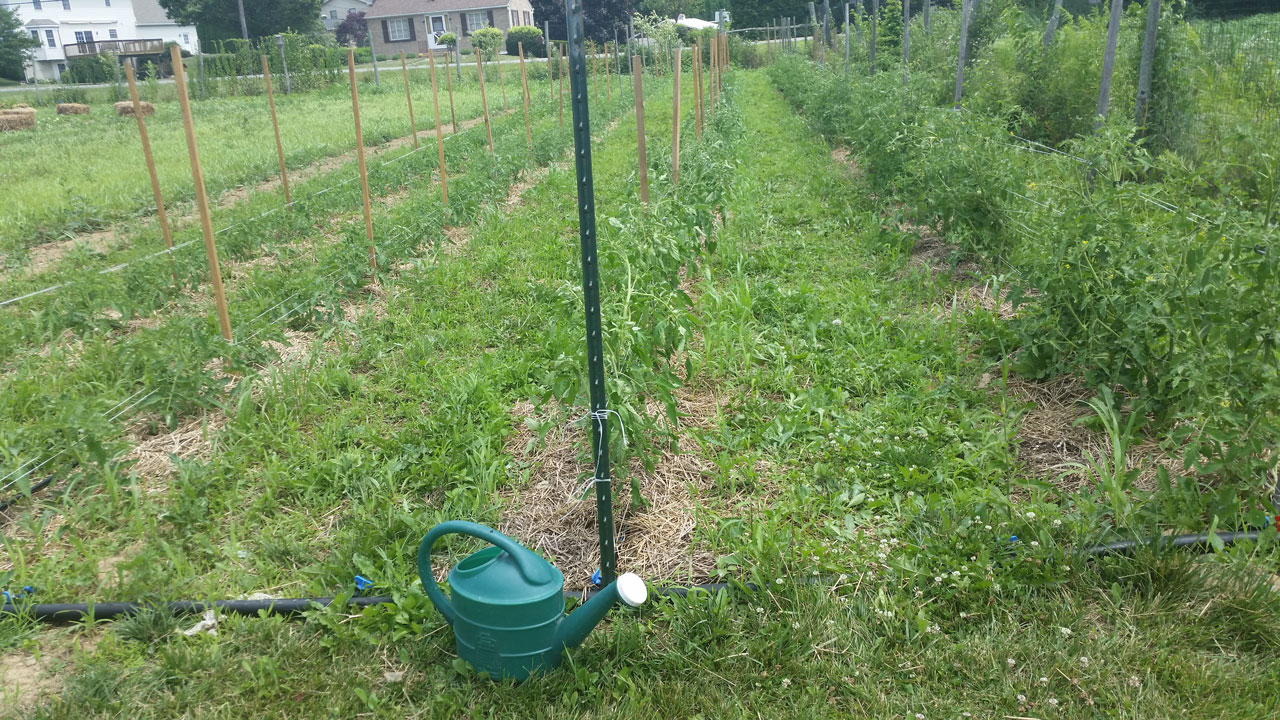
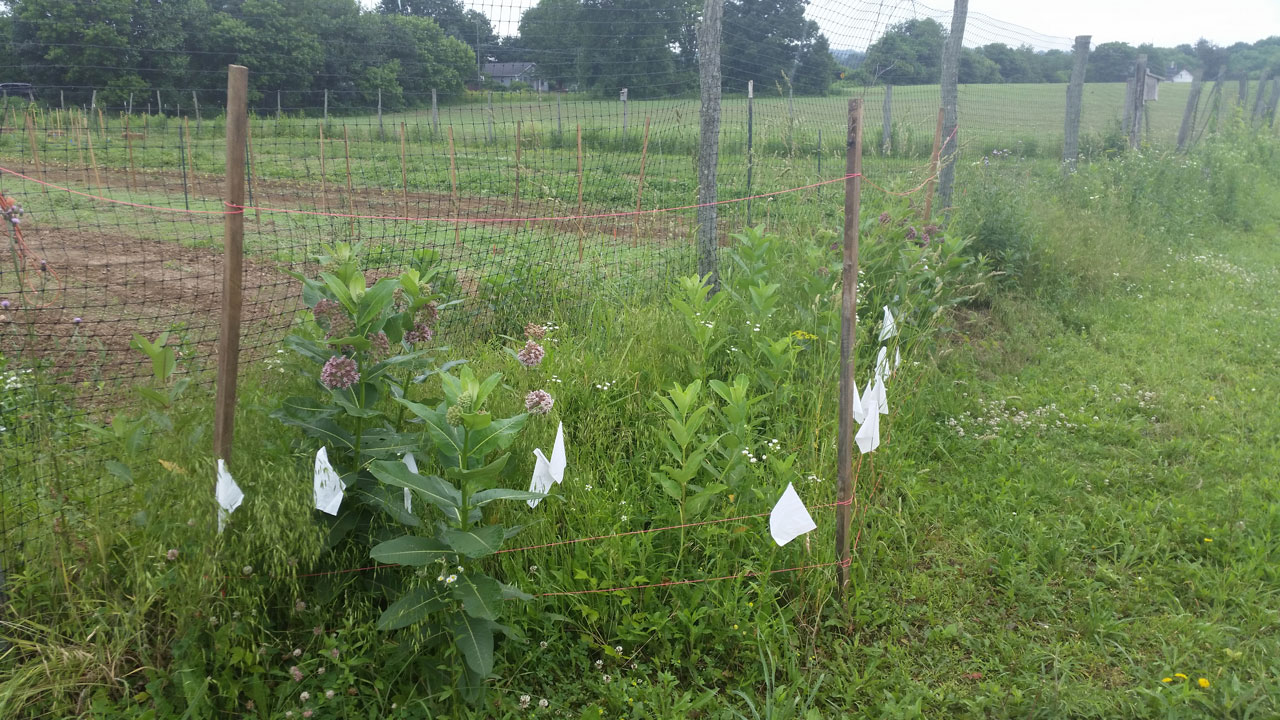
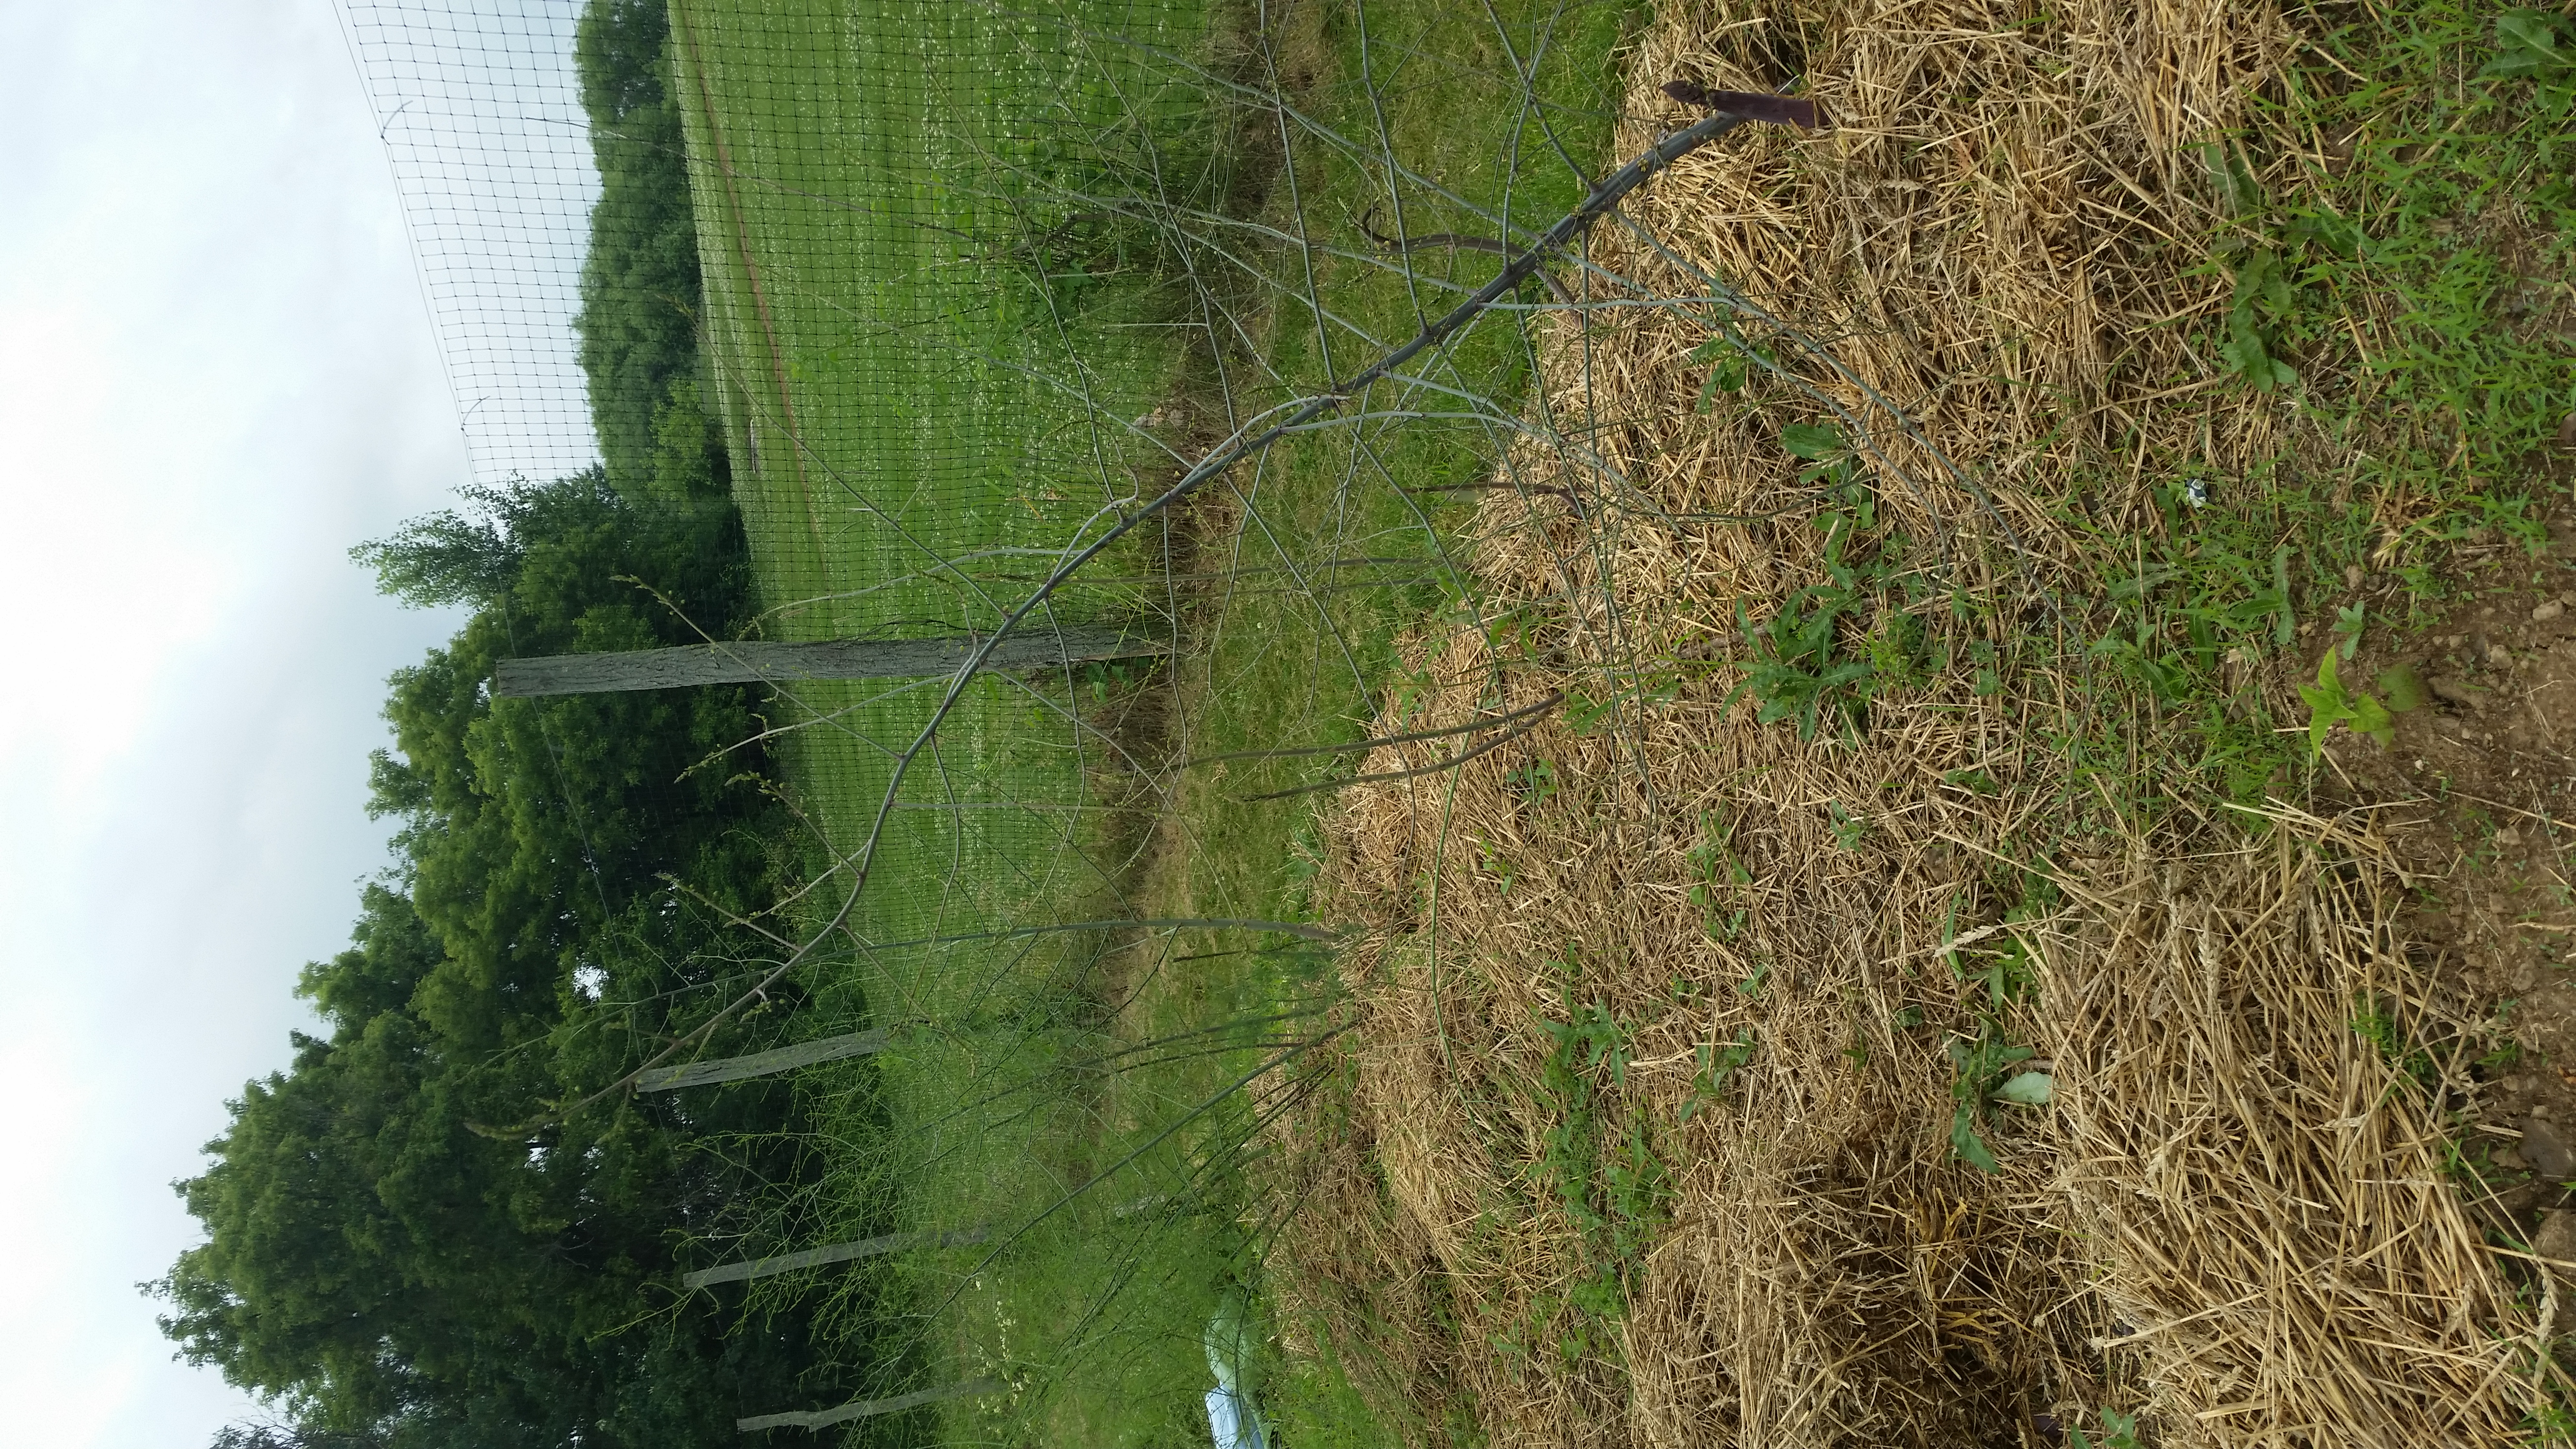
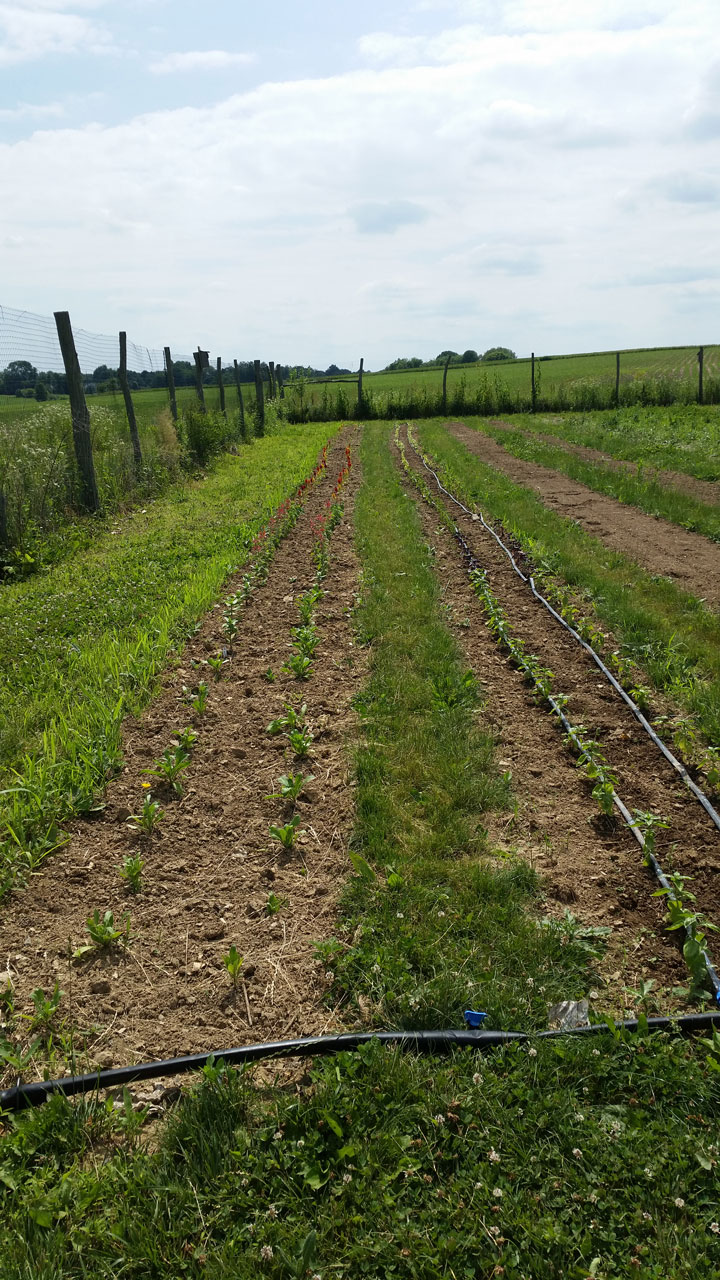
Our tomato crop, right after planting and trellising
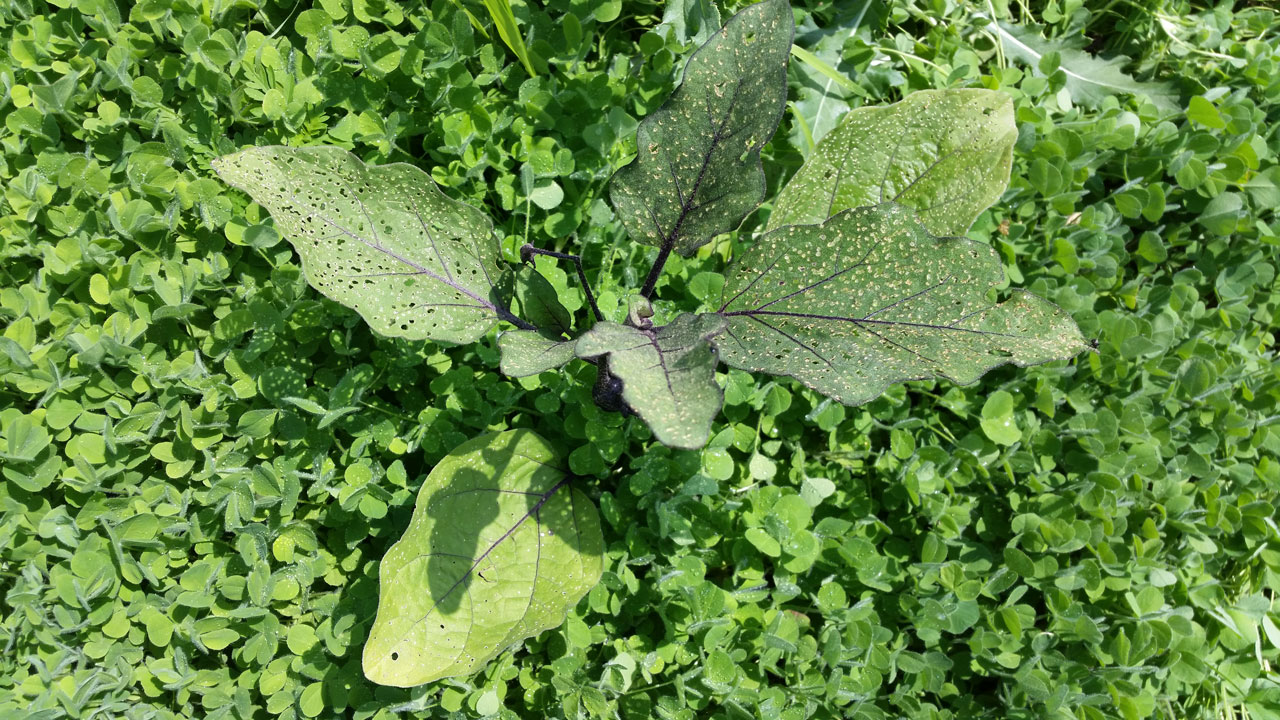
Make sure that if any leaves touch the ground, you remove the whole branch attached to them. These low hanging branches can spread pathogens easily and greatly increase the chances of blight. Also remove any little tomatoes that have already started to grow before you put your plants in the ground. Those and the low branches will just slow the plant’s overall growth. It’s also important to look out for concentric or patterned spotting on leaves of the tomatoes before they’re planted. These can be further signs of disease.
Some farmers let their tomato plants grow along the ground like some sort of squash, but they’ll generally yield more and be easier to weed and manage if you build a trellis for them. To construct the trellis, you should pound stakes into the ground between the plants, no further apart than 3 plants, unless it’s at the very end of a row. At the ends, make sure to use higher quality stakes, we use metal ones there and wooden ones in the row itself. To pound them in, you can use a normal mallet, or if you’re short like me, or just want to save your wrist, you can use a post driver, a simple device which is a hollow cylinder that is open at one end, sometimes weighted or even with a spring inside to assist with pushing the stakes in.

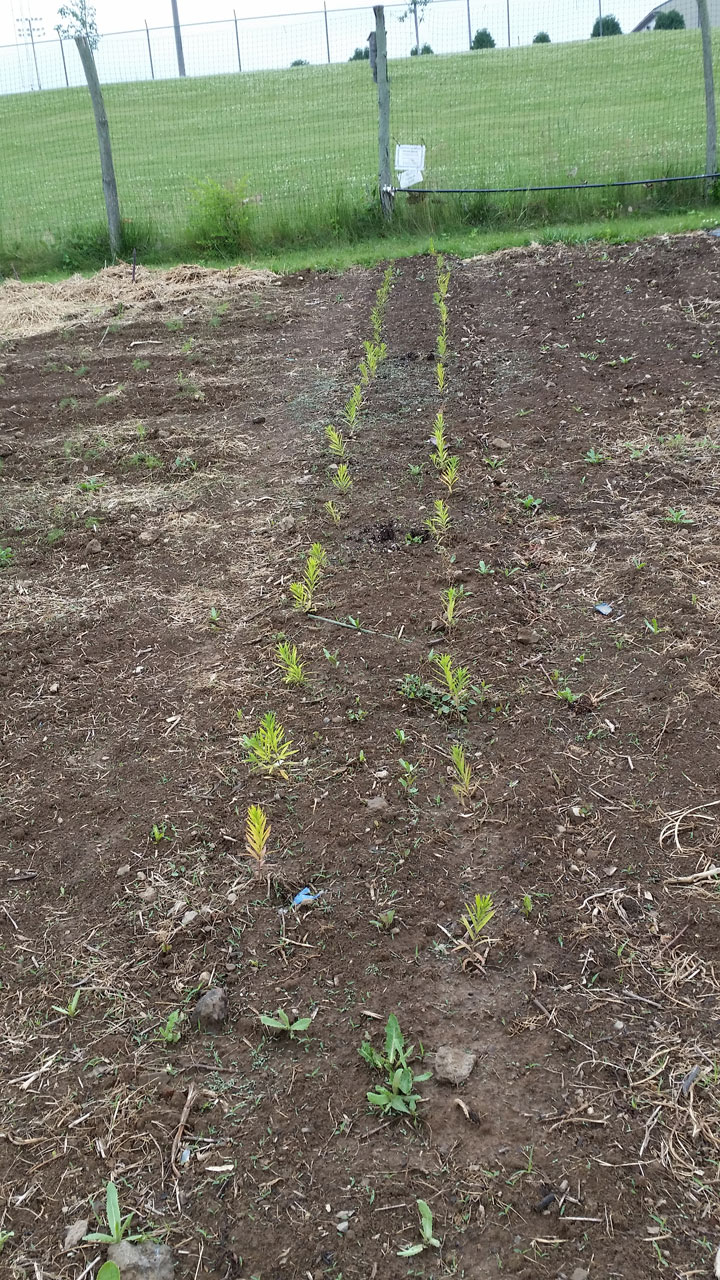
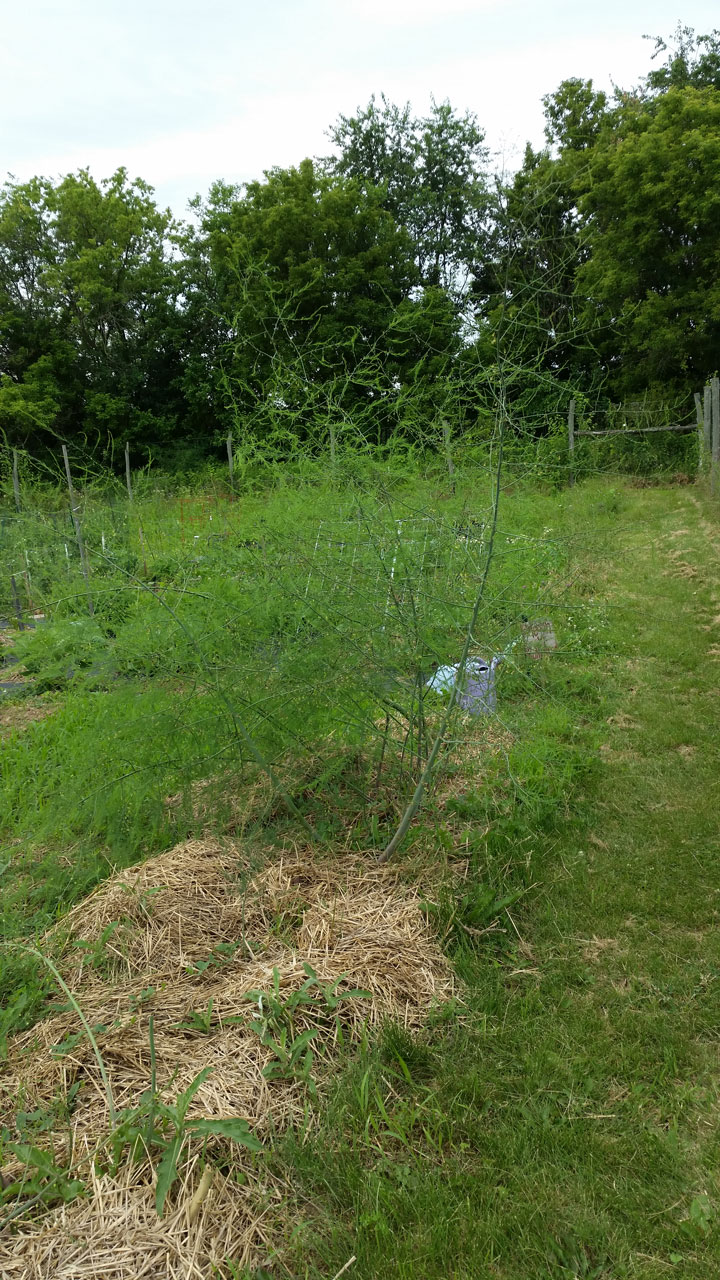
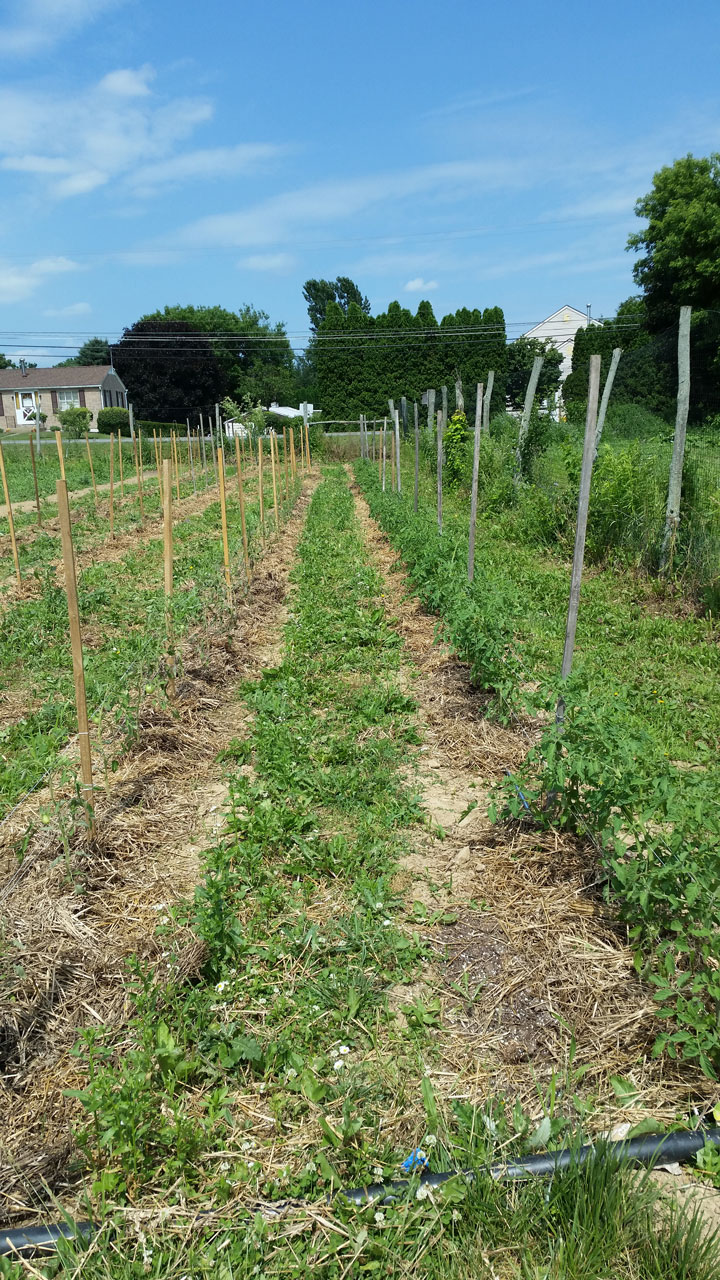
Tomatoes, 1 month later
To complete your trellis, you want to take string and do what’s called a Florida weave. To do a Florida weave, you loop string around your first stake and then pull it along, looping it along each stake as you go. At the end of the row, you should loop it back around and go on the opposite side of each stake along the row for a second time. You should end up with string on each side of each plant. You want to do your first weave somewhere between 8in and a 1ft above the ground, and then you want to get your tomato plants in between the weave, so it will grow vertically. As the tomatoes grow taller, you want to weave again and keep letting them grow upwards. This makes it much easier to weed and harvest your tomatoes. There are handy tools you can find online that were made to help to make a Florida weave, and we use a length of PVC pipe that we pull the string through to help with looping around tall stakes.
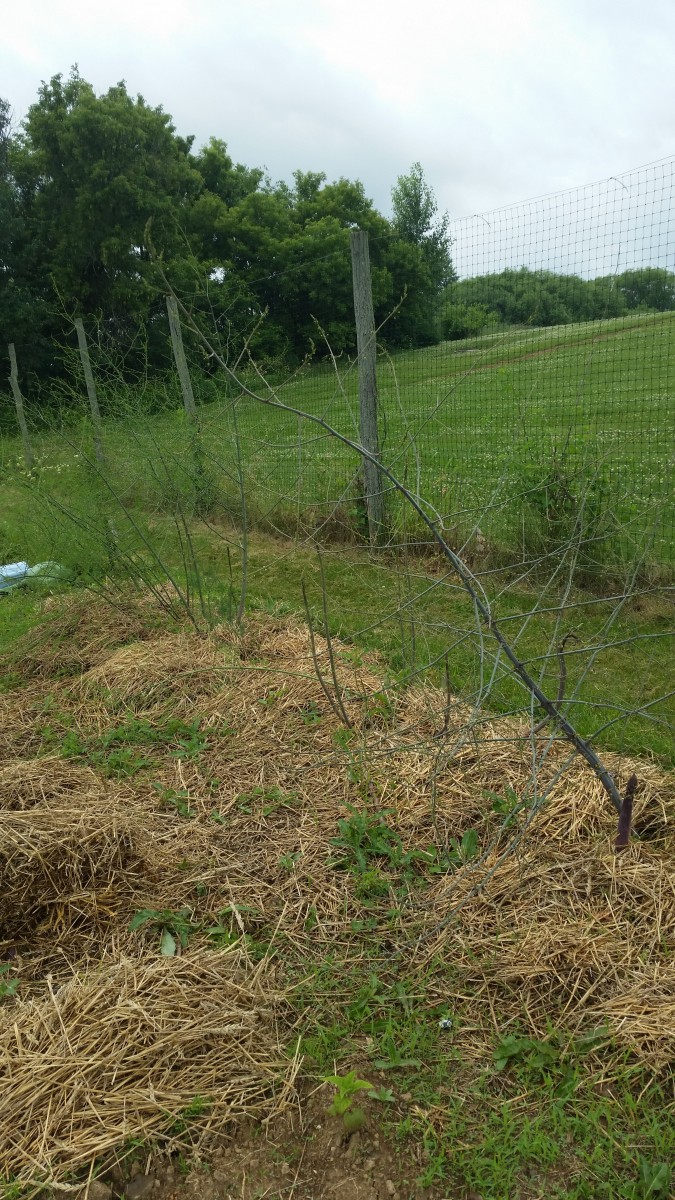
As you can see from this later picture, after our tomato plants were off the ground we weeded underneath them and laid straw under them, as mulch that will block sunlight to weeds and eventually add organic matter to the soil.
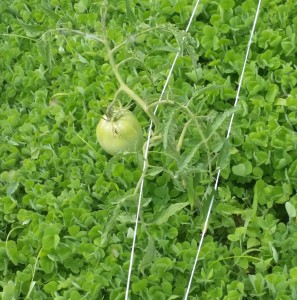
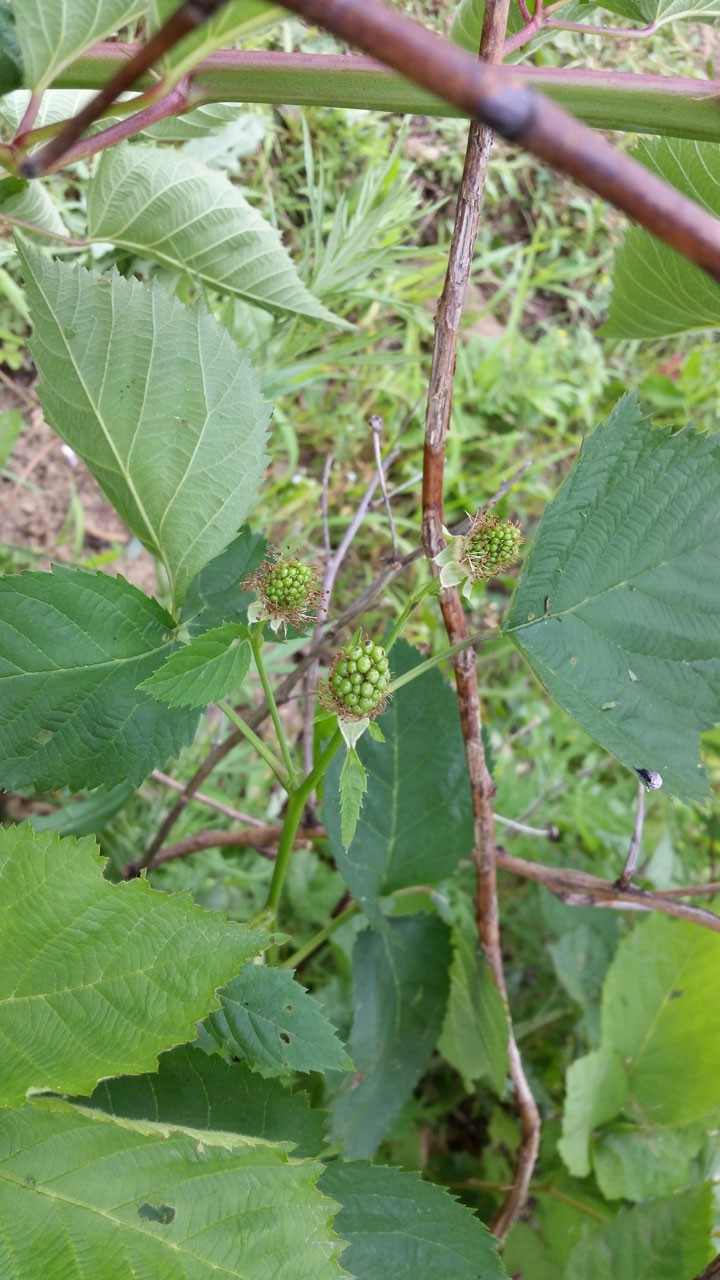
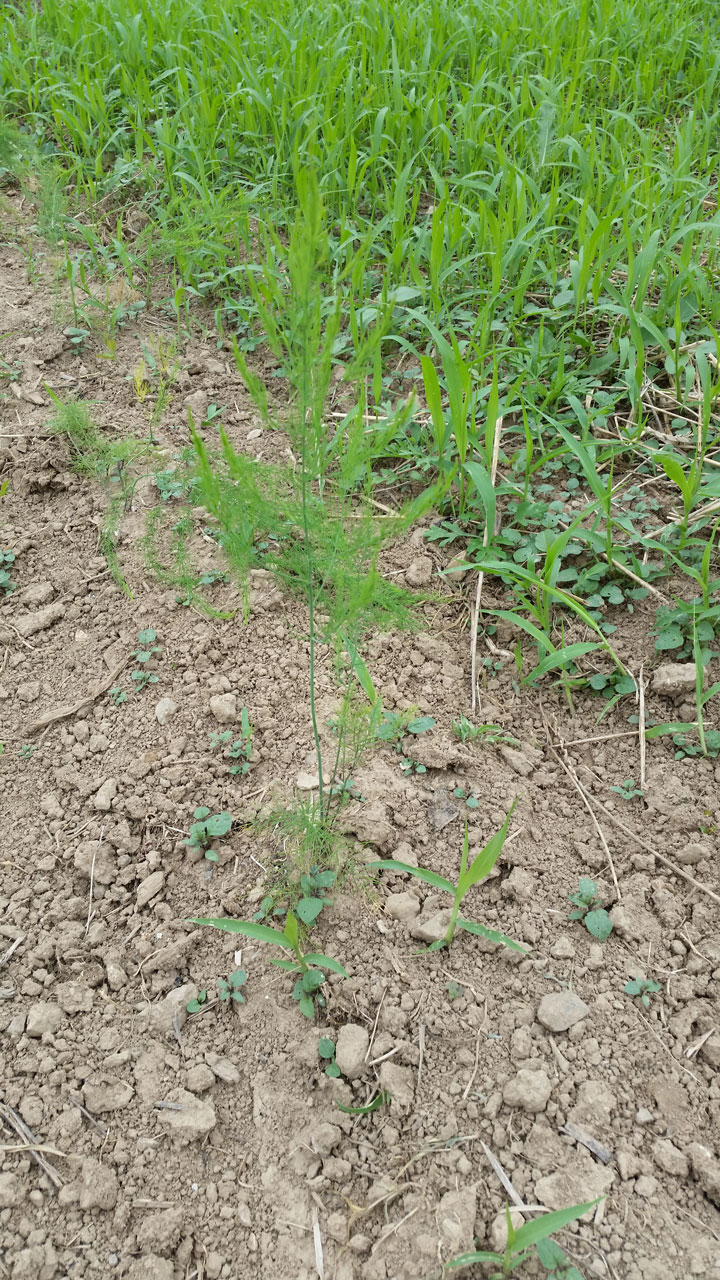
Tomato harvest is going to be soon! (This tomato is from another section of our farm where we chose to sow crimson clover under our tomatoes instead of mulching, and its working wonderfully!)
-Joe Ingrao, 2014 Excel Scholar
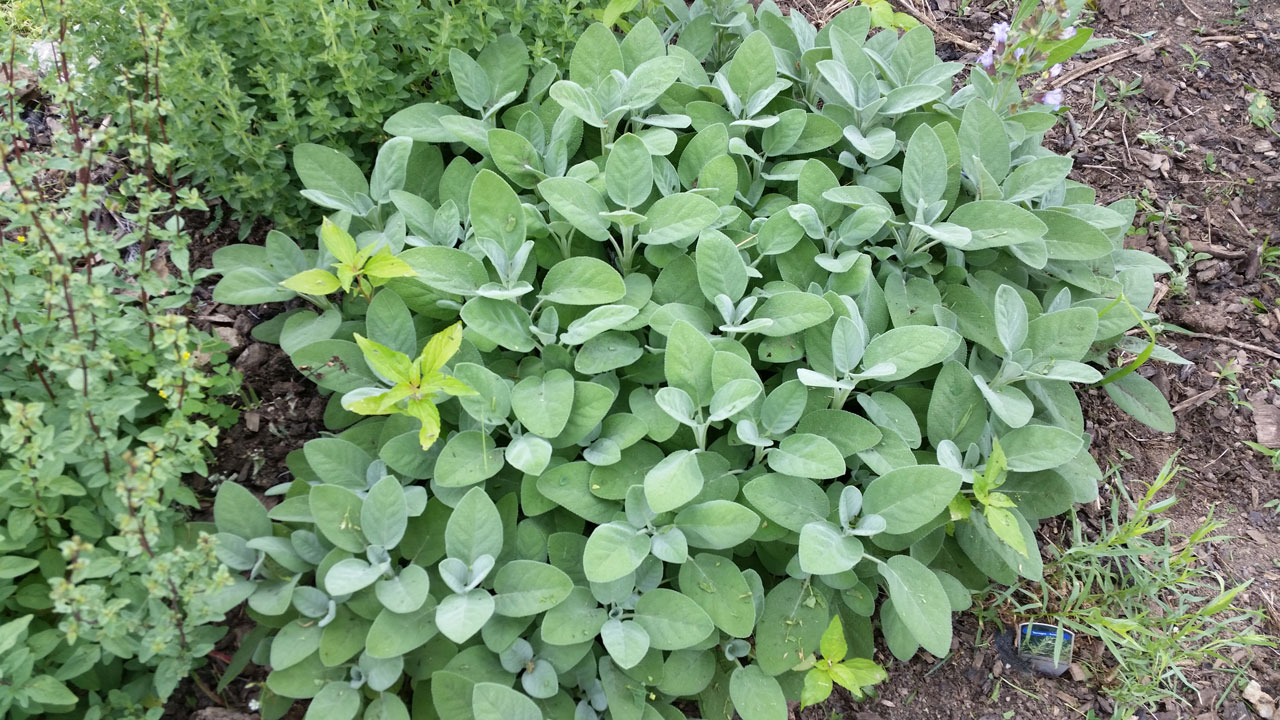
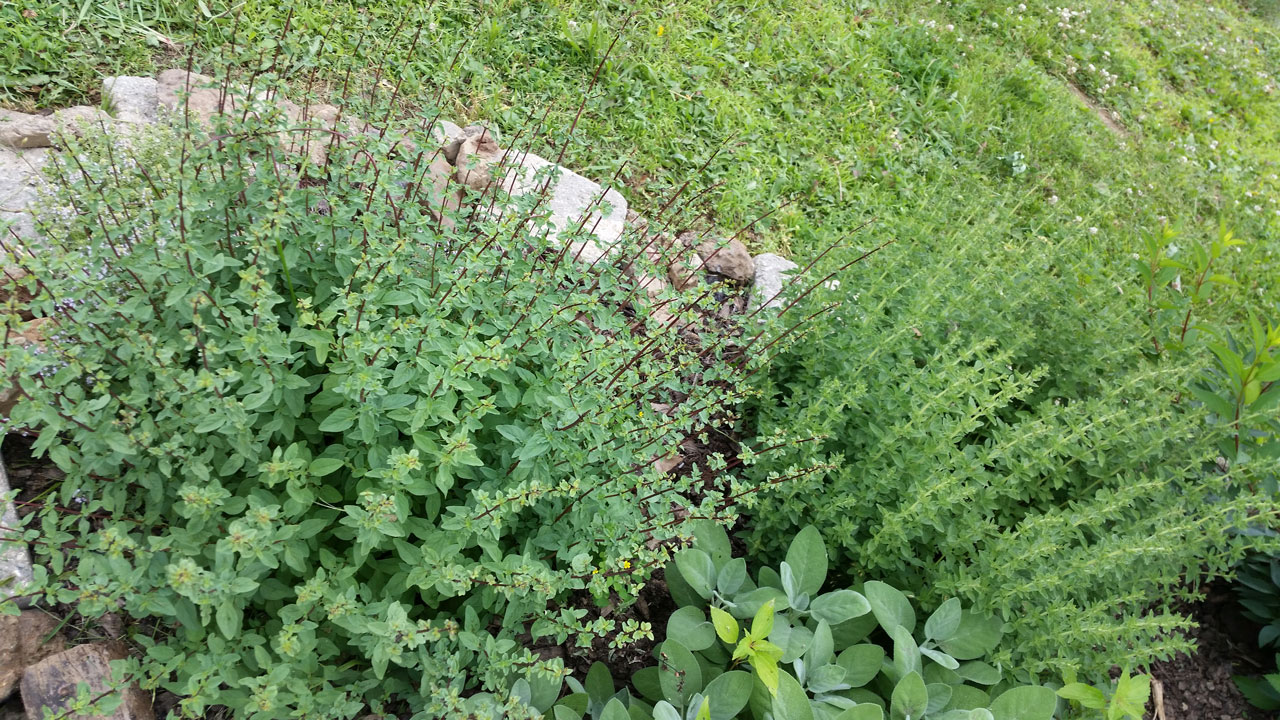
 Our first market this past Thursday was a great start, we brought scallions, garlic, eggplant, tomatoes, potatoes, a mix of herbs (oregano, sage, and thyme) flowers and young, ready to plant Brussels sprouts!