Kaolin Clay

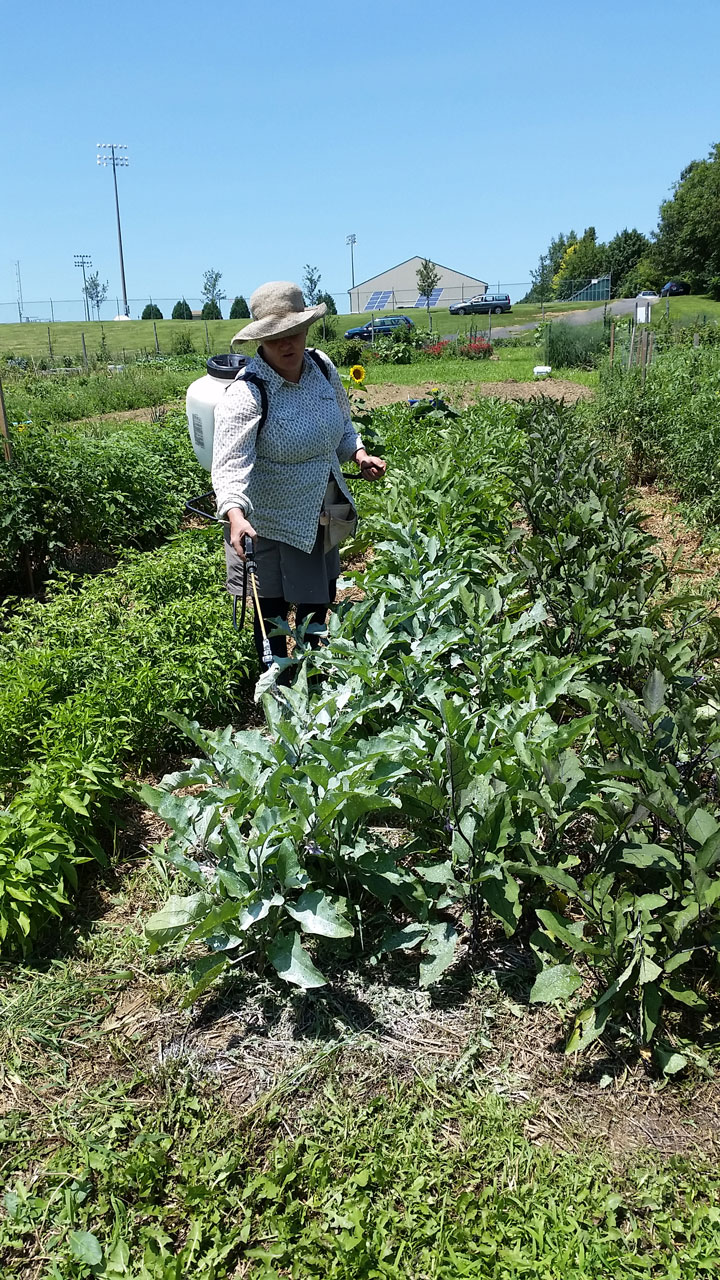
There aren’t many things that we spray at LaFarm. But in the wake of the storm it is more important than usual for us to do everything we can to protect our plants from any further damage. That’s why right now, when the worst of the pests are around, we’re protecting our most vulnerable crops with Kaolin Clay.

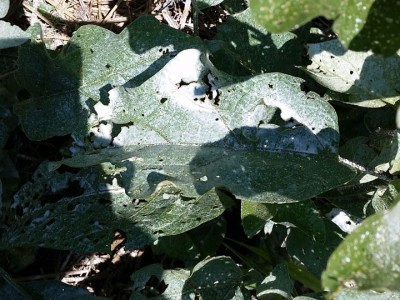
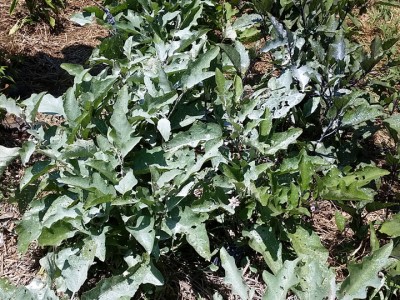
Kaolin Clay is a completely organic substance, it is in fact a finely ground clay powder. When mixed with water, Kaolin Clay can be sprayed on plants to coat them in this powder, which (with an effectiveness that surprised me) confuses pests, who confusedly find that instead of a tasty eggplant leaf, they’ve landed on a weird clay bush. This way, it doesn’t actually kill anything or disrupt the ecosystem, it just protects the plants you spray it on.

Kaolin Clay is not completely effective for all plants against all pests, but it’s definitely effective enough that we spray our squash (especially young transplants) to protect against cucumber beetles or squash bugs, our eggplant to protect against flea beetles, Colorado potato beetles or anything else that might want a munch on them, and on a few others like Brussels Sprouts.

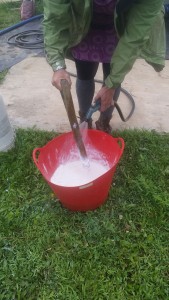
Stirring Kaolin Clay solution with the broken handle of an old digging fork.

Stirring Kaolin Clay solution with the broken handle of an old digging fork.

To use Kaolin Clay, you first need to mix it with water. We go for the Surround brand Kaolin Clay, which calls for 3 cups of Clay to be mixed with every 1 gallon of water. We put the Clay in a bucket and then add water and stir until the Clay is mixed enough that it doesn’t stick to the bucket or whatever we use to stir. Also at this step it’s safest to wear something over your nose and mouth; although the clay is not toxic, you still don’t want powdered clay getting in your lungs.

It is most advisable to spray on days without direct sunlight. When the liquid pools on a plant, it can magnify sunlight, which can burn the plant, making it less healthy, defeating the purpose of spraying. At the same time, you do not want to spray if it’s going to rain soon. Rain can wash off the clay, especially if it’s been applied only recently.

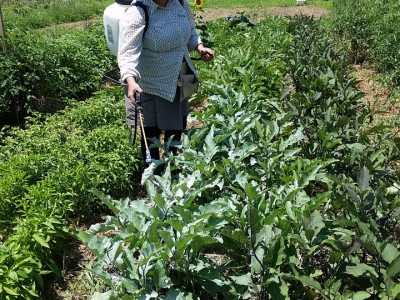
We use a hand-pumped backpack sprayer, dumping in the mixture from the bucket once it’s ready. It’s theoretically possible to spray it from a smaller spray bottle if you only needed enough for a plant or two. Some farmers will mix fish emulsion into the clay (fish emulsion can soak into the leaves of mature plants, giving them additional nutrients) but this is not advised by the USDA. It’s important to spray every leaf of any plant you’re trying to protect, and both the tops and bottoms of each leaf. Otherwise it would be like building a wall around half of a town to protect against invasion: it won’t help when they come from the other side.

After spraying, most pests will be confused by the clay and not eat your plants. That is especially important if you have hail- and flea beetle-damaged crops like our eggplant, or if you’re about to transplant 50 zucchini when you’ve noticed some cucumber beetles around the farm.

Happy Farming!

-Joe Ingrao, Summer 2015 EXCEL Scholar

Cover Cropping

This post comes at a very good time as the National Working Group on Cover Crops and Soil Health recently released a top ten list of ways to improve soil health. So, since these are some of the things we’re doing out at LaFarm, it makes sense to share some basics about cover cropping.

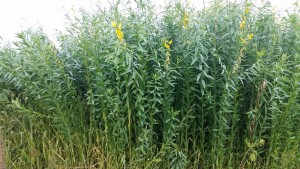
Last year we covered a 40'x40' plot with sun hemp. Sun hemp fixes nitrogen in the soil, can be used as cloth, and is very effective at shading out weeds (also you cannot smoke it.)

Last year we covered a 40’x40′ plot with sun hemp. Sun hemp fixes nitrogen in the soil, can be used as cloth, and is very effective at shading out weeds (also you cannot smoke it.)

Cover cropping is the act of purposefully planting a non-food crop on your land for one of a few reasons. You can use leguminous cover crops to increase nitrogen in the soil (or a whole host of other crops to increase organic matter or specific micro-nutrients) to protect a plot, bed, or field from weeds before or after you’ve used it for food in a season, to mark permanent walking paths between permanent beds, or even sow a crop that doesn’t grow tall under a food crop to shade out weeds so you don’t need to weed under your taller plants.

One of the main differences between cover cropping and just growing buckwheat, sun hemp, or any of the other numerous plants commonly used as cover is that generally you’re not planning on using the product of the crop, but instead are planning on tilling it under before the next season or composting it to increase soil fertility-though that’s not necessarily the case. You can grow oats as a cover, hand-harvest the oats and then still till under the crop. Likewise we could have harvested the sun hemp we grew as cover last year to use as fiber for clothes and left the leguminous nitrogen nodules in the ground for this season. But the main goal with cover cropping is the soil health benefits, not the produce of the crop.

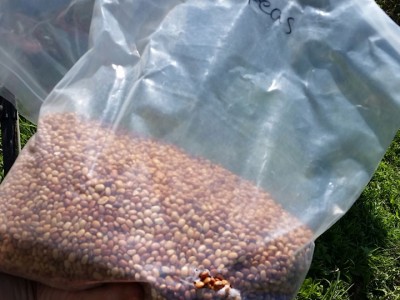
As I’ve mentioned previously we had to pull a whole row of potatoes after the storm on June 30th. Because there’s a good deal of growing time left, we decided to cover crop it with cowpeas and buckwheat. We chose these because cowpeas fix nitrogen in the soil, and the buckwheat will live for longer into the winter, keeping protection on the bed, but both will die before next season, so we can till them under for increased soil nitrogen and organic matter. This handy guide by the USDA is a great quick reference for what kind of cover crop you may need.

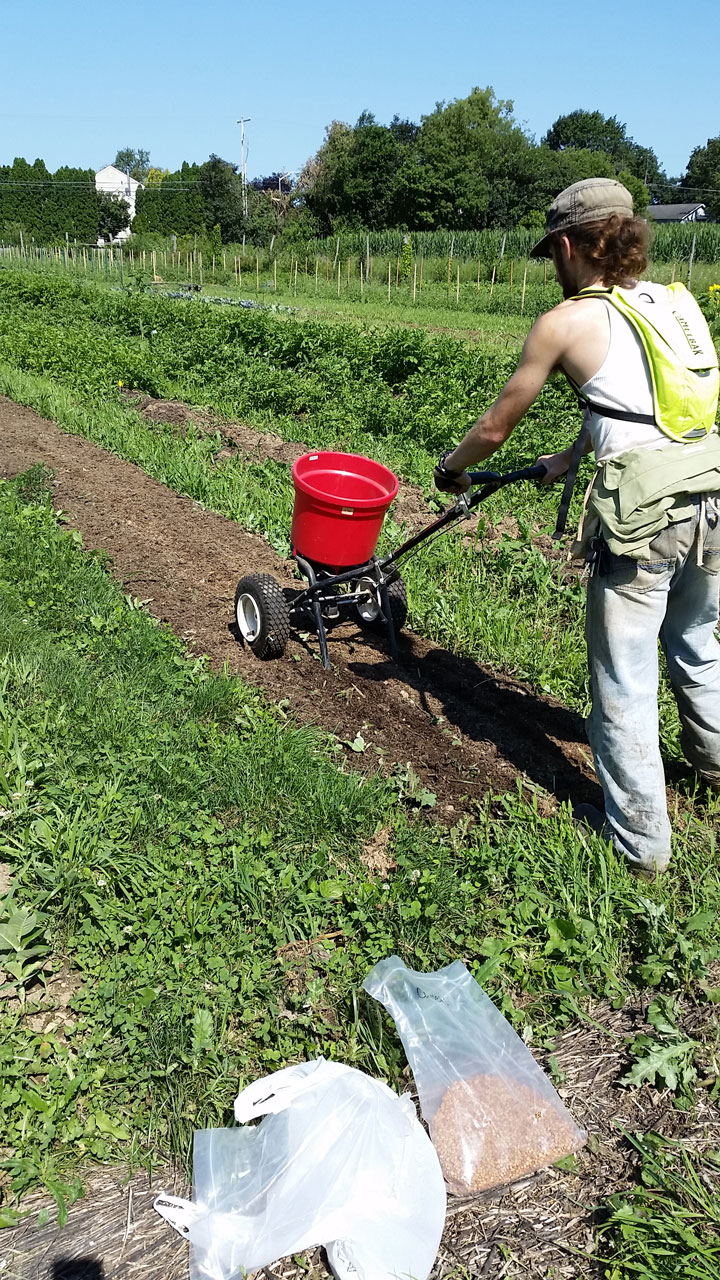
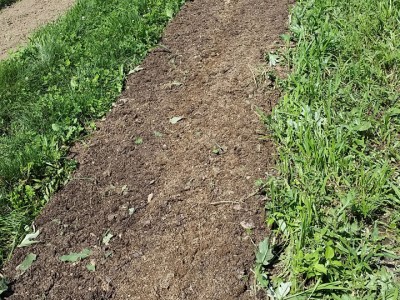
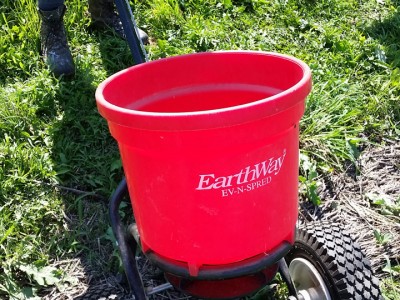
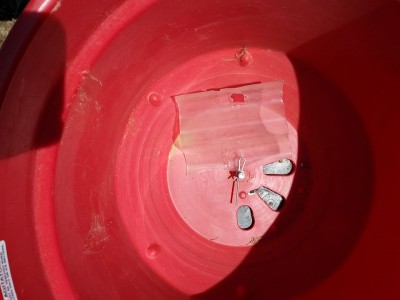
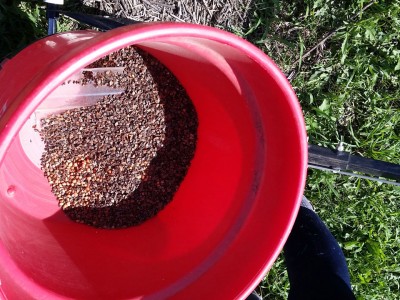
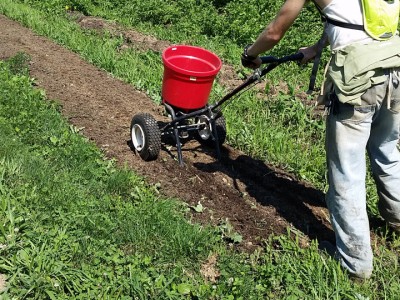
We started by tilling the bed, and then getting out our Earthways Broadcast Seeder. When broadcast seeding, you can spread by hand, it just takes a lot of time on any significant scale. We filled the seeder with the cowpea and buckwheat seeds, and then walked it across the newly tilled row. With cover crops, soil compaction over the seed is actually desirable (unlike with vegetables where it is to be absolutely avoided.) After just one pass with the seeder, we used a soil rake to cover all the seed. It was that simple! And since we’re not harvesting this crop for food, we don’t need to pay any more attention to the bed really (except for some optional hand weeding if weeds start getting too big before the peas or wheat get established.)

This was just on on a single row. At the farm, we’ve also cover cropped all our permanent pathways with crimson clover, which doesn’t grow very tall, shades out most weeds, and marks the areas we can walk on, and we’ve covered whole plots with buckwheat, Sudan grass, sun hemp and other crops. For that, you just till the whole plot, broadcast seed until you see seed over most of the area of the plot, and then step all over it and/or rake it into the ground. Some farmers tie wooden boards to their feet to help step on the whole area faster.

Hope this helps some diversified growers out there!

-Joe Ingrao, Summer 2015 EXCEL Scholar

Staking and Trellising Tomatoes

Hello Farmers and Gardeners!

Some say that tomatoes are groundvines, meant to crawl all over the place. But tomatoes on the ground yield less, cannot get weeded, and in our region get all sorts of diseases from their leaves being in contact with wet soil. So although there may be proof that tomatoes evolved to be groundvines (the way that the stems will grow roots if they’re in contact with soil for example,) as stewards of human-controlled ecosystems we need to recognize that in the context of modern American farms and gardens, it’s best to trellis tomatoes.
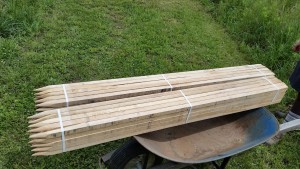
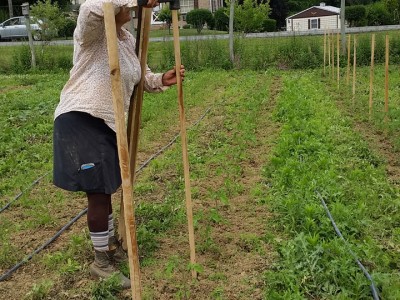
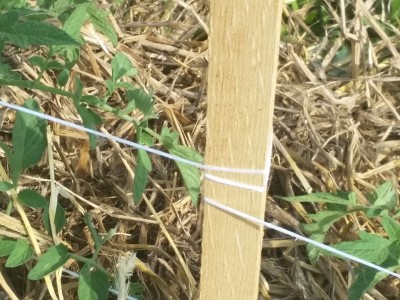
Our 5' wooden stakes. In retrospect, we should have bought 6'

Our 5′ wooden stakes. In retrospect, we should have bought 6′

There are many ways to trellis tomatoes–trellising is just the process of giving the tomatoes a structure to keep them upright, and I can think of a million ways to do that. Gardeners can get pretty creative with their trellis work if they only have to take care of 10 or so plants (or use nice, reusable metal tomato cages for a simpler path,) but with upwards of 700 row feet of tomatoes on the farm we have to use efficient, scale-able trellising techniques. Even this way there’s a lot to consider, especially as an organic farm.

Generally, you need stakes for any large row of tomatoes, and right there are a few variables. Stakes come in different lengths for different purposes, so you might want longer or shorter stakes for large or small tomato varieties. Then there’s the material to think about. Wooden stakes are much cheaper, but until recently there was no organic approved cleaner that a farm could use to soak them so they would be safe to use for more than one year (as wood is notorious for soaking up pathogens,) and even then it’s a lot more work (and outside resource input!) to reuse wooden stakes than the alternative: metal stakes. Metal stakes though, are more expensive, heavier, and generally more difficult to put in and take out of the ground. At the same time, they are easy to clean, durable, can be reused for many years, and run almost no risk of snapping during the staking process. On the farm, we have a broad collection of metal stakes of various lengths, and many wooden stakes. Some years we use a combination of both on each row, putting the metal stakes at the end and in the middle of each row to give strong anchors to our trellising; this year we used all wood stakes on several rows and all metal ones in another, and placed metal wire cages around some tomatoes in short rows we had.

Supposing you’ve decided on your stakes, then there’s still the decision of what to use between the stakes for the actual trellis. Most methods require some kind of sting or twine made of something like cotton (which is biodegradable, but not very strong) or some polymer (which will be in a landfill for a long time, but is very strong.) Again, we used a
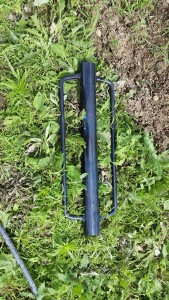
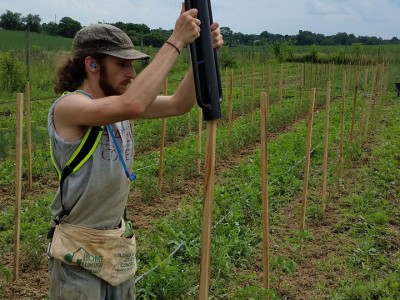
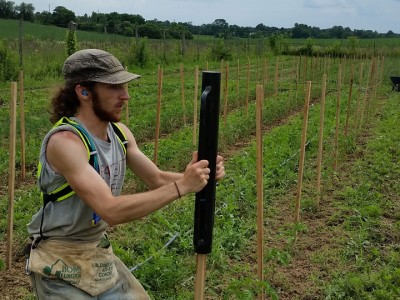
Our 20+lb stake driver

Our 20+lb stake driver

combination of different choices on various portions of our tomatoes. For many of our tomatoes we used a twine to do a Florida Weave which is a complicated technique to describe on its own. For a specific bed where we planted 2 rows, we used a completely different technique involving metal wire.

We’ll get back to that though. Before your do any trellising, you have to stake. In order to stake, you’ll need your chosen stakes, something like a mallet to begin getting them into the ground, and something to drive them with. This year, we have a nice powerful stake driver for that job, but it’s possible to use the capped end of a pipe (very, very securely capped) or even a sledgehammer if you’re desperate.

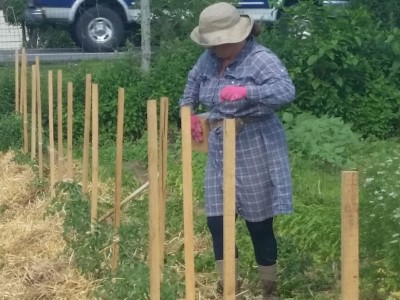
One person with a mallet goes along the row with the stakes and places them upright at the correct spacing. It’s important to make them upright or the tomatoes will follow the leaning, and the correct spacing depends on how close your plants are, how many stakes you have, and how you’re going to trellis them. We go every 2-3 plants, 2 on our rows with 2 ft spacing and 3 on our rows with 1.5 ft spacing for our Florida Weave, and we went every 3rd plant for our metal wire method. The leading person uses the mallet to get the stake somewhat in place, and then a person follows with the stake driver to really get them into the ground (I made sure to wear ear plugs for this part because the stake driver makes sharp, very loud dings.) Metal stakes usually have a little t-bar that should be buried, and wooden stakes should just go into the ground by at least a foot or two (which you should take into account when purchasing!)

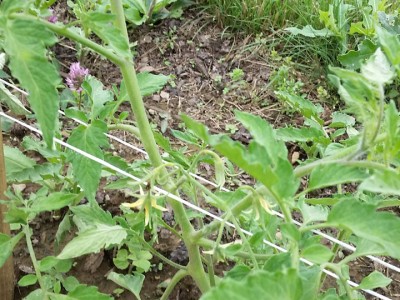
Then it’s time to trellis. Florida Weaving involves a box of twine and potentially a short piece of PVC pipe to help guide the twine. For each of your newly staked rows, you take your twine and run it in a horizontal line about 1 foot off the ground, circling it very tightly around each stake and keeping the twine taught, and then back the other way at the same height, tying each piece off at the ends. You take your tomatoes and tuck them between the lines of twine, and do it again a foot higher when the tomatoes grow taller.

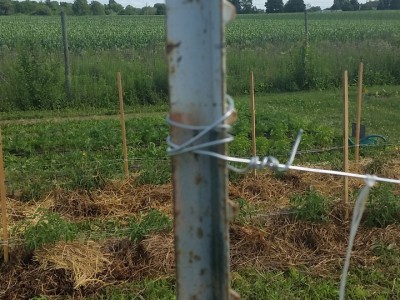
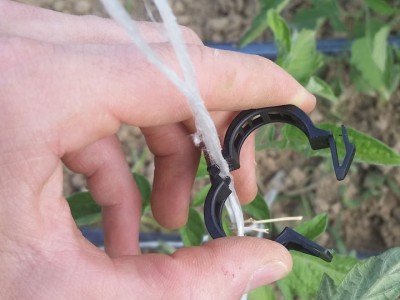
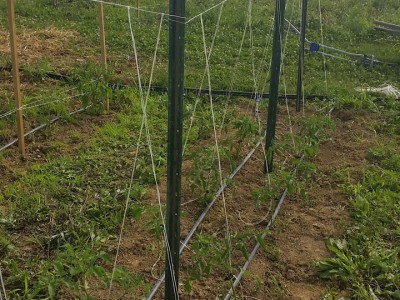
Or there’s our metal wire method. I like this way a bit better, and it actually gave us a use for some previously used polymer twine we had saved. It does require metal stakes though, because of the tension required. For this you take a roll of metal wire and run it along the tops of the stakes, wrapping it very tightly around each to make sure it’s very taught, and occasionally tying it off to increase loss in tension from overly-long lengths of wire. You want the wire so tight that you’re actually pulling the tops of the stakes toward each other every time you tie one. Once you have metal wire over the full row, you take some twine and tie a double length of it over each plant. This means you take a length of twine that goes from the wire to the ground, double it, and loop it around the metal wire so both ends get down to the ground. Then you take black tomato clips (which can be washed and reused, but sometimes break over the course of a season,) and clip each plant into the twine. Some plants that have multiple main stems will need a clip on each one (with one end of the double length of wire in each clip.) And as your tomatoes get taller, you only need to take more clips and add them higher up on the plants.

That is one of the most important job on any farm that grows a good number of tomatoes. There are many more methods than those in this post, you can tell us about your favorite in the comments!

-Joe Ingrao, Summer 2015 Excel Scholar
Compost Hilling Potatoes

June 24th 2015

Hello Farmers and Gardeners!

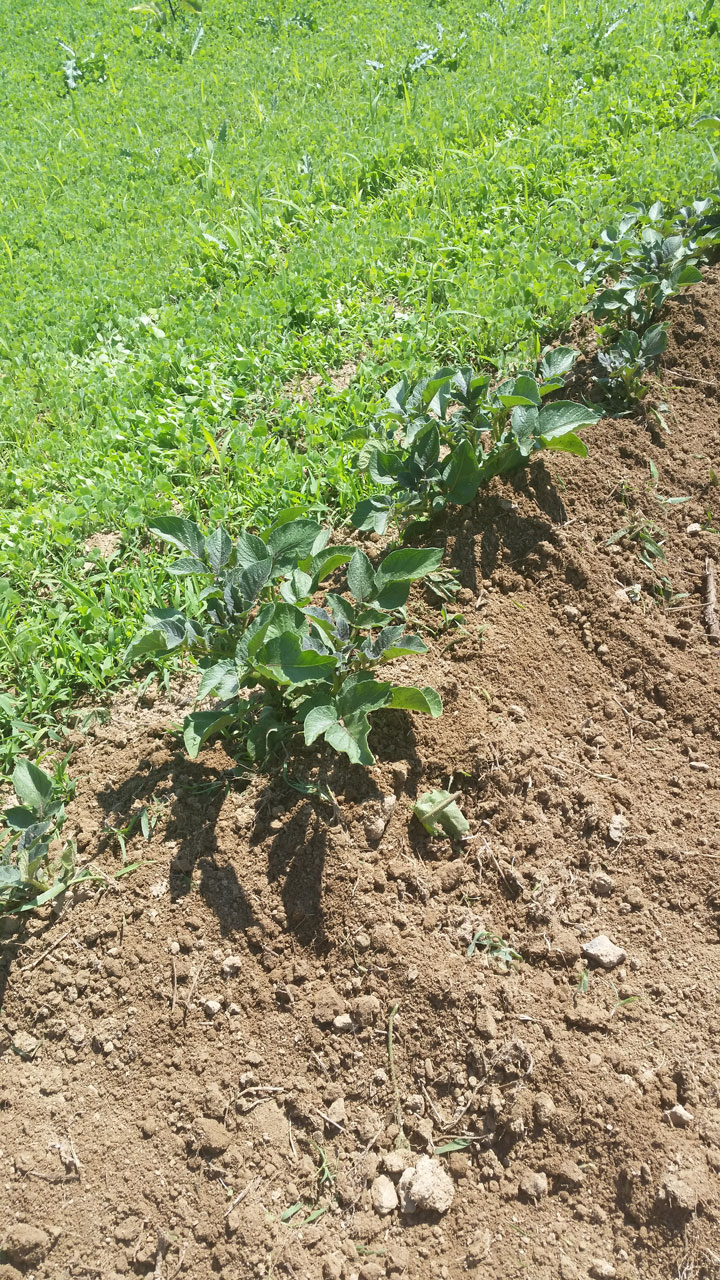
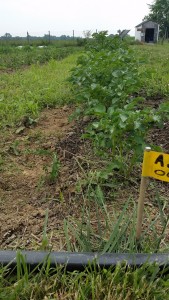
A row of potatoes, pre-hilling

A row of potatoes, pre-hilling

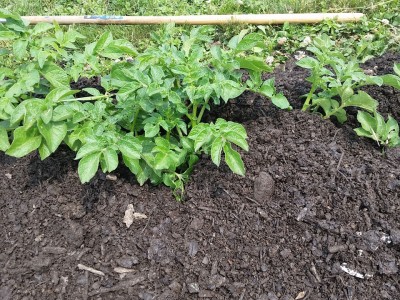
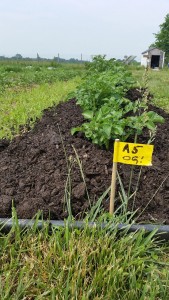
Done-Job

The same row of potatoes, post-hilling

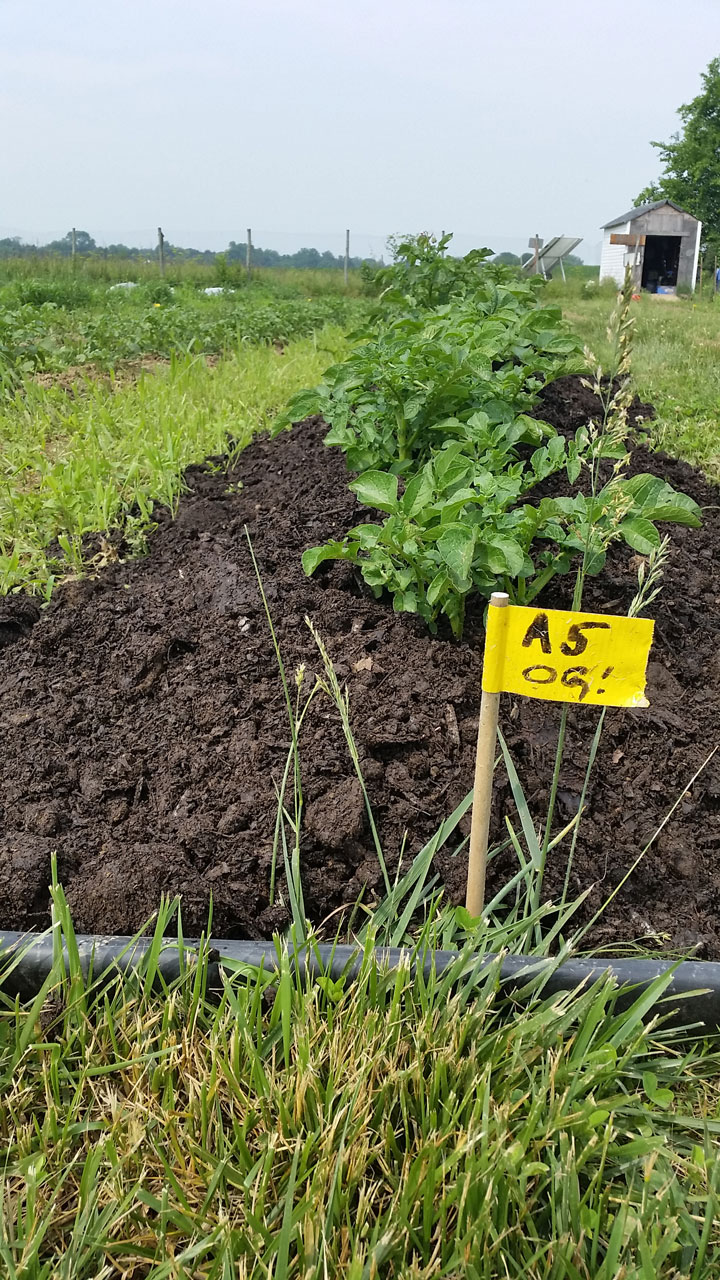
So last year I made a post about hilling potatoes. Hilling potatoes yields more potatoes per plant, keeps weeds down so less weeding, and stops the potatoes from widening and getting all over the place, tricking them into growing higher instead. So hilling is advantageous for many reasons, but there are many ways to do it. My last post about it just involved using dirt. We’ve also used straw and compost to hill, and they are very different techniques. As you may have guessed from the title, this year we’ve been hilling with compost, and that’s what I want to explain in this post.

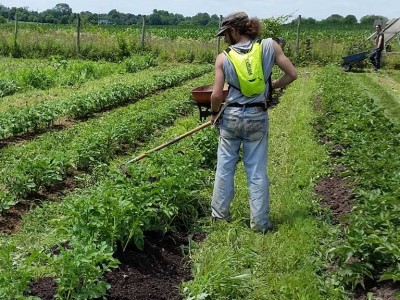
For this you’ll need a flat hoe, a wheelbarrow, a shovel, and compost (obviously.) Once your potatoes have grown up a foot or so, you can hill them, we’ve been hilling our potatoes that went in the ground in late April for the last 3 or so weeks, so most potatoes don’t require much more than a month or so of growing. We always do make sure to weed each row of potatoes right before we mulch them this way, and we mow the paths between the rows to make it easier for us as well.

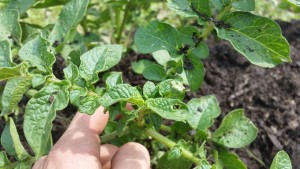
The growing point-or the place where the stem will continue rising, is at the convergence of the highest set of branches on any plant, right here on potatoes. This is the part that it's important to never block from the sun.

The growing point, which is the place where the stem will continue rising, is at the convergence of the highest set of branches on any plant, right here on potatoes. This is the part that it’s important to never block from the sun.

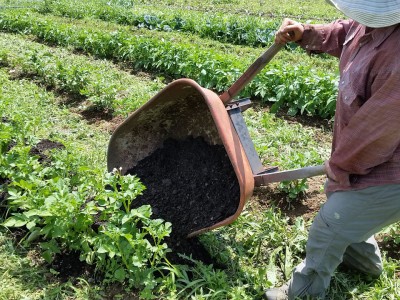
First thing you do is fill a wheelbarrow with compost, and dump it right next to your potatoes. It’s ok if it get’s right on the plants, as that is the point of hilling them. Once your potatoes are nice and strong, you can pile the compost 6-8 inches or higher, as long as you don’t cover the growing point on each plant (pictured.) After you’ve poured it on, you can take your flat hoe and kind of rake the compost into place, covering the bottom branches of each plant as best you can.

After that, you leave the potatoes as they are. They will grow up very happily and yield many delicious spuds for you. Happy Farming!

– Joe Ingrao, Summer 2015 EXCEL Scholar

Direct Seeding Beans

June 17th 2015

Hello farmers out there! I’m back to LaFarm for another summer, and have had my hands in the dirt quite a bit already. To best capture the spirit of the season (a very goal-oriented, don’t-stop-working-all-day-and-there’ll-be-plenty-of-work-left-anyway spirit,) I’m going to be writing about a season appropriate topic: planting beans!

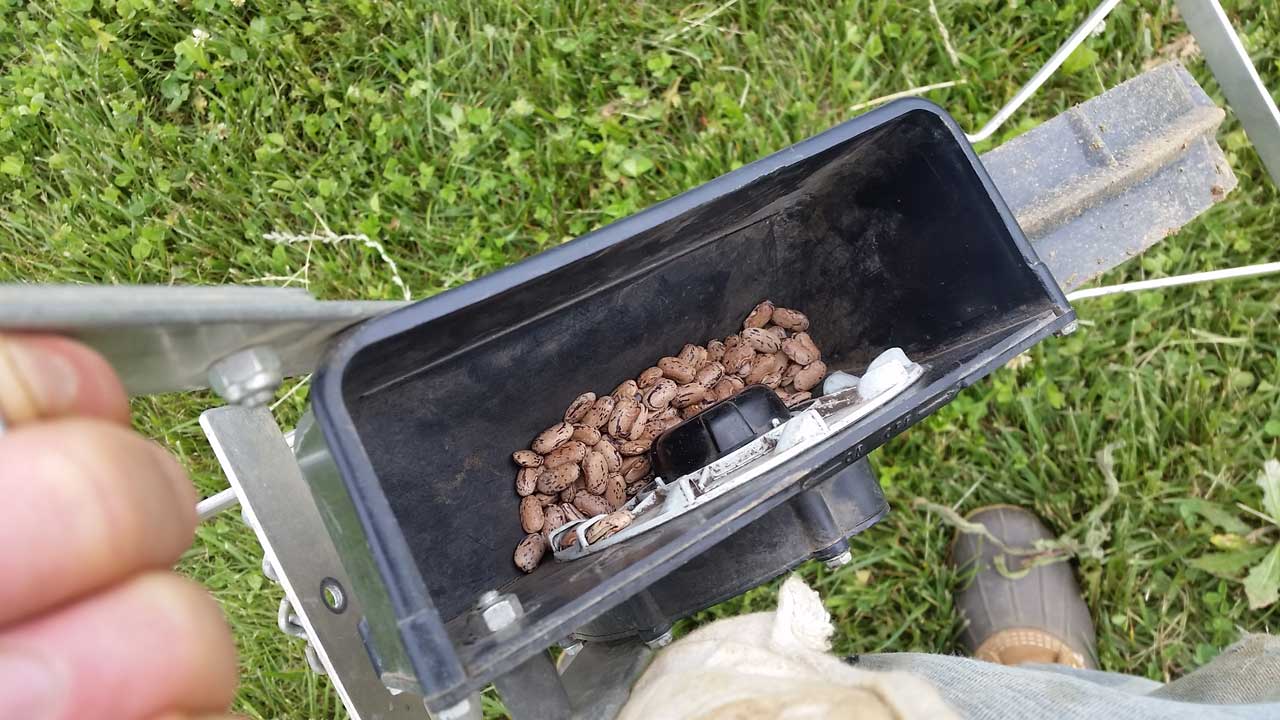
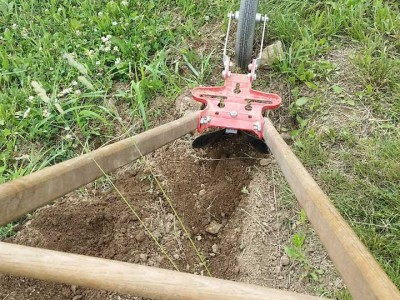
Late summer beans need to be planted around early to mid June, as we did ours just last week. For this process, you need a single row direct seeder (we used an old EarthWay vegetable Seeder,) something to furrow with (we used a wheel how with a furrow attachment,) the beans you want to plant, and potentially some organic seed inoculant.

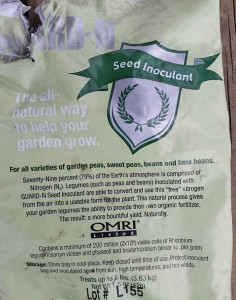
The package of our GUARD-N Seed Inoculant

The package of our GUARD-N Seed Inoculant

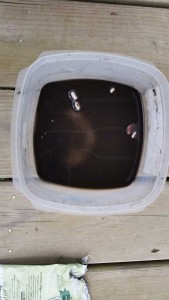
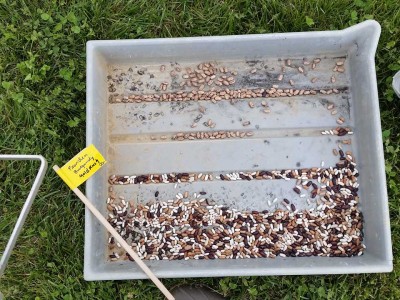
The inoculant as we used it to soak our beans.

The inoculant as we used it to soak our beans

Beans, like all legumes such as peas and certain types of clover, grow nitrogen nodules on their roots to leave in the ground, which boosts the nitrogen in soil tremendously. This is why farmers really like legumes as cover crops and designing crop rotations that have nitrogen intensive crops like corn following legumes. Seed Inoculant facilitates beans’ conversion of in-air nitrogen into these nitrogen nodules, increasing the nitrogen fixing effect even further! This makes it useful to use innoculant. To use seen inoculant, you actually create a bath of the stuff and soak your beans in them a bit before you plant.

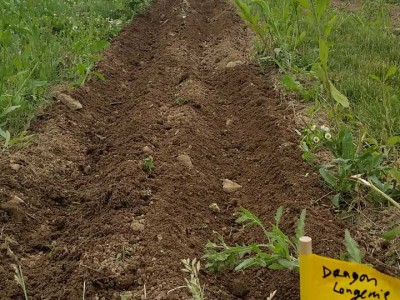
The next thing you must do is prepare the bed. We used a freshly-tilled, 100′ long, 3′ wide bed, and we knew we wanted 2 rows of beans in the bed. So, we took our trusty wheel hoe with a furrowing attachment and ran it down the length of the row twice, 1′ from each end of the bed (and the other furrow.)

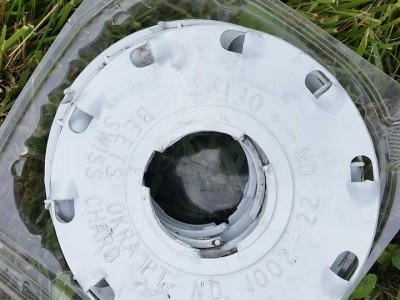
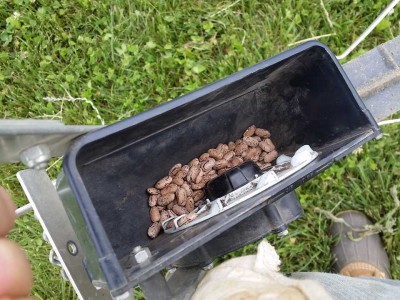
Once you have inoculated your beans and furrowed your bed, you need to get your seeder ready. Make sure you have the correct sized disc for beans in your seeder before you start loading the beans into the seeder!

From here, you need to only take the seeder and run it down the furrow, keeping as straight as possible. Most modern seeders are designed to cover the seeds right after they come out of the dispenser and then compact the soil over them, but if your seeder does not you will need to go down the furrow after you’ve planted and cover your seeds by pulling dirt from the furrow over top of them.

Hope this helps, and happy farming!

Joe Ingrao, Summer 2015 EXCEL Scholar

STRAW

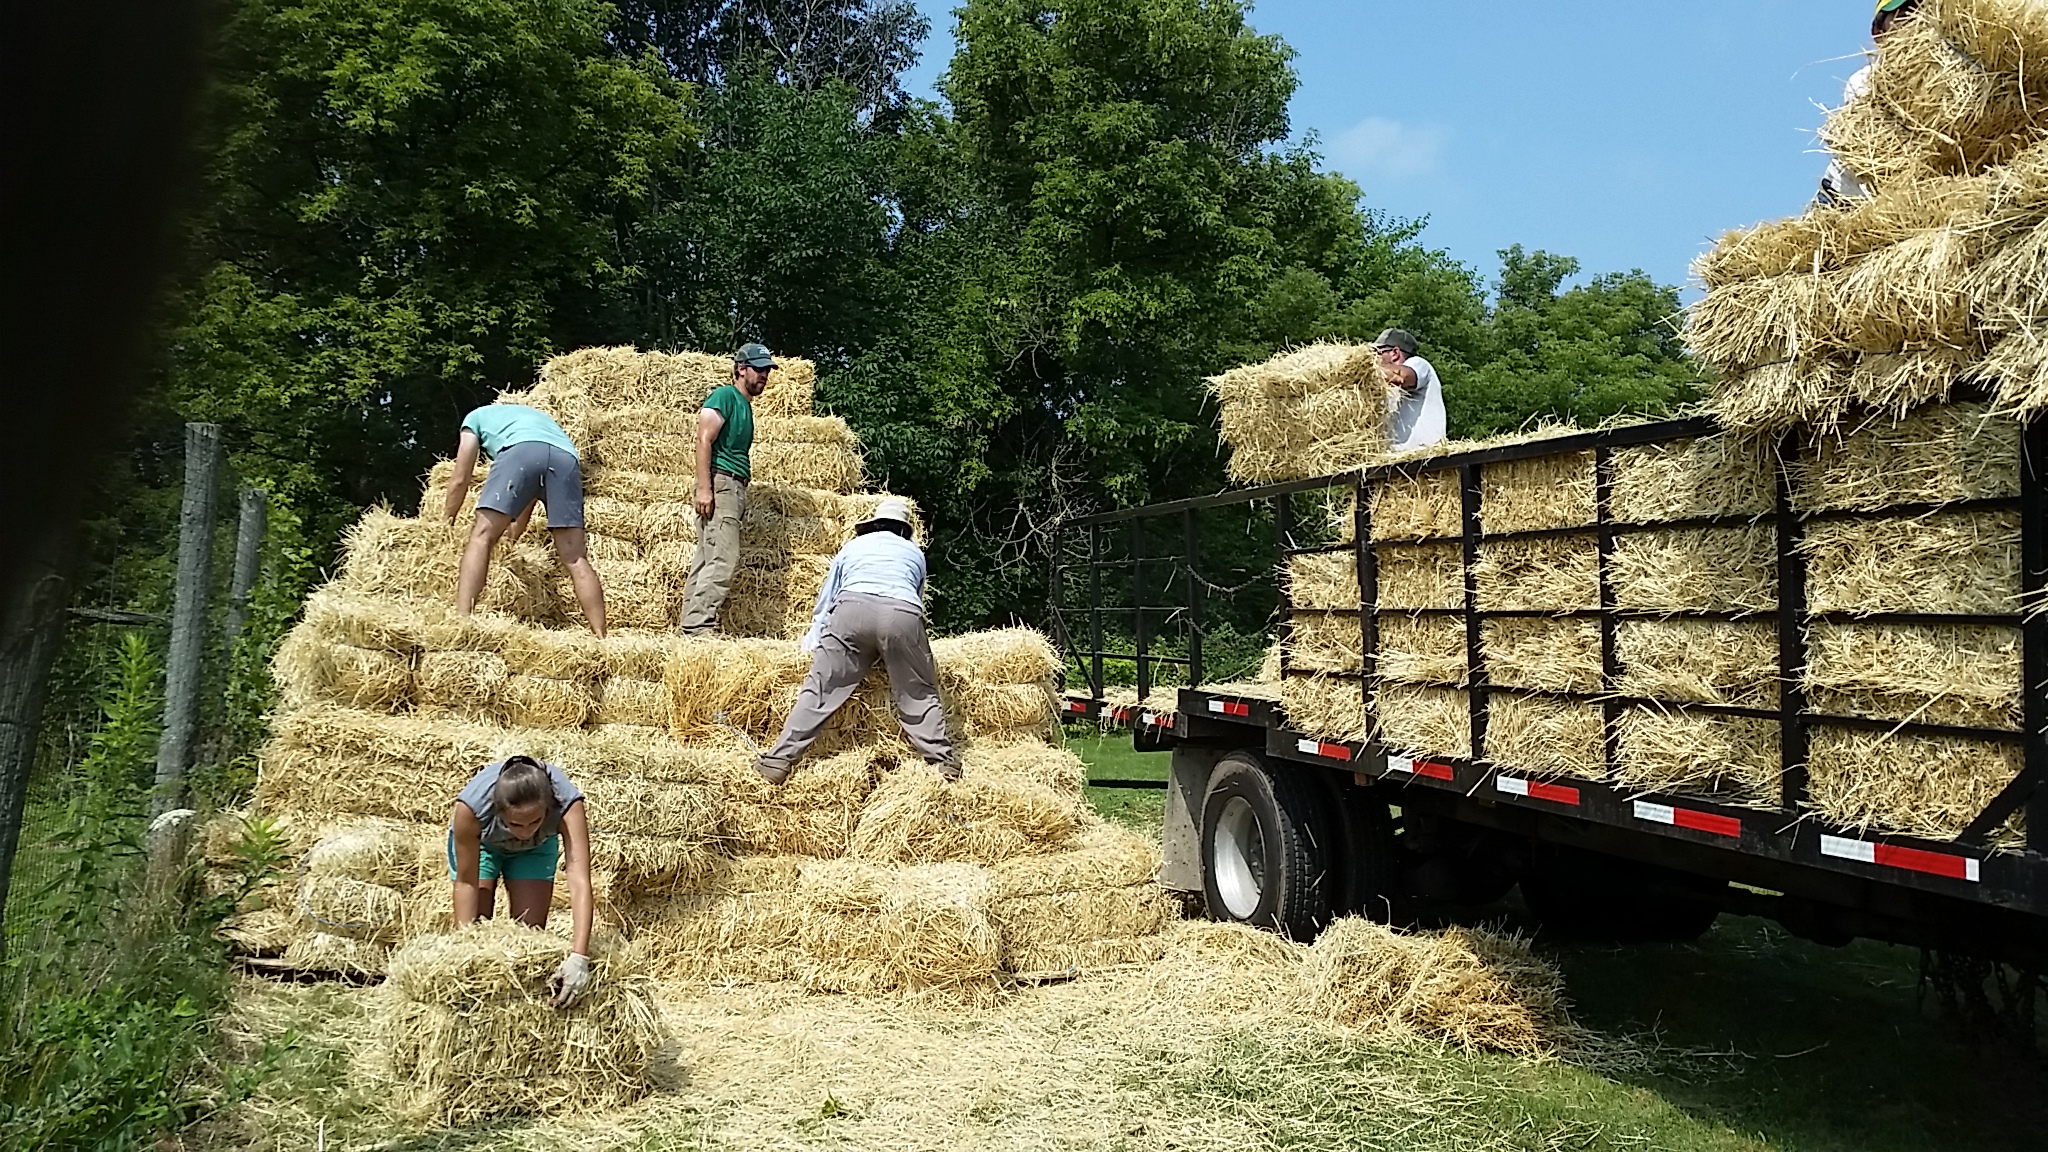
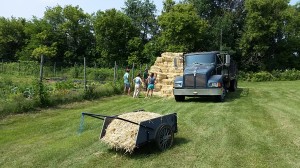
Stacking straw in a ziggurat-like structure on top of wooden pallets

Stacking straw in a ziggurat-like structure on top of wooden pallets

So this isn’t very much like the other technique posts, but it’s closer to them than a general update. This post is about something that became very relevant to the farm this week. As you may have guessed from the title, this post is about straw.

We got a bit of a shipment of straw this week. A shipment of about 400 bales. That may seem like a lot, but apparently it’s not so much, as exampled by the shipment Prof. John Wilson was getting after ours, for 1000 bales.

Now let’s back up a bit. What is straw exactly?
Well, when most people see straw, they say hay. But there is a difference. Hay is for horses as they say, and it’s still got seed husks as opposed to straw which is made to be easier to lay down and has the seed husks removed.

The LaFarm crew stands victorious after stacking 400 bales of straw. Despite the intimidating nature of moving 400 15+ lb blocks of sharp sticks, we finished the job in only 45 minutes!

The LaFarm crew stands victorious after stacking 400 bales of straw. Despite the intimidating nature of moving 400 15+ lb blocks of sharp sticks, we finished the job in only 45 minutes!

So what are we going to do with 400 blocks of straw? Mulch! Mulching 6-8 inches of straw around a growing plant or on paths between plants is a great way to stop weeds (as long as you go ahead and weed or mow the area beforehand.) And around the time when student labor is getting harder to come by as summer break is nearing its end, having this protection against weeds is very necessary for our farm.

Straw is a really great mulch because it also adds a good deal of organic matter to the soil if you till it in at the beginning of next season, unlike plastic mulches. We’re really going to enjoy using it here at the farm, though it was hard work getting stacked up.

Straw could easily be the answer to your weed problem wherever you are, although you might need less than 400 bales (or maybe you need hundreds more!) But if you’re handling it, try to wear gloves and long sleeves, as it can be very irritating on the skin. It usually comes in large blocks called bales tied with 2 lengths of twine. When you have it where you want it, cut the twine and just flake it out underneath your plants or around your pathways until its layered 6-8 inches down.

And if a length of twine comes off before you get the bale where you need, don’t panic! You can take the twine that fell, cut it, and cross-tie it around the other piece, by taking it around the narrower edge and tying it to the other piece on each end.

Sarah looks out contentedly upon the farm and our new straw mountain.

Sarah looks out contentedly upon the farm and our new straw mountain.

Good luck with your weeds!

-Joe Ingrao, Excel Scholar Summer 2014
Weed Thatching

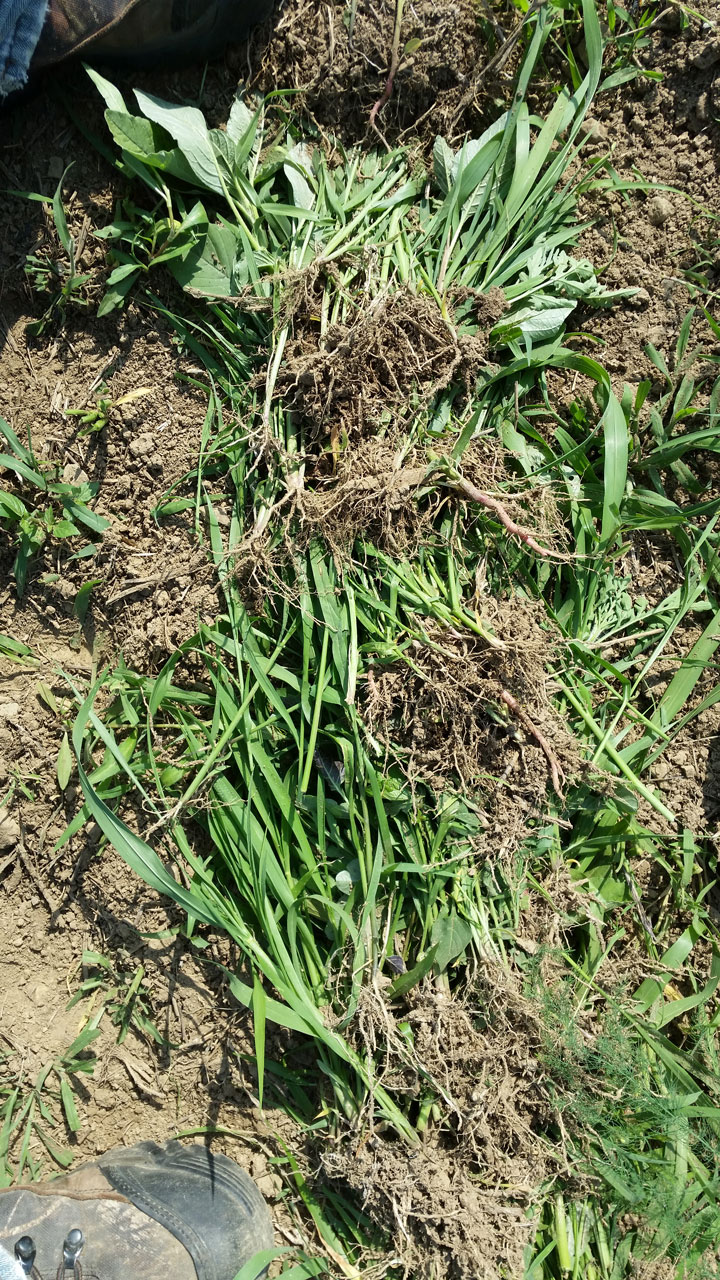
Weed thatching. Notice the roots are always exposed to the sun.

Weed thatching. Notice the roots are always exposed to the sun.

Small scale farms are diverse. With a large number of plots growing different things, with certain things taking priority at certain times, you can look away from a plot for a week only to come back with weeds almost a foot high. Or, maybe you left the plot that way because you intend on using those weeds for good. How can weeds be used for good you ask? Well besides being good for compost, you can also use tall weeds as a form of mulch specifically to prevent more weed growth, which will also add more organic matter to your soil in the long run. It’s called weed thatching.

Wherever you have some bad weeds, between 1 and 2 feet tall, you can try this nifty trick. All you have to do is physically grab and pull out large handfuls of weeds and then lay them down over the pathway or row you’d like to cover. You always want the roots of one handful to be on top of the above ground portion of the previously laid handful (see the picture), and it’s best to do this on hotter, sunnier days so the sun will kill the weeds through root exposure. It’s best to lay them on pretty thick, and you may have to do this twice to completely shade out the weeds, but it’s worth it if your crop can afford the bit of weed exposure and you are sick of weeding it.

It’s easier to do on days when the soil isn’t too dry, just because it’s easier to pull the weeds then, but if you’re going to thatch weeds on purpose, make sure to keep a close eye and not let any weeds go to seed, That would be disastrous. If any weeds that you do pull are mature and might be close to seeding, don’t thatch with them or compost them, dispose of them away from where the wind could pull their seed into any plot.

Good luck with your beds gardeners!

-Joe Ingrao, Excel Scholar Summer 2014
Potato Hilling

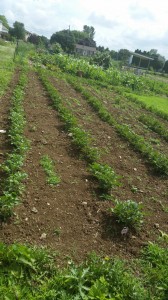
Potatoes before hilling

Potatoes before hilling

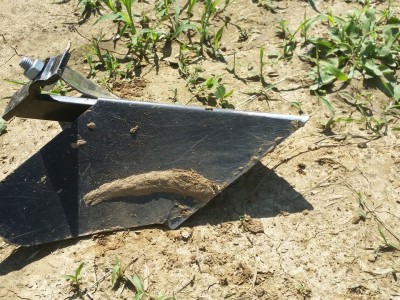
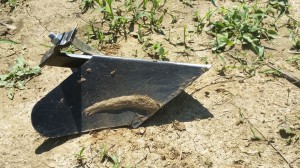
Shovel attachment for Wheel Hoe

Shovel attachment for Wheel Hoe

So, potatoes are really easy to get into the ground, but what about ways to get them to produce more potatoes per plant? A good and simple answer to this is to do what is called Hilling to your potatoes.

You start with your lovely potato plants, after they’ve grown to be at least a foot above the ground as shown in the before picture.

You take a wheel hoe, a handy dandy invention that’s been around a long time that Sarah recommends as one of the two most important tools for a small farm, and you attach a shovel-looking attachment.

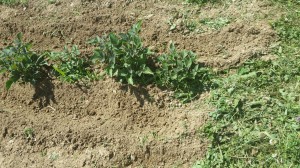
You then run your wheel hoe with the shovel attachment alongside your potato rows, pushing the dirt up onto the potato plants. Your potatoes will then look something like ours do in the during picture.


Potatoes during hilling

Potatoes during hilling

Potatoes after hilling

Potatoes after hilling

The dirt should have been driven up around some of the bottom leaves of the potato plant. This won’t hurt the plant as long as it’s not completely buried. It will trick the plant into thinking that it must grow taller to get the same amount of sun, instead of growing wider as it does normally. Growing taller makes the plants store more starch in their roots, i.e., grow more and bigger potatoes.

To finish the process, you’ll want to take a regular old hoe and pull the dirt that was pushed up by your wheel hoe and bring it in closer to the plant, covering the first few layers of leaves. It’s safe to cover up until almost the very top, as long as at least the highest layer of leaves is revealed, but we just covered up the bottoms. You can see our finished product in our after picture.

-Joe Ingrao, Excel Scholar Summer 2014
Tomato Planting

Everyone knows the beauty of a good tomato. From tomatoes that are good for sauces (known as paste tomatoes) to heirlooms and big beefsteaks for dicing up and cherry tomatoes for throwing in salads, tomatoes are a versatile crop.

To plant a good row of tomatoes, you start out with a 3 ft wide tilled bed. With a post-hole digger you want to go down the middle of the row and dig a new hole every 2 ft. The depth of the hole depends on the size of the plant. Tomatoes are aggressive rooters, so they’ll grow roots off their stem wherever they’re on or in the ground, but you don’t want to bury much more than a fifth of the main stem into the ground. You should place the plants into the holes and fill in around the stem, creating a bit of a mound around the plant if it’s longer than say, a foot.

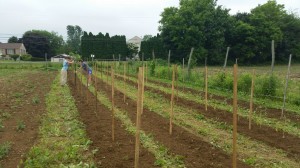
Our tomato crop, right after planting and trellising

Our tomato crop, right after planting and trellising

Make sure that if any leaves touch the ground, you remove the whole branch attached to them. These low hanging branches can spread pathogens easily and greatly increase the chances of blight. Also remove any little tomatoes that have already started to grow before you put your plants in the ground. Those and the low branches will just slow the plant’s overall growth. It’s also important to look out for concentric or patterned spotting on leaves of the tomatoes before they’re planted. These can be further signs of disease.

Some farmers let their tomato plants grow along the ground like some sort of squash, but they’ll generally yield more and be easier to weed and manage if you build a trellis for them. To construct the trellis, you should pound stakes into the ground between the plants, no further apart than 3 plants, unless it’s at the very end of a row. At the ends, make sure to use higher quality stakes, we use metal ones there and wooden ones in the row itself. To pound them in, you can use a normal mallet, or if you’re short like me, or just want to save your wrist, you can use a post driver, a simple device which is a hollow cylinder that is open at one end, sometimes weighted or even with a spring inside to assist with pushing the stakes in.


Tomatoes, 1 month later

Tomatoes, 1 month later

To complete your trellis, you want to take string and do what’s called a Florida weave. To do a Florida weave, you loop string around your first stake and then pull it along, looping it along each stake as you go. At the end of the row, you should loop it back around and go on the opposite side of each stake along the row for a second time. You should end up with string on each side of each plant. You want to do your first weave somewhere between 8in and a 1ft above the ground, and then you want to get your tomato plants in between the weave, so it will grow vertically. As the tomatoes grow taller, you want to weave again and keep letting them grow upwards. This makes it much easier to weed and harvest your tomatoes. There are handy tools you can find online that were made to help to make a Florida weave, and we use a length of PVC pipe that we pull the string through to help with looping around tall stakes.

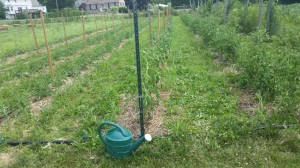
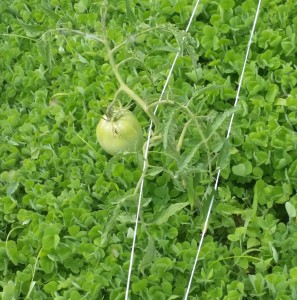
As you can see from this later picture, after our tomato plants were off the ground we weeded underneath them and laid straw under them, as mulch that will block sunlight to weeds and eventually add organic matter to the soil.

Tomato harvest is going to be soon!

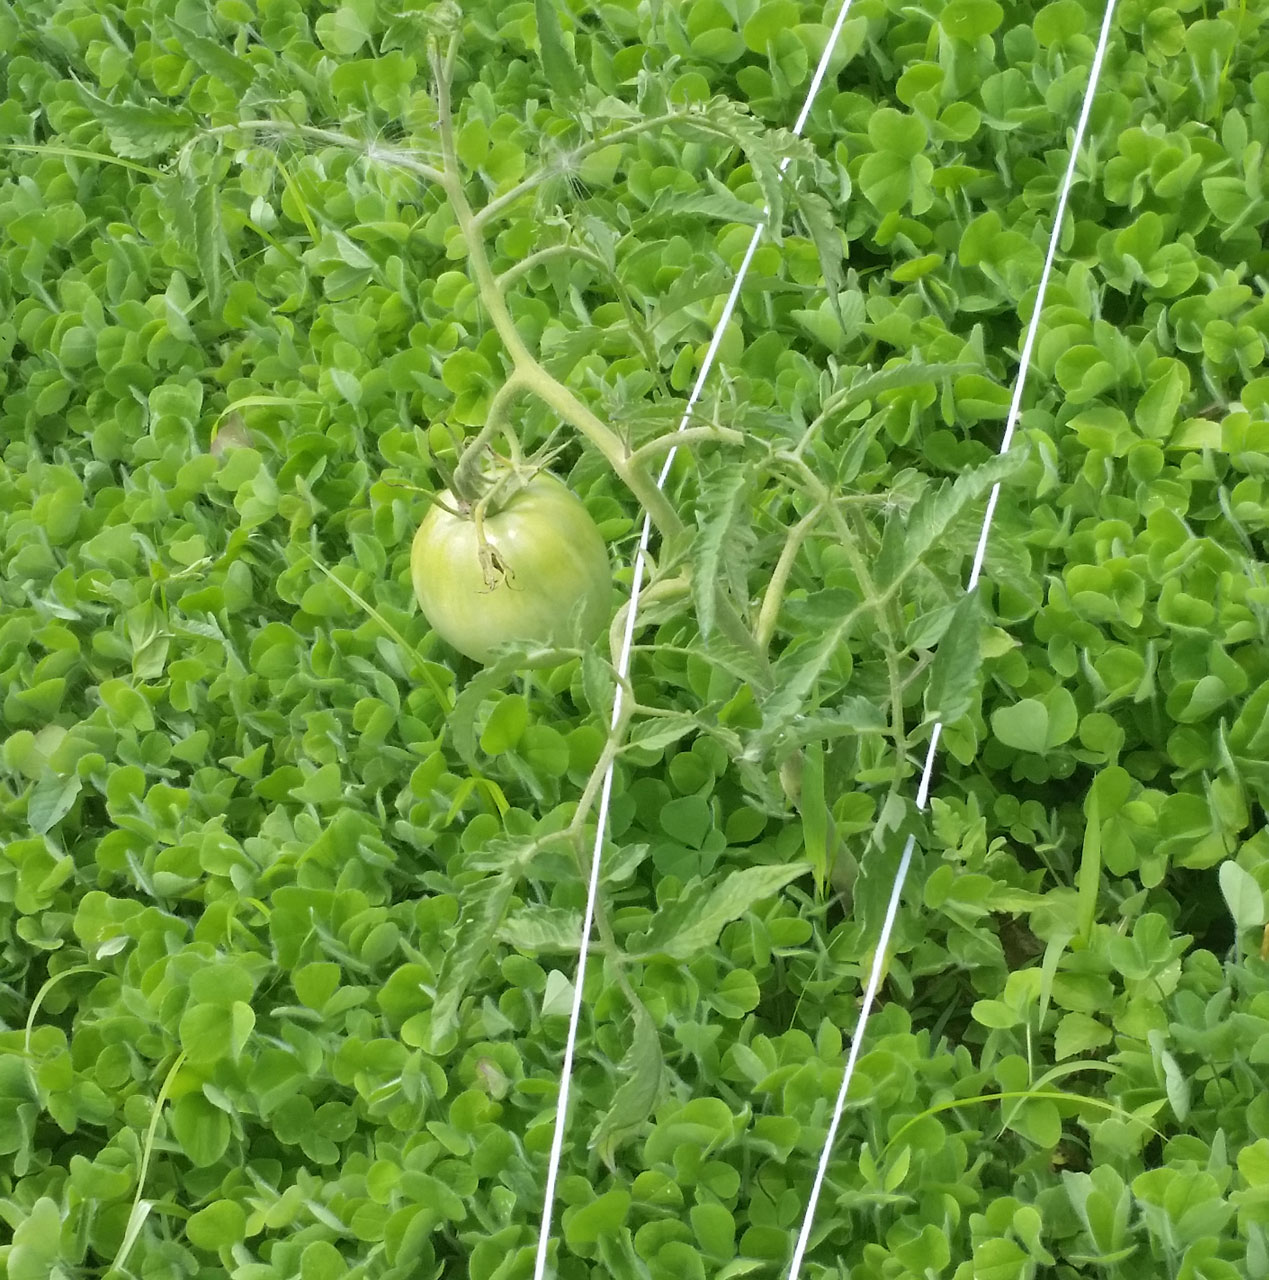
Tomato harvest is going to be soon! (This tomato is from another section of our farm where we chose to sow crimson clover under our tomatoes instead of mulching, and its working wonderfully!)

-Joe Ingrao, 2014 Excel Scholar
Asparagus Planting and Transplanting

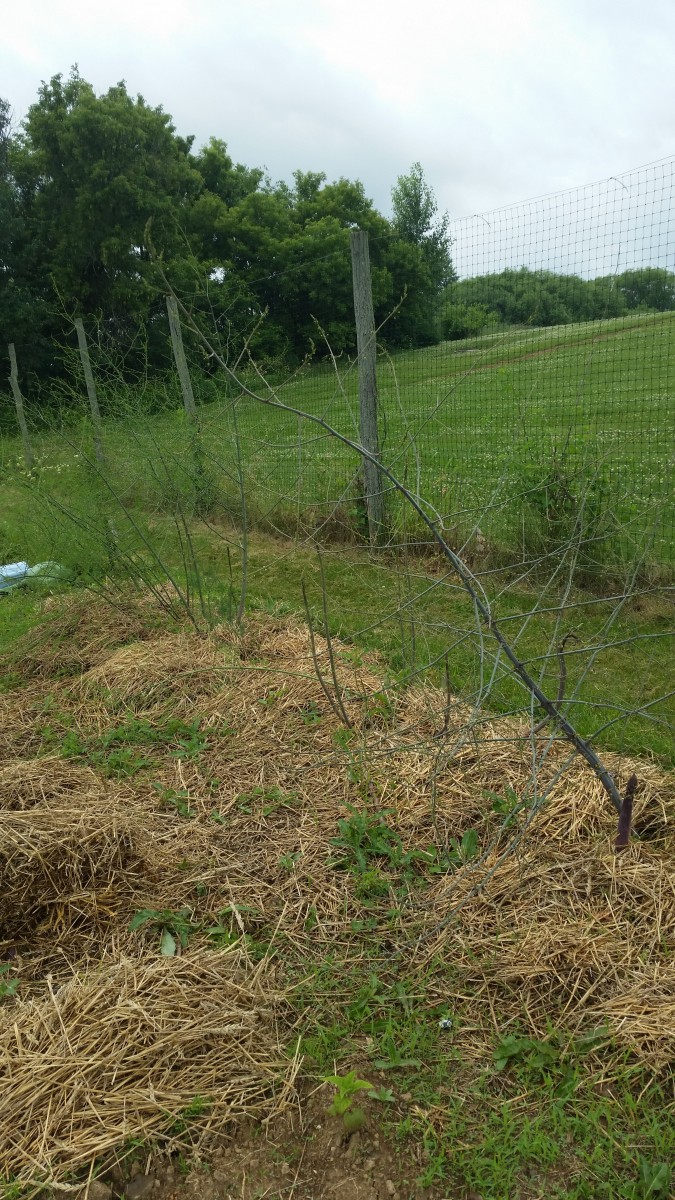
Asparagus is a perennial that won’t grow much harvest in the first year or two but for many years can be harvested almost every other day because of how fast it can grow. It’s also delicious either raw or cooked and is very nutritious! Planting sprouts straight from a greenhouse or transplanting a fully grown plant involve very different planting techniques.

Asparagus Old 20140619

Asparagus grows tall and begins to resemble an odd tree when it gets close to seeding. Photo taken by Joseph Ingrao, June 19th 2014

For new sprouts, you start with soil that’s been lightly tilled with a tilling rake with 3 foot wide beds separated by 1 foot wide paths. In the beds, you mark off lines 1 foot from the path on either side (and therefore with one foot between these lines.) Then you take a wheel hoe with a shovel-like attachment and run it along those marked lines, making a sort of W shape in the soil.

Once you have a W, you take your asparagus sprouts and dig them into the middle bump of the W at 1 foot intervals, making sure to pack the dirt to cover all their roots in a way that will maintain the W shape of the soil. You want to water them very soon after putting them in the ground this way, for about 5 seconds for each plant. Excess water will run into the dips of the W, staying where the roots of the new plants can reach it without drowning them.

For an already established asparagus plant that you wish to move, or one that you ordered from somewhere else, the process is different. You don’t need to till the soil necessarily, but you still need your 3 foot wide bed. You dig a hole at least 10 inches deep, it needs to be deep enough to cover all the roots of the asparagus, or even go above them a little. At the bottom of the hole, you want a mound of dirt in the center and a sort of moat of empty space around that mound. This serves the same purpose as the W for planting sprouts, a place for water to collect and be accessible without drowning the plant. Place the asparagus in the hole and cover it, preferably with good soil or compost to help it adjust to its new spot. Then you want to water it an outrageous amount, perhaps a whole watering can’s worth, again to help it adjust.

Asparagus can grow very quickly, sometimes yielding a new harvest over one or two nights. To harvest a stalk that looks ready, you cut it off the plant right below the soil and then cut it again right under where the stalk will easily bend, to mark what is edible.

-Joe Ingrao, Excel Scholar 2014