Summer 2014 Wrap Up

Can’t believe the summer is concluding so soon, but classes start in less than a week now, so it’s time for my last post.

Throughout the summer, I kept the blog updated with mostly what was going on at LaFarm, and didn’t go over a good deal of what I was specifically here to do when I wasn’t growing tomatoes and harvesting kale. So for my wrap up, I’ll go over what I was doing off the farm.

Way back in the first weeks of June, I met with my team of faculty advisors; Professors Cohen, Reiter, and Brandes as well as Sarah; to discuss just what I should be doing with my research. At that meeting, it was decided that the best specific thing to work toward would be answering the question “What would it take to get a Packinghouse and a Greenhouse at LaFarm?” as those are the two things we need most to get as much as we want to out of the farm.

Before I could do something as complicated as making plans for agricultural infrastructure, I had a lot of research to do. Getting resources from the Professors, Sarah, and from Tianna DuPont, the USDA extension agent for PA, I had my work cut out for me. I read a host of books, articles, and downright tomes on farming, totaling 12 sources varying in length from 10 pages to over 300, and that was just my library research. The best way to learn about farming is truly to see what others have done, how, why, and how you can change that to fit your needs, so it was also necessary for me to visit other farms with infrastructure to gather more information.

I ended up visiting 5 farms: The sprawling student farm at Delaware Valley College; the freshly moved Good Work Farm outside of Emmaus, that Sarah helped to start; the Seed Farm which raises upstarts into a position where they can start their own farm (also in Emmaus and Sarah attended there before starting Good Work Farm); Blooming Glen Farm, a profitable family business farm that’s been established for around a decade; and the educational Pennypack Farm down south near Philadelphia. All of these farms had different set ups and different recommendations, as well as different purposes set out for themselves.

Going to those farms and working with as well as talking to the farmers in all those places was not only an amazing learning experience but also one of the most influential and inspiring things to see for someone who aspires to be a farmer one day. Each of the farmers I met has had their own experiences, has their own ideas, their own plans and dreams, their own way of looking at things, making them all very unique. Learning from all of them really put my ideas for my future in perspective.

And it was very helpful for this summer’s work too. In conjunction with the foundations I learned in the books I read, seeing and hearing from real farmers in our region helped me truly understand what we would need in a Packinghouse and how we would set up a Greenhouse at LaFarm. Plans are being cooked up right now, as my work rolls over into the fall. Hopefully it won’t be too long before we have enough support and a clear enough idea that we will be able to actually go to the administration and get a green light.

For now, I’ll continue refining what I have, and learning more about growing food sustainably. The point of my work after all, has been to create an environment in which more people will understand why sustainability matters, and how to be responsible in fostering it. Another of my projects for the Fall is to help write an article linking my work this summer with that vision which is lofty, realistic and necessary all at the same time.

Signing out,
-Joe Ingrao, Excel Scholar Summer 2014
The Importance of Planning

This Monday before doing anything else, Sarah led a 2 hour walk of the farm, seeing how the new crops were germinating, where we were getting weeds and where we weren’t, inspecting for pest damage, and checking which crops would be ready for harvest. This sort of farm walk is a must for small scale farmers who want to do what is needed at just the right time, instead of doing the same things on the same days every year and hoping for it all to work out.

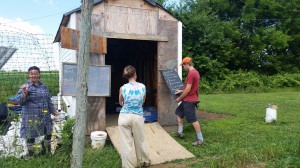
The farm crew for today (Sarah, Jenn, and Eric) talking over and writing down everything we need to do this week.

The farm crew for today (Sarah, Jenn, and Eric) talking over and writing down everything we need to do this week.

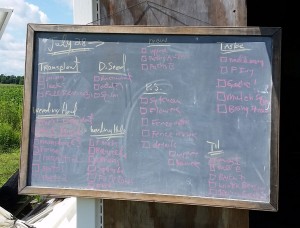
Writing down what needs to be harvested this week really helps keep track of what we're producing.

Writing down what needs to be harvested this week really helps keep track of what we’re producing.

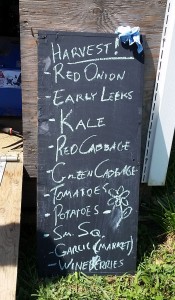
Going around and taking note of everything that we need to do for a week is a great time and energy saver, and allows us to get higher quality produce at the same time. For us, the employees, finally seeing the attention and work that goes into planning out the week and writing up what needs to be done on our chalk board (which we hang in an easily visible place) gives us motivation to do more. At the same time, it shows us all the things a farmer must balance on their land, thinking of what needs to be done and when.

The completed to-do list for the week. Of course, we don't hesitate checking things off, removing things altogether and of course adding things as the week goes on.

The completed to-do list for the week. Of course, we don’t hesitate checking things off, removing things altogether and of course adding things as the week goes on.

Overall, the time spent on the farm walk, which may feel less satisfying than going at 100%, 100% of the time, actually gives us more time to do what is needed, and brings us closer to the earth and the plants in both a metaphorical and literal sense. Not only do you get more of the feeling that you’re really working with the earth and your plants, but you actually understand how they work better by observing them actively rather than passively while doing some task. Some farmers do walks of their land at the end of each work day, both to review what they’ve done and plan for the next day, and at peak times in the season this may seem like a lot of extra work, but the time and crop saved is more than worth the effort.

-Joe Ingrao, Excel Scholar Summer 2014
STRAW

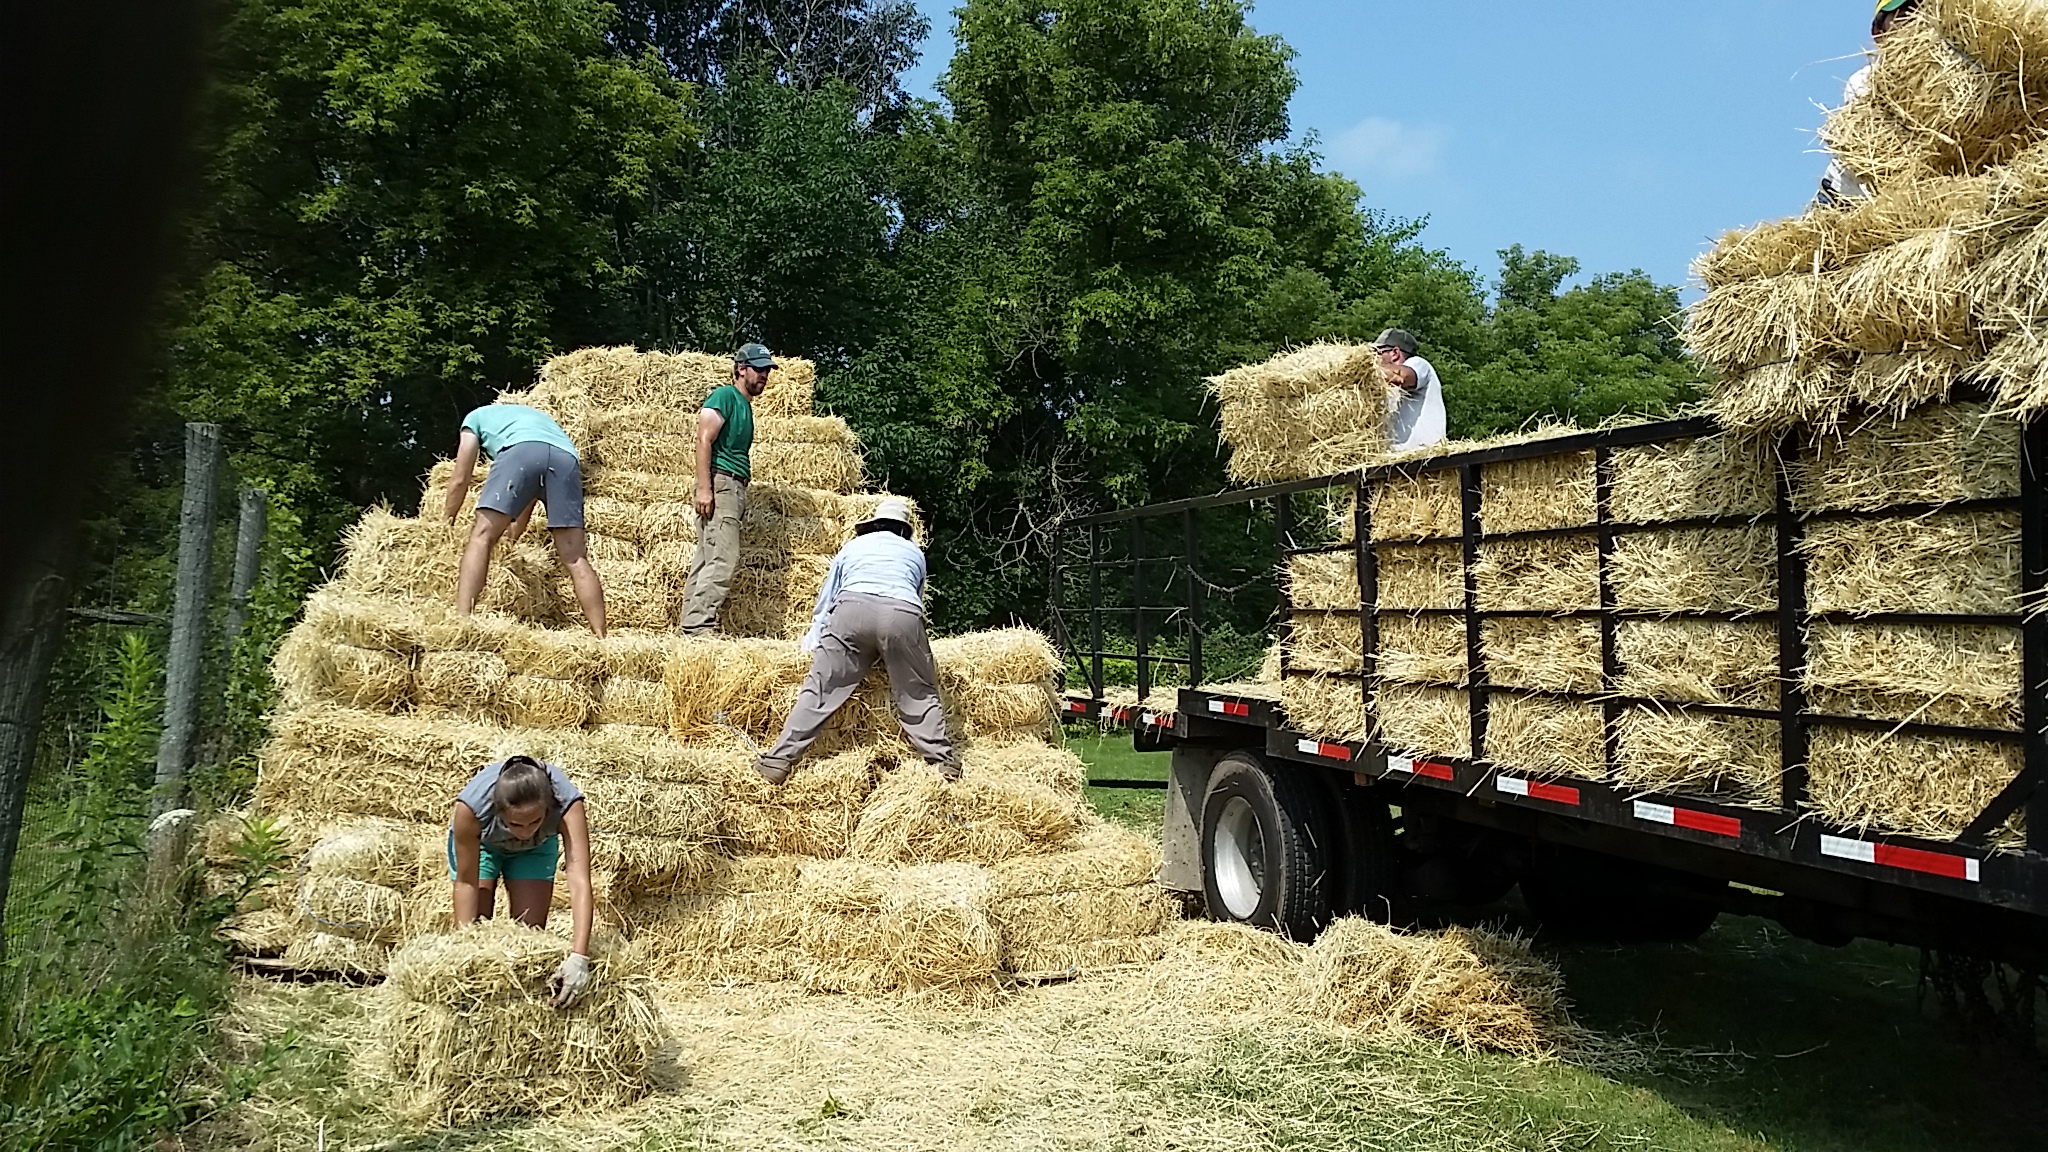
Stacking straw in a ziggurat-like structure on top of wooden pallets

Stacking straw in a ziggurat-like structure on top of wooden pallets

So this isn’t very much like the other technique posts, but it’s closer to them than a general update. This post is about something that became very relevant to the farm this week. As you may have guessed from the title, this post is about straw.

We got a bit of a shipment of straw this week. A shipment of about 400 bales. That may seem like a lot, but apparently it’s not so much, as exampled by the shipment Prof. John Wilson was getting after ours, for 1000 bales.

Now let’s back up a bit. What is straw exactly?
Well, when most people see straw, they say hay. But there is a difference. Hay is for horses as they say, and it’s still got seed husks as opposed to straw which is made to be easier to lay down and has the seed husks removed.

The LaFarm crew stands victorious after stacking 400 bales of straw. Despite the intimidating nature of moving 400 15+ lb blocks of sharp sticks, we finished the job in only 45 minutes!

The LaFarm crew stands victorious after stacking 400 bales of straw. Despite the intimidating nature of moving 400 15+ lb blocks of sharp sticks, we finished the job in only 45 minutes!

So what are we going to do with 400 blocks of straw? Mulch! Mulching 6-8 inches of straw around a growing plant or on paths between plants is a great way to stop weeds (as long as you go ahead and weed or mow the area beforehand.) And around the time when student labor is getting harder to come by as summer break is nearing its end, having this protection against weeds is very necessary for our farm.

Straw is a really great mulch because it also adds a good deal of organic matter to the soil if you till it in at the beginning of next season, unlike plastic mulches. We’re really going to enjoy using it here at the farm, though it was hard work getting stacked up.

Straw could easily be the answer to your weed problem wherever you are, although you might need less than 400 bales (or maybe you need hundreds more!) But if you’re handling it, try to wear gloves and long sleeves, as it can be very irritating on the skin. It usually comes in large blocks called bales tied with 2 lengths of twine. When you have it where you want it, cut the twine and just flake it out underneath your plants or around your pathways until its layered 6-8 inches down.

And if a length of twine comes off before you get the bale where you need, don’t panic! You can take the twine that fell, cut it, and cross-tie it around the other piece, by taking it around the narrower edge and tying it to the other piece on each end.

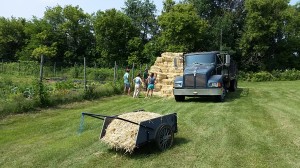
Sarah looks out contentedly upon the farm and our new straw mountain.

Sarah looks out contentedly upon the farm and our new straw mountain.

Good luck with your weeds!

-Joe Ingrao, Excel Scholar Summer 2014
My First Market

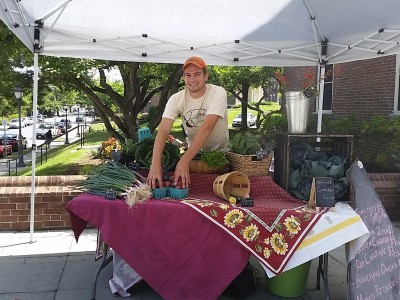
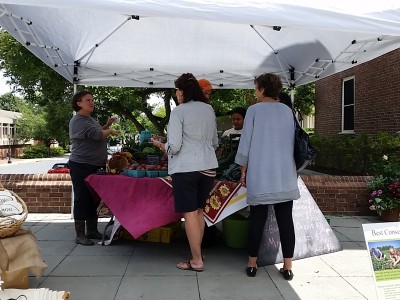
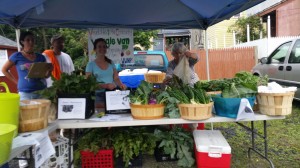
I worked our second week of market today, my first time on the selling end of a farm stand. Being there with an experienced farmer and farm marketeer, Sarah, was a wonderful chance to learn the ropes of direct marketing to customers in a situation where my income didn’t depend on my performance, which isn’t the case for most farmers standing behind their tables. That’s another reason I’m so glad for this continuing opportunity to learn what it’s like to really be a producer, without the risk of losing my livelihood if I fail.

And it went very well! We sold out of tomatoes within twenty minutes (we promise to bring more next week,) sold out of zucchini, and sold the majority of everything else we brought. Harvesting in the morning, setting up the stand, being engaged with customers for the market and then tearing everything down was hard work, but all farm work is hard work that’s more than worth the effort.

Here’s some pictures I was able to take between customers:

It was very nice to be able to hand someone a bag full of potatoes I had picked only hours ago, to physically see the food we’ve created get sent into it’s next step in the food loop. That satisfying feeling is well worth the time.

-Joe Ingrao, Excel Scholar Summer 2014
Weed Thatching

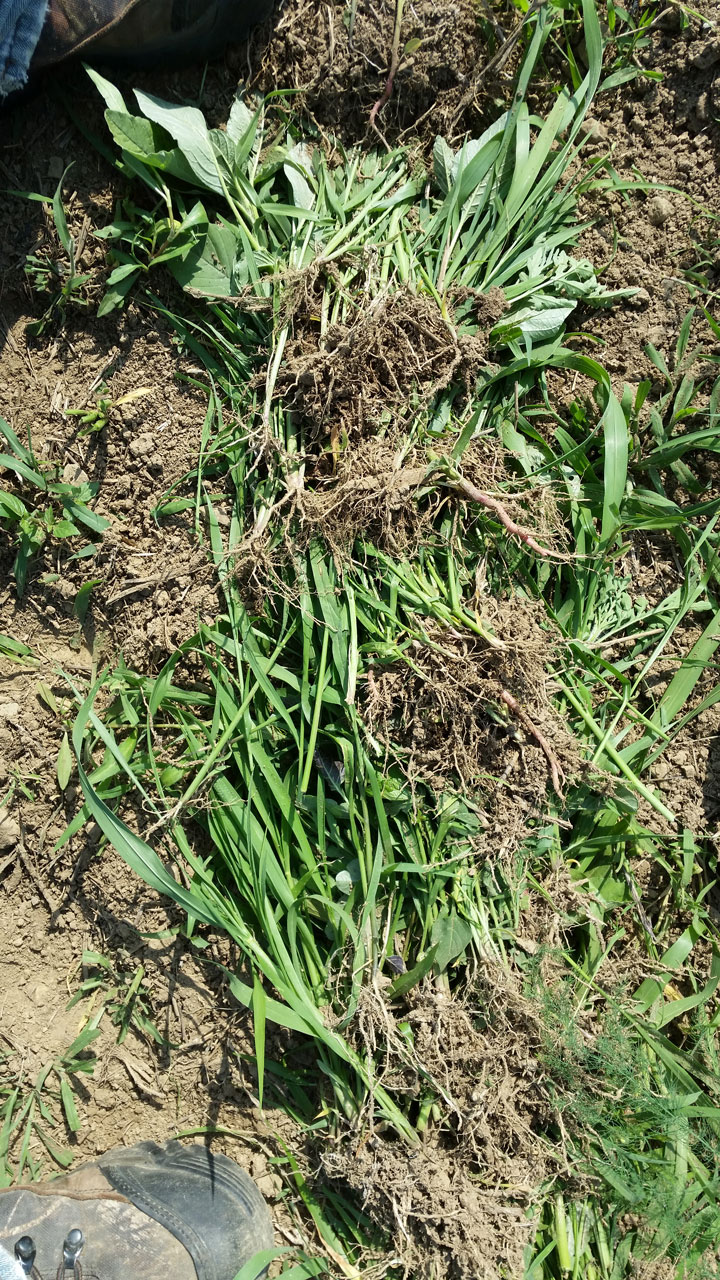
Weed thatching. Notice the roots are always exposed to the sun.

Weed thatching. Notice the roots are always exposed to the sun.

Small scale farms are diverse. With a large number of plots growing different things, with certain things taking priority at certain times, you can look away from a plot for a week only to come back with weeds almost a foot high. Or, maybe you left the plot that way because you intend on using those weeds for good. How can weeds be used for good you ask? Well besides being good for compost, you can also use tall weeds as a form of mulch specifically to prevent more weed growth, which will also add more organic matter to your soil in the long run. It’s called weed thatching.

Wherever you have some bad weeds, between 1 and 2 feet tall, you can try this nifty trick. All you have to do is physically grab and pull out large handfuls of weeds and then lay them down over the pathway or row you’d like to cover. You always want the roots of one handful to be on top of the above ground portion of the previously laid handful (see the picture), and it’s best to do this on hotter, sunnier days so the sun will kill the weeds through root exposure. It’s best to lay them on pretty thick, and you may have to do this twice to completely shade out the weeds, but it’s worth it if your crop can afford the bit of weed exposure and you are sick of weeding it.

It’s easier to do on days when the soil isn’t too dry, just because it’s easier to pull the weeds then, but if you’re going to thatch weeds on purpose, make sure to keep a close eye and not let any weeds go to seed, That would be disastrous. If any weeds that you do pull are mature and might be close to seeding, don’t thatch with them or compost them, dispose of them away from where the wind could pull their seed into any plot.

Good luck with your beds gardeners!

-Joe Ingrao, Excel Scholar Summer 2014
LaFarm Market on Thursdays!

Now in the most active part of the season, LaFarm is beginning to bring our fresh fruits, veggies, and herbs to market for students, faculty, staff, and other passers-by outside of Gilbert’s from 11am-1pm every Thursday. LaFarm posterOur first market this past Thursday was a great start, we brought scallions, garlic, eggplant, tomatoes, potatoes, a mix of herbs (oregano, sage, and thyme) flowers and young, ready to plant Brussels sprouts!

-Joe Ingrao, Excel Scholar Summer 2014
Potato Hilling

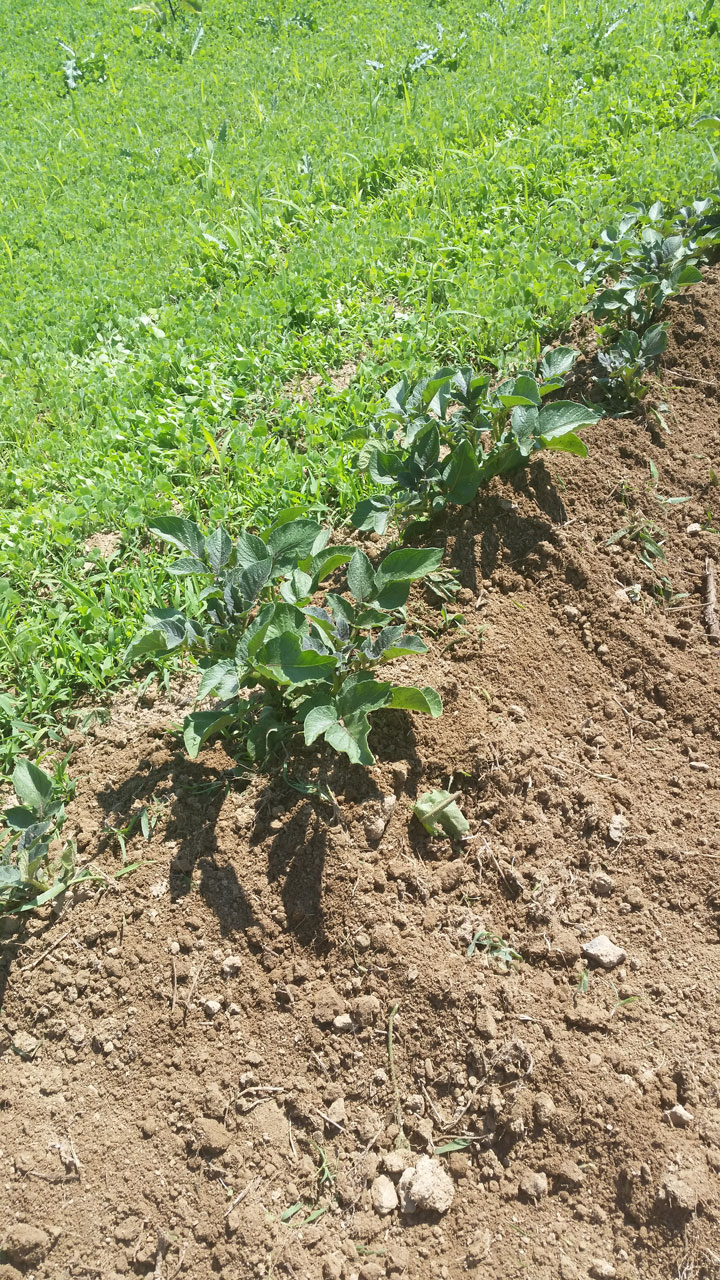
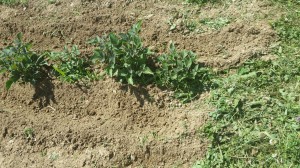
Potatoes before hilling

Potatoes before hilling

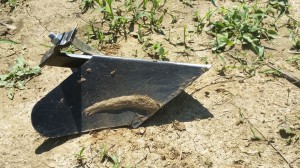
Shovel attachment for Wheel Hoe

Shovel attachment for Wheel Hoe

So, potatoes are really easy to get into the ground, but what about ways to get them to produce more potatoes per plant? A good and simple answer to this is to do what is called Hilling to your potatoes.

You start with your lovely potato plants, after they’ve grown to be at least a foot above the ground as shown in the before picture.

You take a wheel hoe, a handy dandy invention that’s been around a long time that Sarah recommends as one of the two most important tools for a small farm, and you attach a shovel-looking attachment.

You then run your wheel hoe with the shovel attachment alongside your potato rows, pushing the dirt up onto the potato plants. Your potatoes will then look something like ours do in the during picture.


Potatoes during hilling

Potatoes during hilling

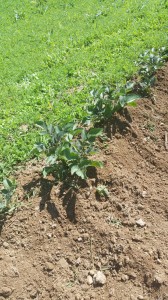
Potatoes after hilling

Potatoes after hilling

The dirt should have been driven up around some of the bottom leaves of the potato plant. This won’t hurt the plant as long as it’s not completely buried. It will trick the plant into thinking that it must grow taller to get the same amount of sun, instead of growing wider as it does normally. Growing taller makes the plants store more starch in their roots, i.e., grow more and bigger potatoes.

To finish the process, you’ll want to take a regular old hoe and pull the dirt that was pushed up by your wheel hoe and bring it in closer to the plant, covering the first few layers of leaves. It’s safe to cover up until almost the very top, as long as at least the highest layer of leaves is revealed, but we just covered up the bottoms. You can see our finished product in our after picture.

-Joe Ingrao, Excel Scholar Summer 2014
Pests and Payoffs

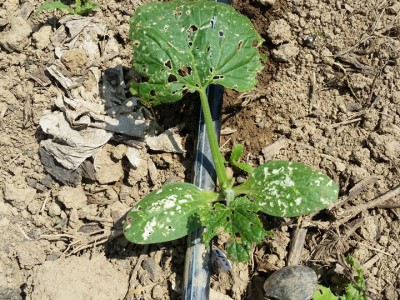
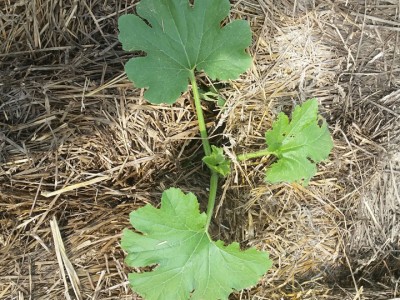
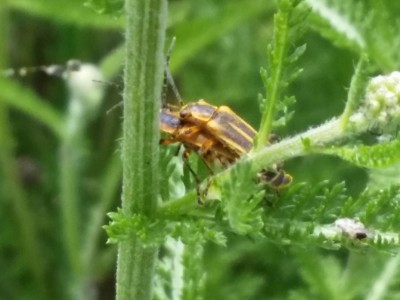
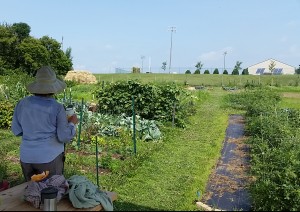
So last week I mentioned how as organic farmers we’re always compromising. Specifically, we do our best to control pests without having to even use organic pesticide but when a good deal of our farm was at risk we bit the bullet and sprayed some PyGanic on the affected crops. To our great joy, this week we discovered that after only the one spray we were able to save our squash crop and eliminate the vast majority of the Colorado Potato Beetles on the farm (with mostly spot spraying damaged plants rather than spraying entire crops), without killing off all our wonderful beneficial insects. In other words, the best case scenario! Given this, we most likely won’t have to spray anything for the rest of the summer. Take a look at the difference in our squash plants. Before, they were struggling to survive through the assault of a beetle known as the squash or cucumber beetle, and now they’re thriving!

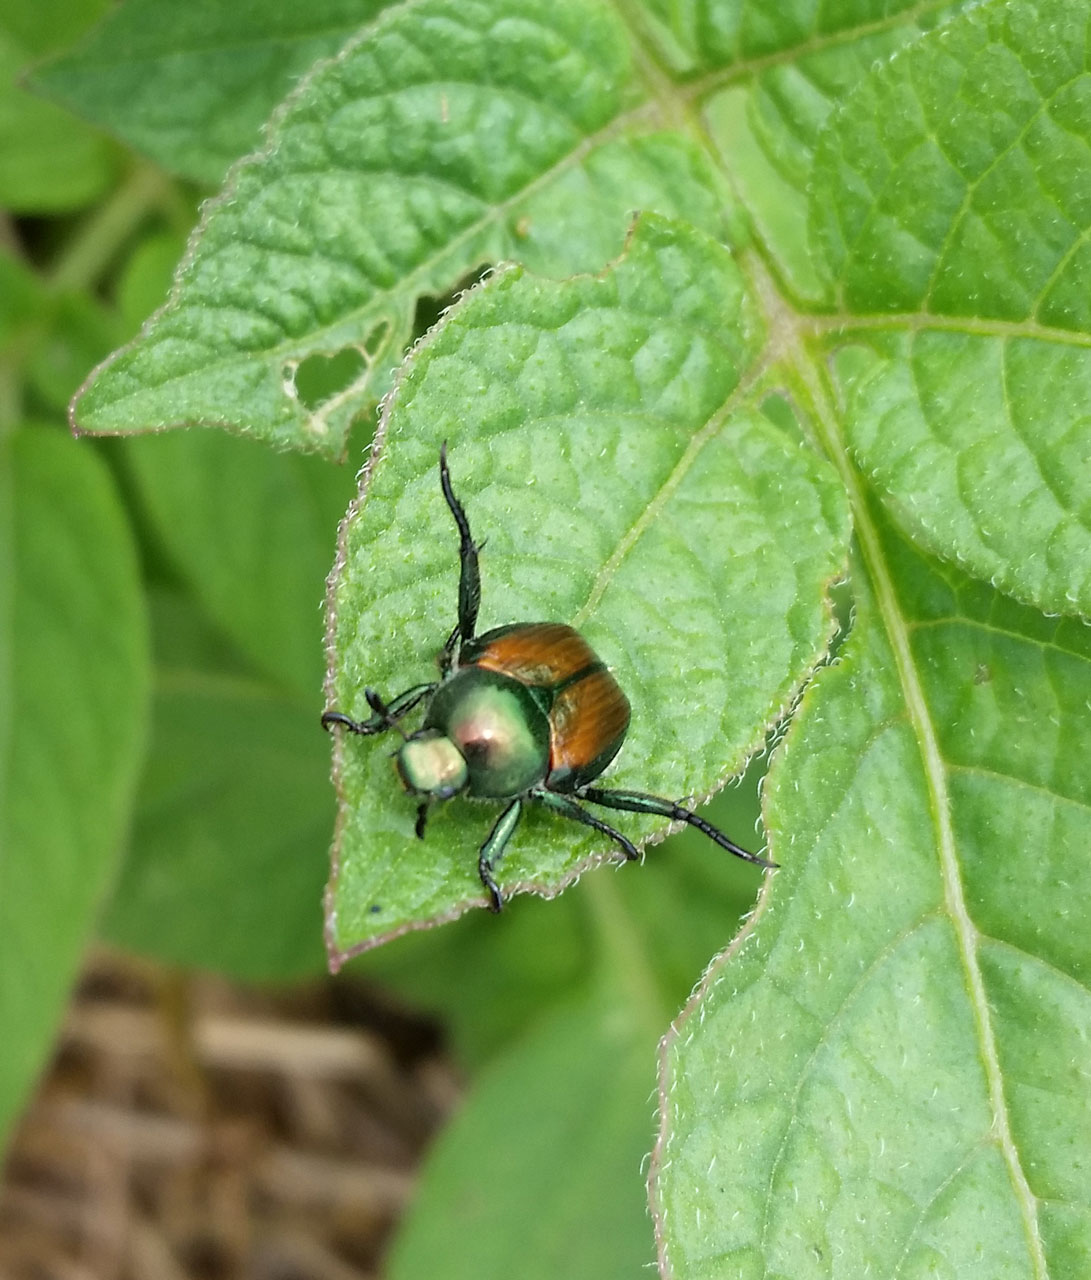
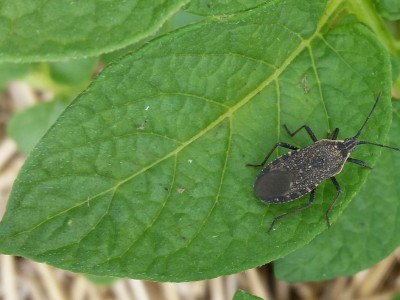
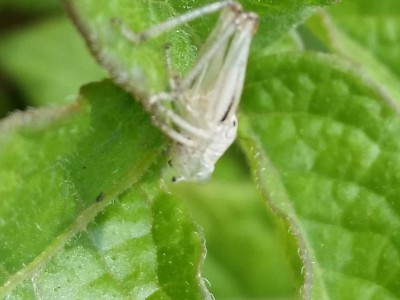
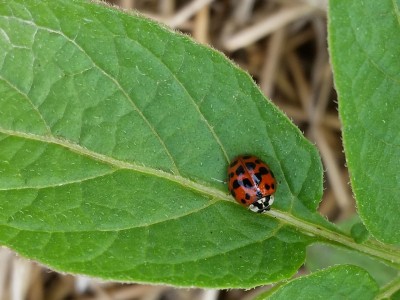
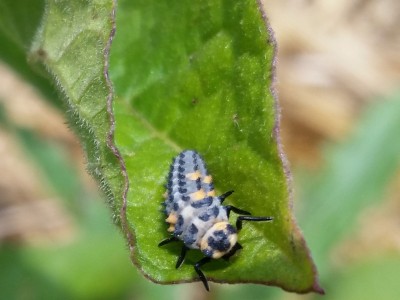
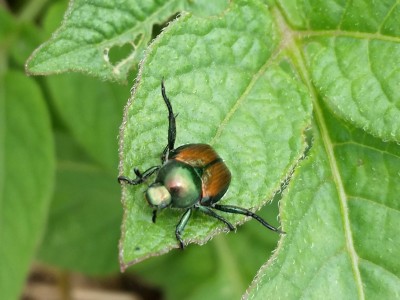
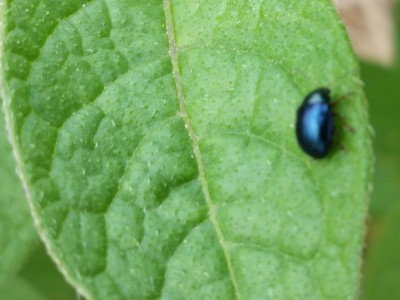
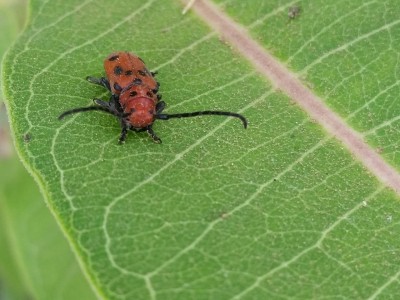
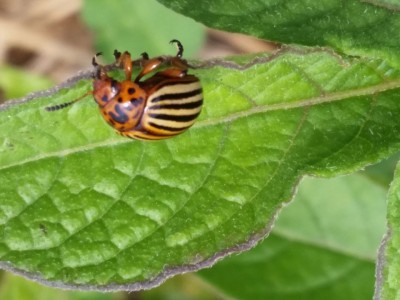
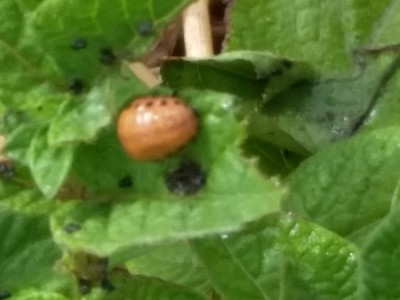
Now, there are so many insects on a farm that only an entomologist would be able to identify them all without years of working outside and learning bit by bit. So I’ll show some of the more common insects on the farm for you here:

Veggie-Van-20140710_165927

First Veggie Van run in 2014

I don’t want to end talking about bugs though, so I’ll talk more about payoffs. There are three other excel scholars, Andrew Goldberg, Alexa Gatti and Rachel Leister who have a plot out at the farm, and they’re specifically working toward making vegetables in the community more accessible through their veggie van project, where they bring fresh vegetables to residents of Easton at no charge, with donations accepted. The first run of this took place just this Thursday from 5-7 at Pine and 10th street, and they will be doing this each Thursday at these times for the rest of the summer. Community gardeners who would like to support them can donate food by leaving it in the cooler by the shed at LaFarm.

-Joe Ingrao, Excel Scholar Summer 2014

Tomato Planting

Everyone knows the beauty of a good tomato. From tomatoes that are good for sauces (known as paste tomatoes) to heirlooms and big beefsteaks for dicing up and cherry tomatoes for throwing in salads, tomatoes are a versatile crop.

To plant a good row of tomatoes, you start out with a 3 ft wide tilled bed. With a post-hole digger you want to go down the middle of the row and dig a new hole every 2 ft. The depth of the hole depends on the size of the plant. Tomatoes are aggressive rooters, so they’ll grow roots off their stem wherever they’re on or in the ground, but you don’t want to bury much more than a fifth of the main stem into the ground. You should place the plants into the holes and fill in around the stem, creating a bit of a mound around the plant if it’s longer than say, a foot.

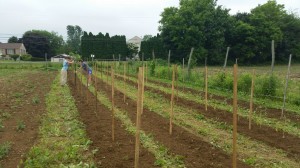
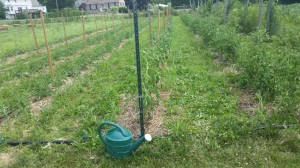
Our tomato crop, right after planting and trellising

Our tomato crop, right after planting and trellising

Make sure that if any leaves touch the ground, you remove the whole branch attached to them. These low hanging branches can spread pathogens easily and greatly increase the chances of blight. Also remove any little tomatoes that have already started to grow before you put your plants in the ground. Those and the low branches will just slow the plant’s overall growth. It’s also important to look out for concentric or patterned spotting on leaves of the tomatoes before they’re planted. These can be further signs of disease.

Some farmers let their tomato plants grow along the ground like some sort of squash, but they’ll generally yield more and be easier to weed and manage if you build a trellis for them. To construct the trellis, you should pound stakes into the ground between the plants, no further apart than 3 plants, unless it’s at the very end of a row. At the ends, make sure to use higher quality stakes, we use metal ones there and wooden ones in the row itself. To pound them in, you can use a normal mallet, or if you’re short like me, or just want to save your wrist, you can use a post driver, a simple device which is a hollow cylinder that is open at one end, sometimes weighted or even with a spring inside to assist with pushing the stakes in.


Tomatoes, 1 month later

Tomatoes, 1 month later

To complete your trellis, you want to take string and do what’s called a Florida weave. To do a Florida weave, you loop string around your first stake and then pull it along, looping it along each stake as you go. At the end of the row, you should loop it back around and go on the opposite side of each stake along the row for a second time. You should end up with string on each side of each plant. You want to do your first weave somewhere between 8in and a 1ft above the ground, and then you want to get your tomato plants in between the weave, so it will grow vertically. As the tomatoes grow taller, you want to weave again and keep letting them grow upwards. This makes it much easier to weed and harvest your tomatoes. There are handy tools you can find online that were made to help to make a Florida weave, and we use a length of PVC pipe that we pull the string through to help with looping around tall stakes.

As you can see from this later picture, after our tomato plants were off the ground we weeded underneath them and laid straw under them, as mulch that will block sunlight to weeds and eventually add organic matter to the soil.

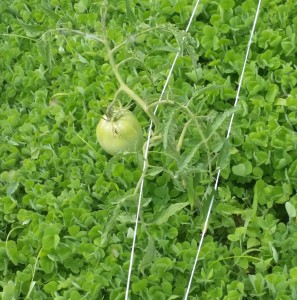
Tomato harvest is going to be soon!

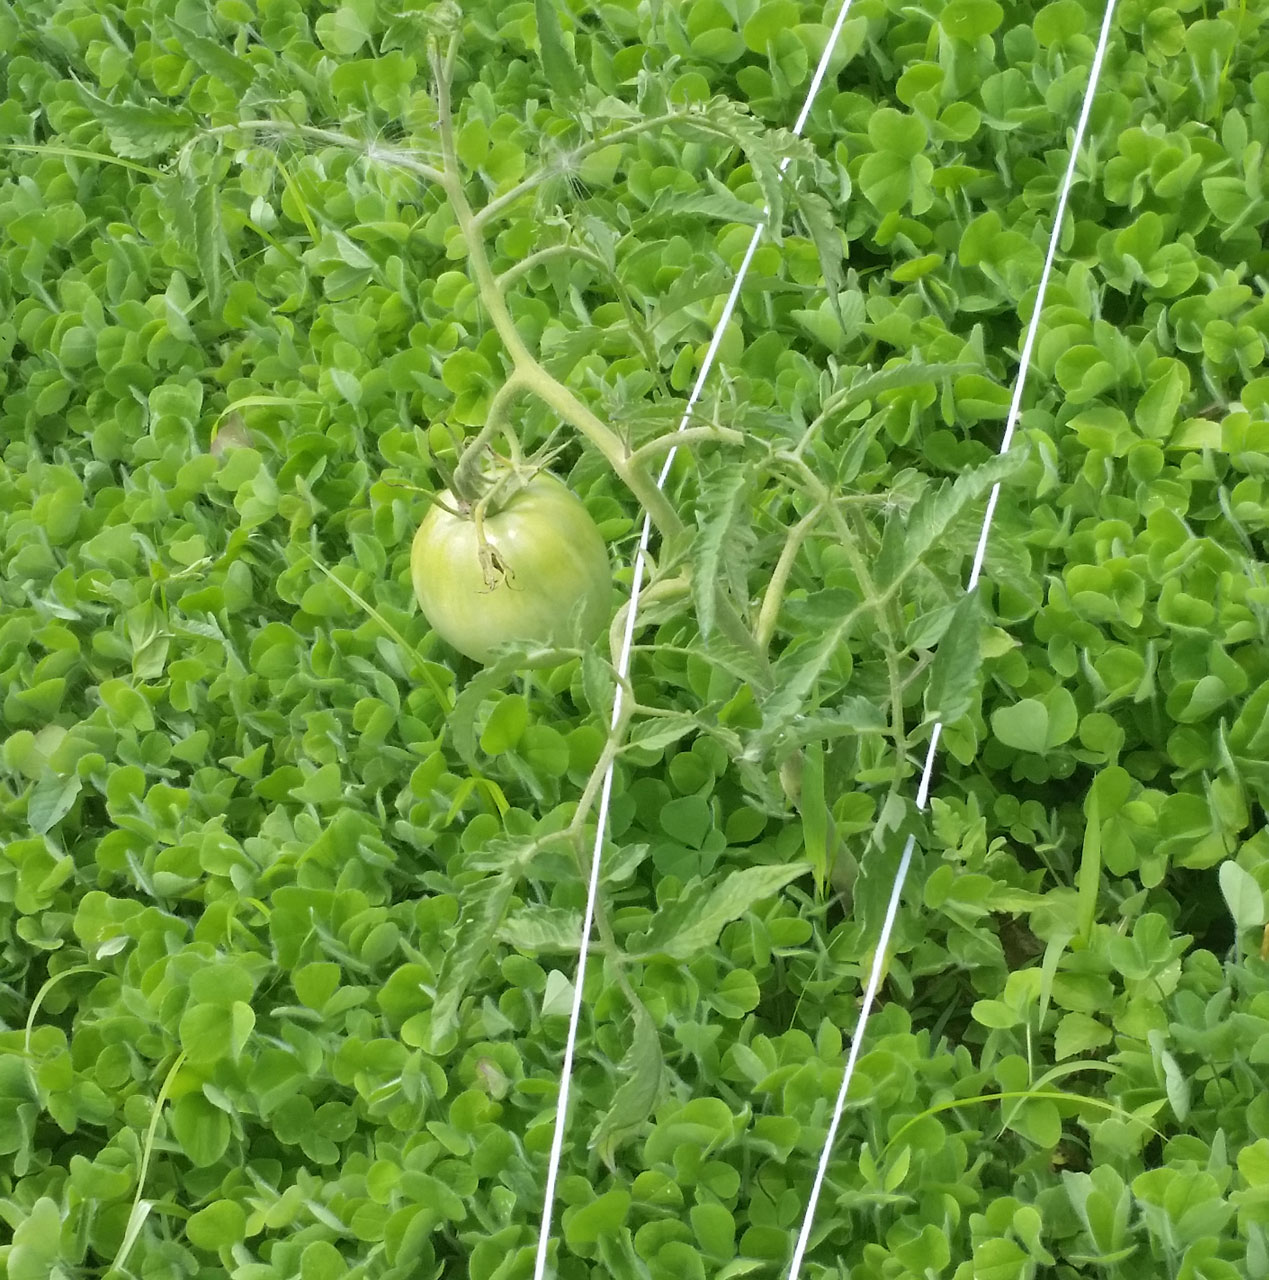
Tomato harvest is going to be soon! (This tomato is from another section of our farm where we chose to sow crimson clover under our tomatoes instead of mulching, and its working wonderfully!)

-Joe Ingrao, 2014 Excel Scholar
Compromises

Small farms and organic farms have to make a lot of compromises. Some see not using industrial methods as a compromise of choosing the environment over production but that’s not the sort of compromise I’m talking about (and that isn’t so much of a struggle for me, where the choice seems obvious.) Rather, right now I’m talking about compromises of when we do have to use some of the more heavy-handed methods. When small farmers have to use a tractor instead of their draft horses for a job, or when all else has failed and organic pesticides are the only way to save a crop. The latter is happening to us at the farm right now.

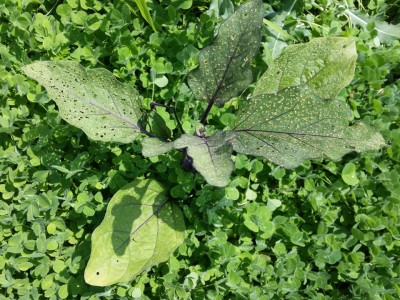
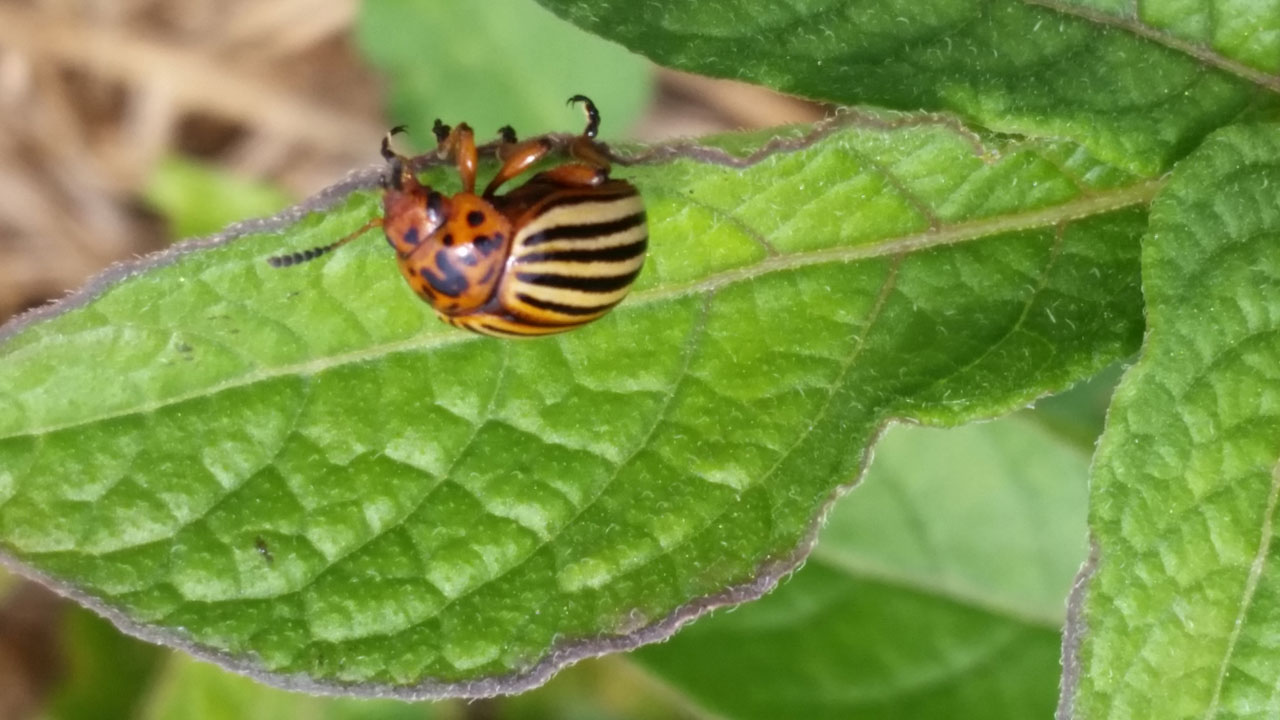
We, and a lot of small organic farms, use what is called Integrated Pest Management at the farm. (for information on pest management strategies, look here) That means that spraying anything is our absolute last resort for managing pests. But unfortunately we have some nasty critters like the Colorado Potato Beetle, Squash Beetles, and Flea Beetles that are so well established here from a few years of less than perfect management strategies before Sarah got here that even intense crop rotation and other pest management has failed in defeating them in the last two years.

So we’ve been left with a lot of damage:

This left us with nothing we could do besides spray something (organic of course), otherwise these crops will be completely lost. Spraying always risks killing beneficial insects like ladybugs and lacewings, but not spraying will increase the chances of these bad bugs not only ruining this year’s crop, but surviving years to come and continuing to destroy food.

Organic-Pesticides-20140630

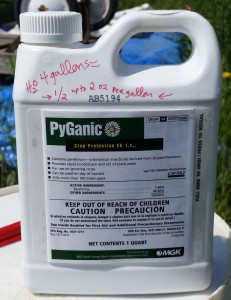
PyGanic, an organic pesticide.

We chose to spray PyGanic, pictured at the right. Also, we stuck to the lowest concentration that we could that would kill the potato, squash, and flea beetles and least risk killing any beneficial insects. The damage on the potatoes has not yet gotten so out of hand that we needed to spray more than the plants affected, but given the ubiquitous damage done to our squash and eggplant, those crops had to be sprayed equally ubiquitously.

It’s unfortunate we had to spray this week, but we have to sometimes make compromises. I think about some of the huge sprayers I’ve seen, indiscriminately covering fields with fossil-fuel based pesticides that will kill more bees, butterflies, and even some birds more than they will the actual pests, and I remember that it’s better to make compromises than to give in.

-Joe Ingrao, Excel Scholar Summer 2014