When I imagine Spring, I think of sunshowers and wildflowers. And when I think of farm work in Spring, I think of early plantings like onions, peas, and potatoes. I don’t usually think of the smell of compost (I no longer have anything against the smell of good compost though—now that I’ve seen the amazing results of such compost the smell just reminds me of success.) But one of the most grueling—and important—tasks of Spring farming is spreading compost. So we invited our friends to help!

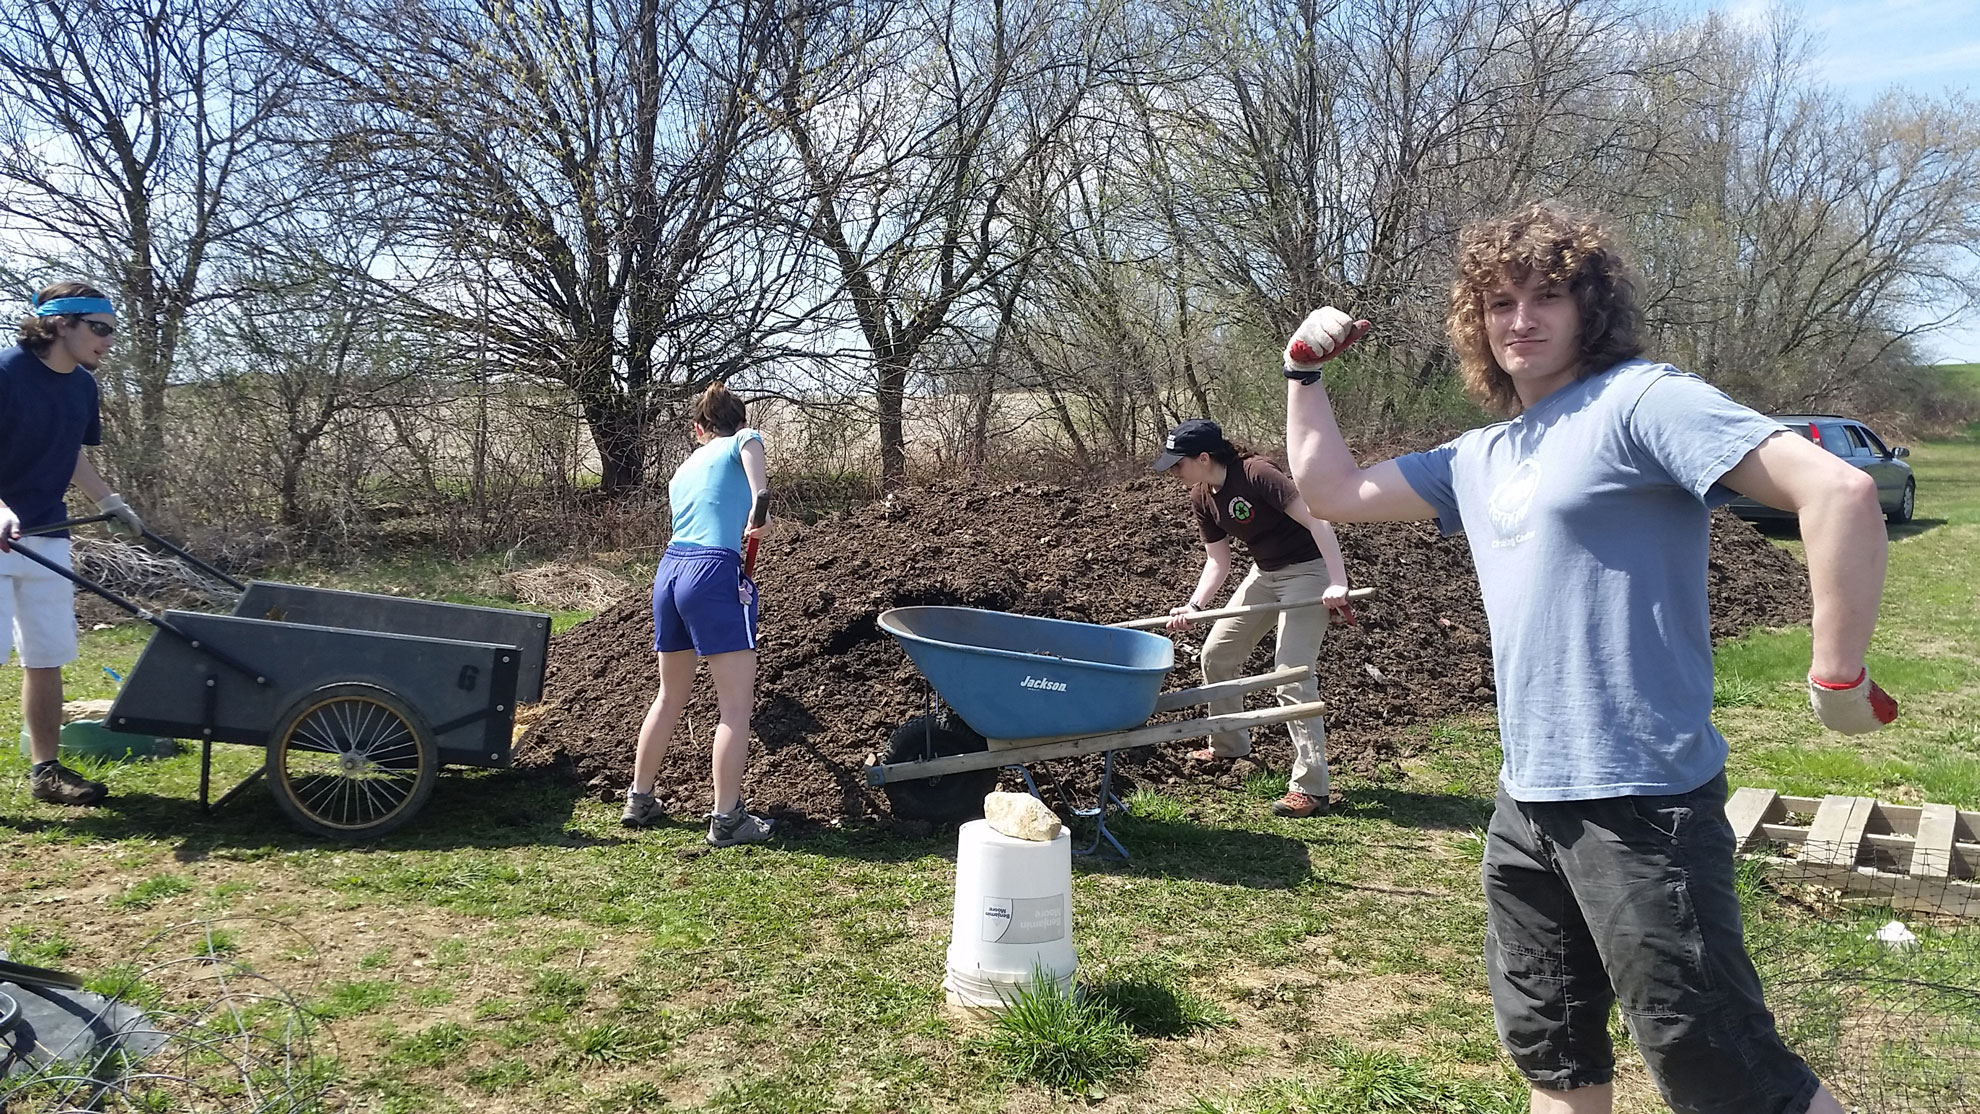
Shoveling compost takes a lot of strength!
Pictured: (from left to right) Fletcher Horowitz, Miranda Wilcha, Monica Wentz, and Benji Helbein.
Work is much more fun when you make it a party, and Spring farm days definitely make good parties! Even getting a team of 5 or so people out to shovel compost evokes feelings of community and family which we don’t get everyday in our modern, disconnected lives. So it’s very nice to get a bunch of people together to do something like this (especially if it means that just one person needs to do it for 5 times as long later on!) which is totally doable because it doesn’t take much background knowledge to shovel and spread nutrient rich dirt.
Spreading compost is not the most glamorous farm job, but it is necessary and still fun in groups.
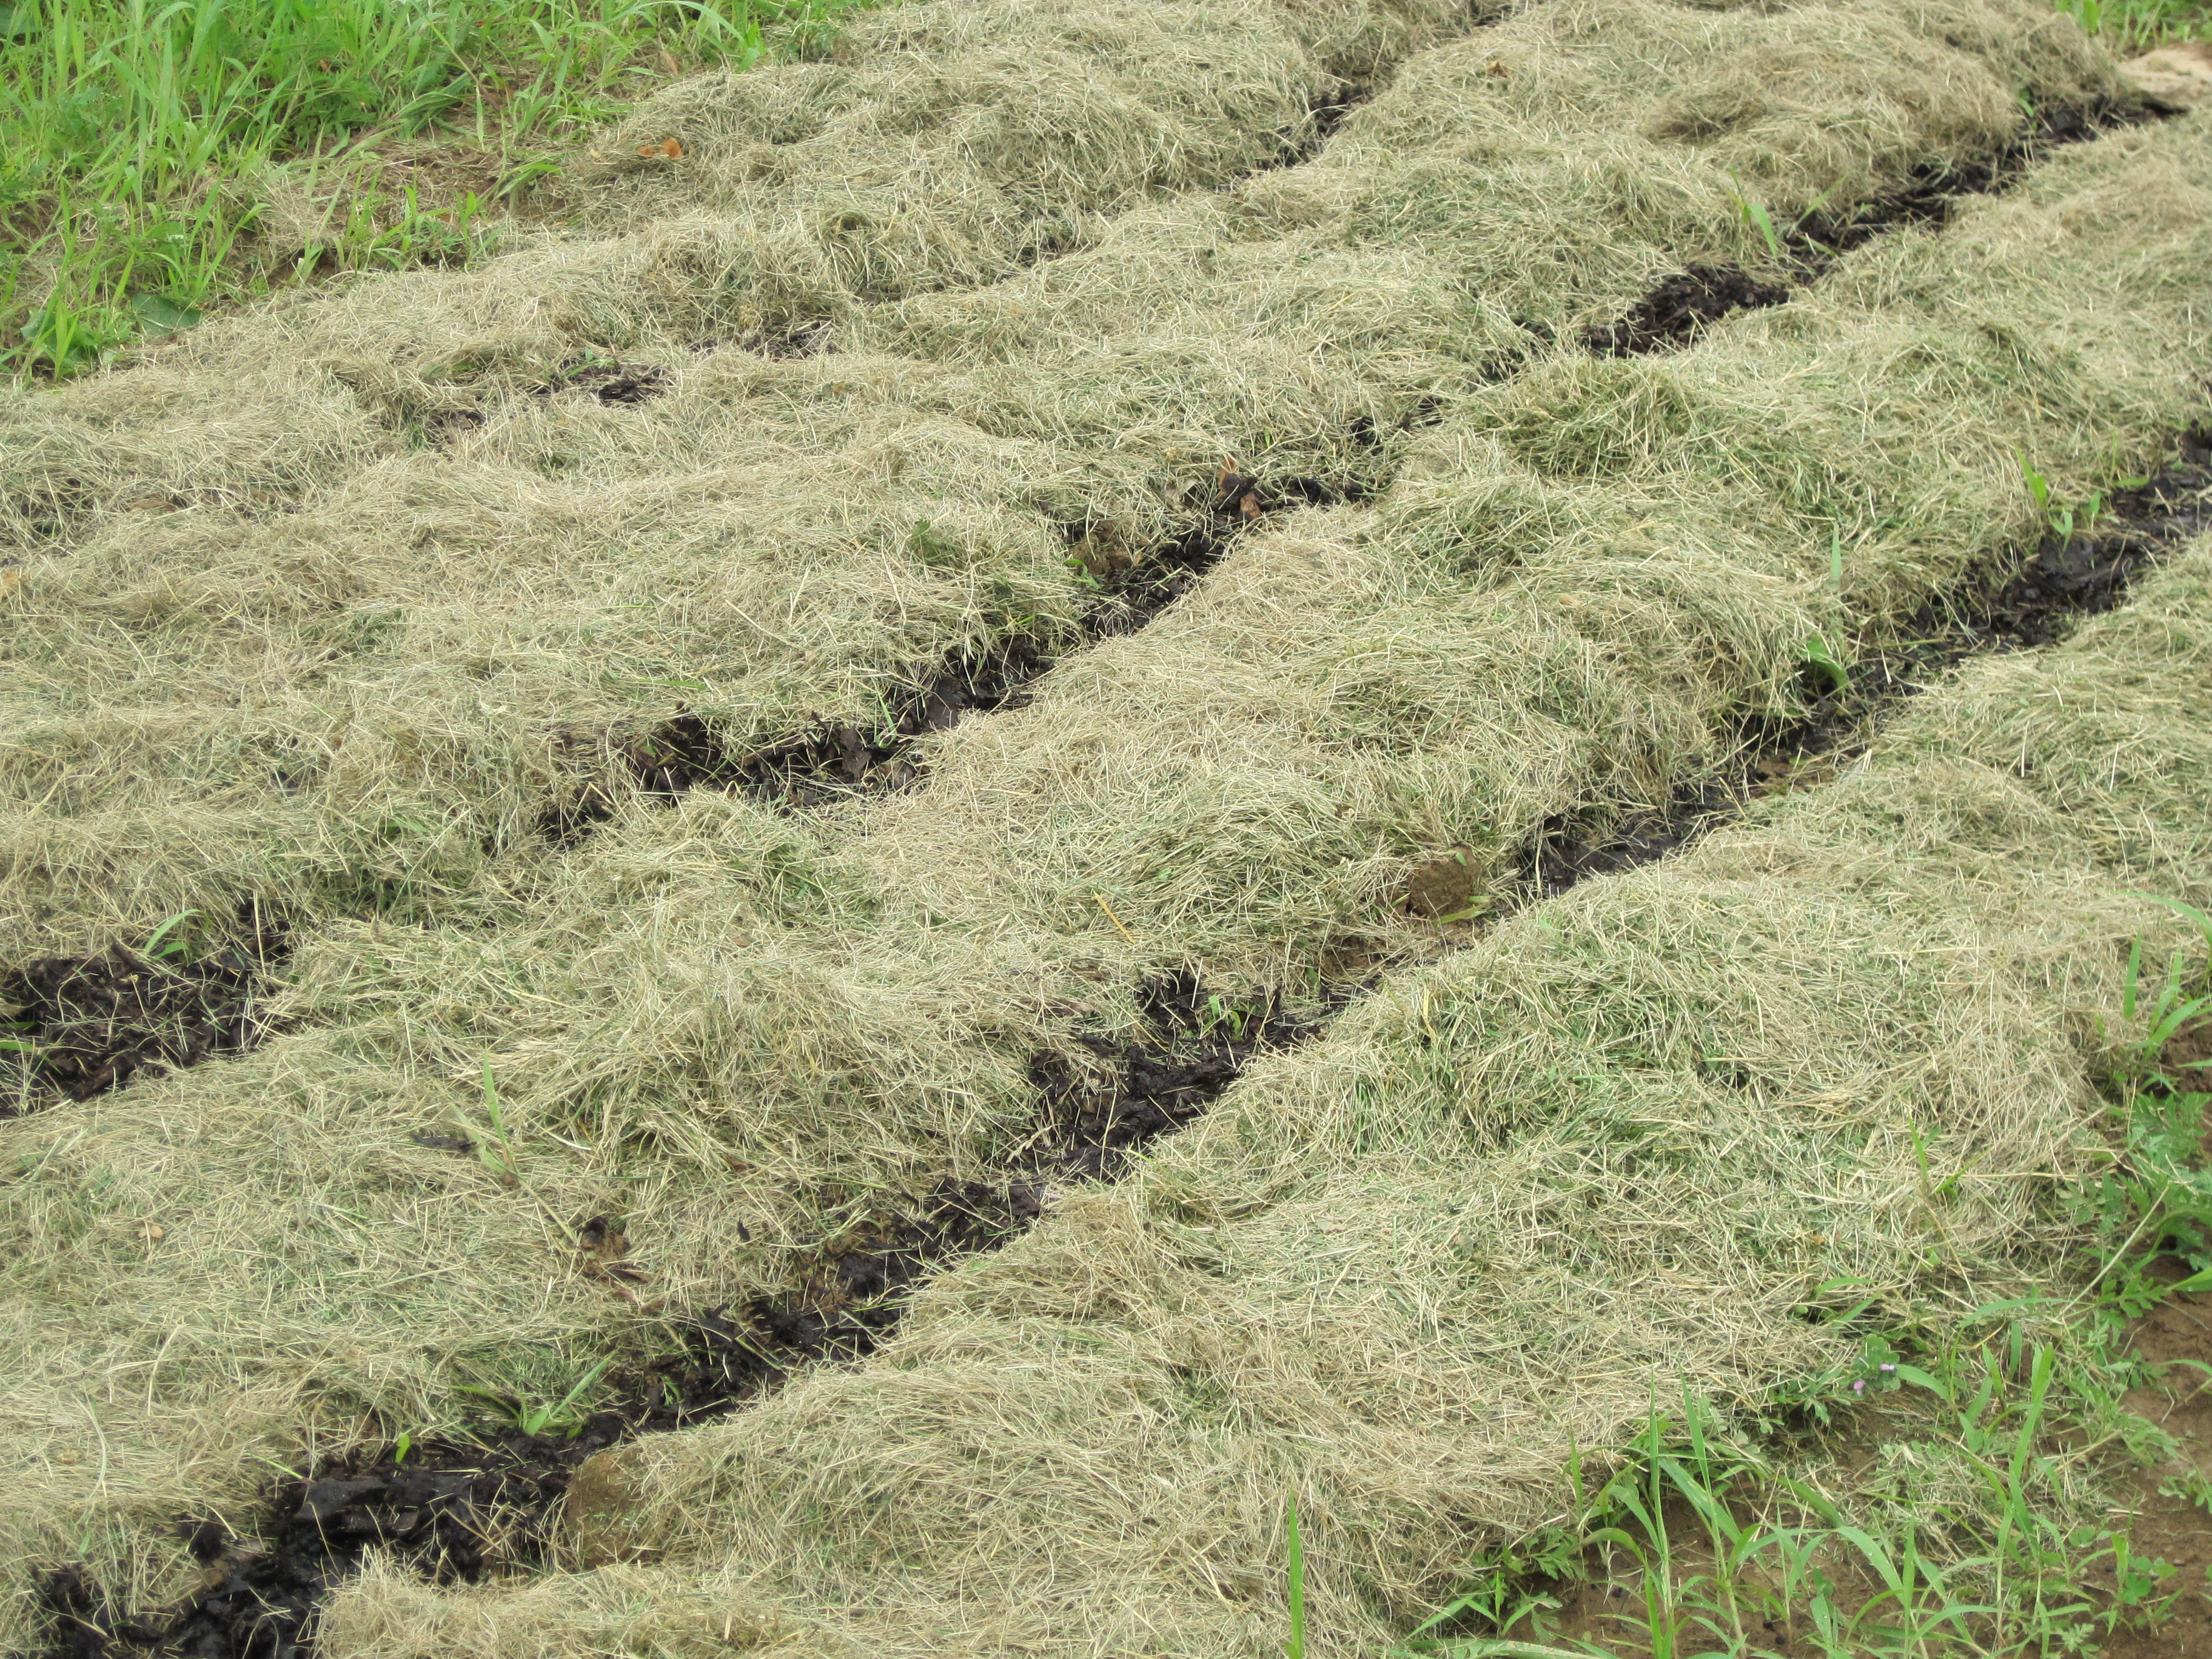
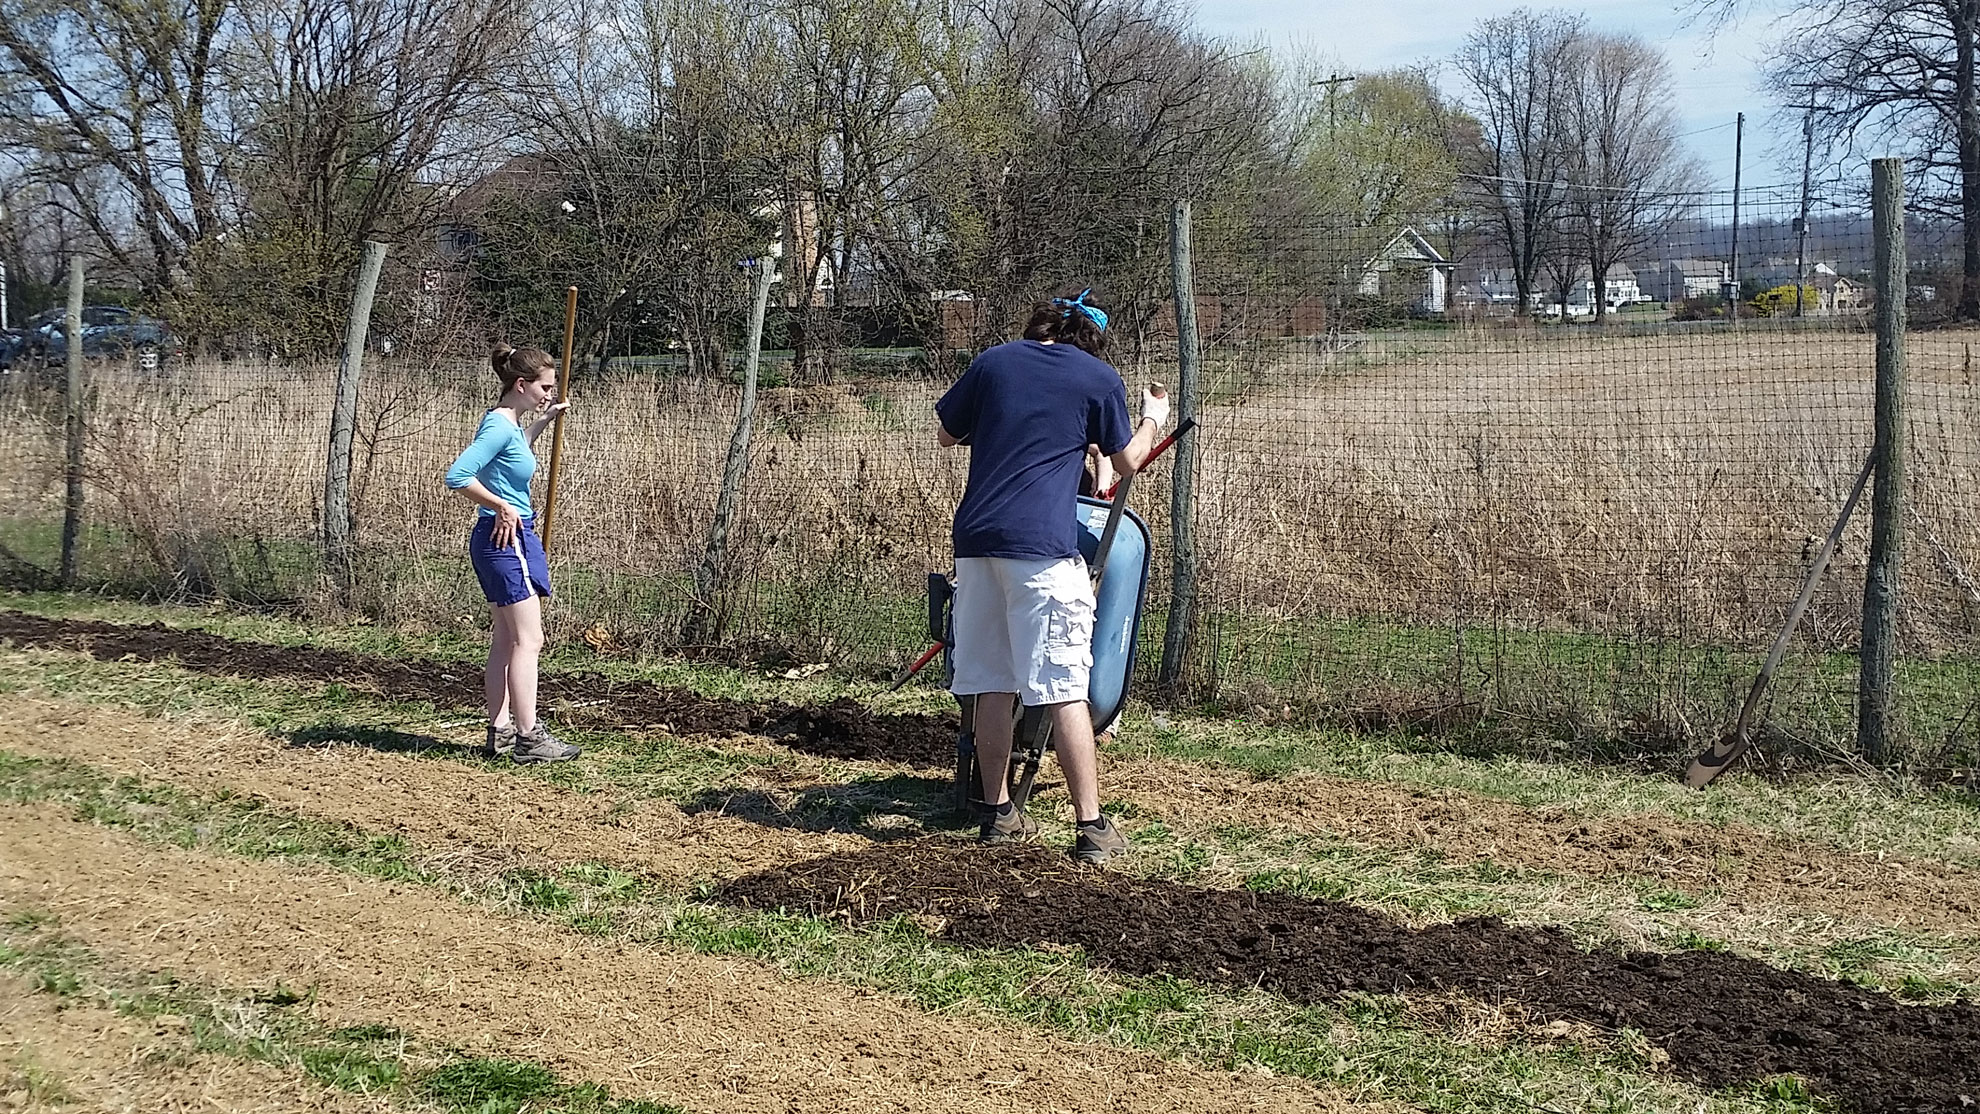
After your primary cultivation (your first tilling of the soil in the Spring) you take your compost (we get ours straight back from the dining halls we sell to) and spread it over your beds until it’s about an inch thick. For this, we dump piles of compost on the field with a wheelbarrow or cart and then use a rake (tilling rakes work especially well) to spread it evenly. After spreading, we till the beds again to mix the wonderful nutrients in with our normal topsoil.
But truly, it feels wonderful to be back outside, no matter what you’re doing on the farm, and all the more so when you can share it with friends. Here’s to hoping for a good season!
Joe Ingrao, Spring 2015 EXCEL Scholar