June 24th 2015
Hello Farmers and Gardeners!
So last year I made a post about hilling potatoes. Hilling potatoes yields more potatoes per plant, keeps weeds down so less weeding, and stops the potatoes from widening and getting all over the place, tricking them into growing higher instead. So hilling is advantageous for many reasons, but there are many ways to do it. My last post about it just involved using dirt. We’ve also used straw and compost to hill, and they are very different techniques. As you may have guessed from the title, this year we’ve been hilling with compost, and that’s what I want to explain in this post.
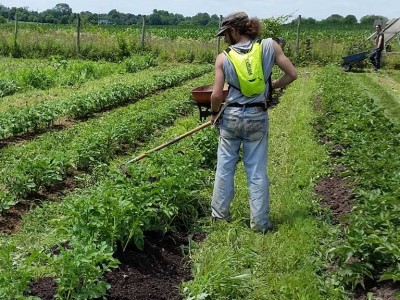
For this you’ll need a flat hoe, a wheelbarrow, a shovel, and compost (obviously.) Once your potatoes have grown up a foot or so, you can hill them, we’ve been hilling our potatoes that went in the ground in late April for the last 3 or so weeks, so most potatoes don’t require much more than a month or so of growing. We always do make sure to weed each row of potatoes right before we mulch them this way, and we mow the paths between the rows to make it easier for us as well.
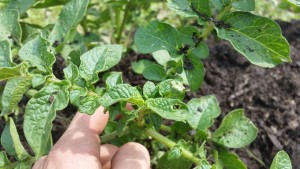
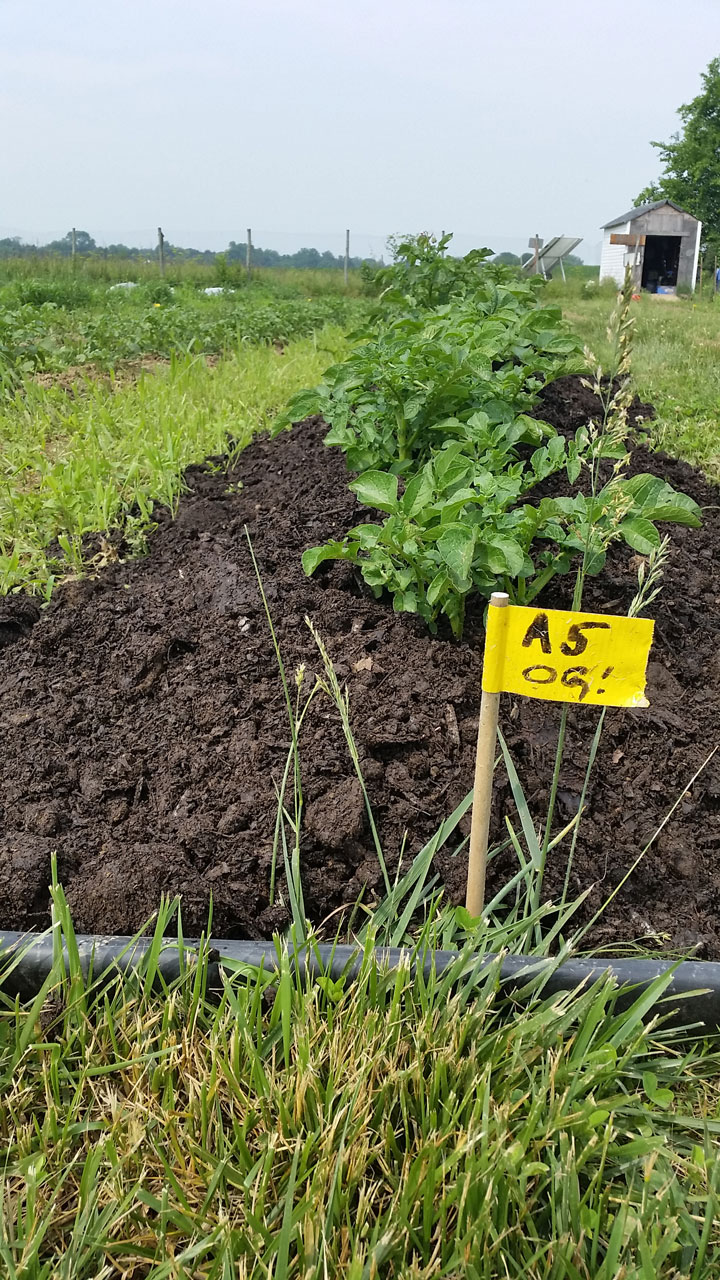
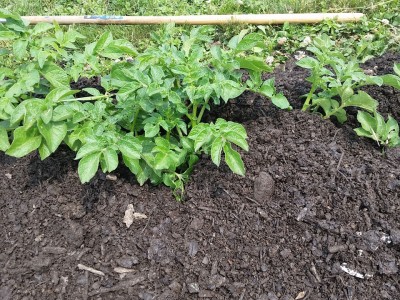
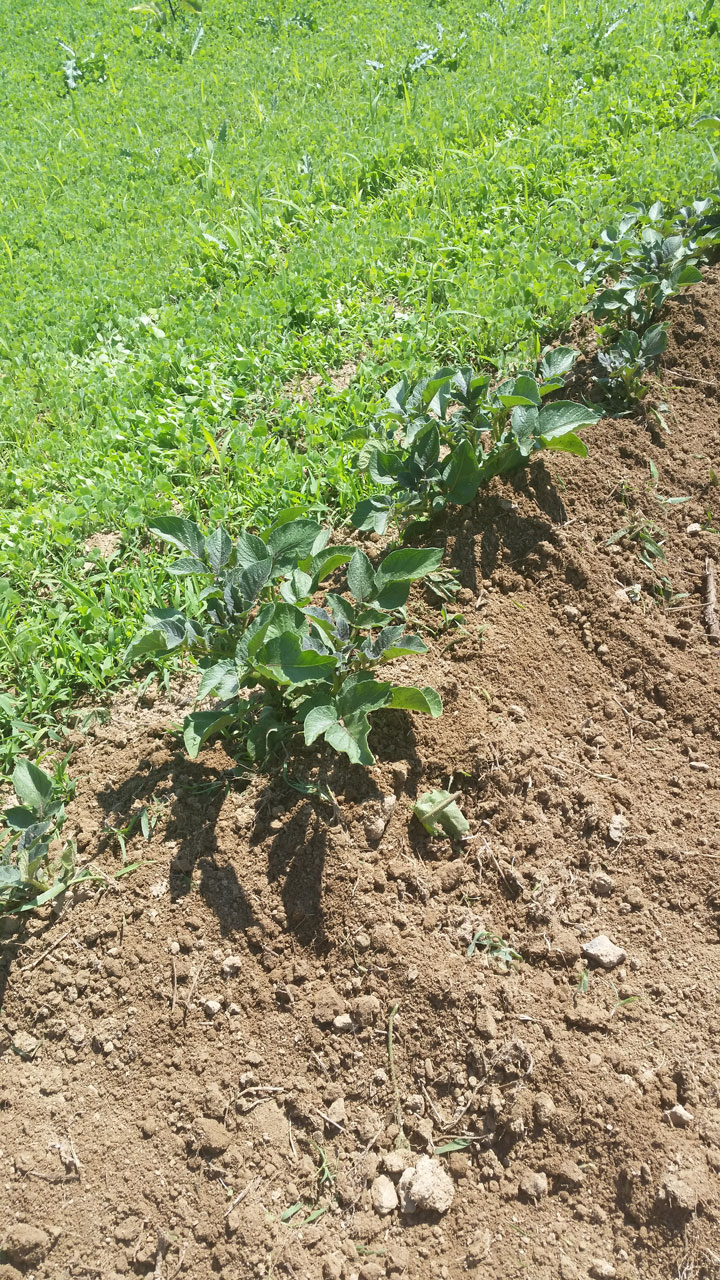
The growing point, which is the place where the stem will continue rising, is at the convergence of the highest set of branches on any plant, right here on potatoes. This is the part that it’s important to never block from the sun.
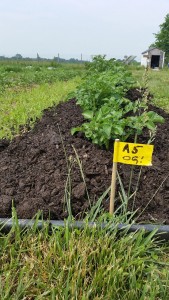
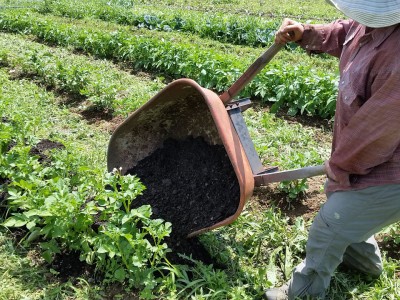
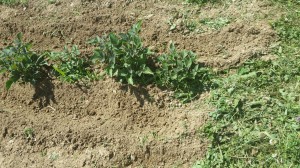
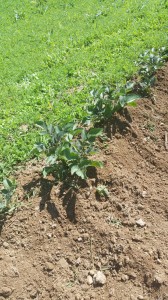
First thing you do is fill a wheelbarrow with compost, and dump it right next to your potatoes. It’s ok if it get’s right on the plants, as that is the point of hilling them. Once your potatoes are nice and strong, you can pile the compost 6-8 inches or higher, as long as you don’t cover the growing point on each plant (pictured.) After you’ve poured it on, you can take your flat hoe and kind of rake the compost into place, covering the bottom branches of each plant as best you can.
- Sarah, dropping the compost right up against the plant. The closer you get at this step, the less time you have to waste later!
- The plants can get pretty nestled in, potatoes are hardy and covering them is the point of this method!
- Me, pulling the compost into place with a hoe. This is one of the few jobs on the farm that actually uses a traditional flat hoe.
After that, you leave the potatoes as they are. They will grow up very happily and yield many delicious spuds for you. Happy Farming!
– Joe Ingrao, Summer 2015 EXCEL Scholar
