Greetings, all!
Is this your first time using WordPress, or any other type of blogging software? Start here for some additional insight regarding how to use this site!
Introduction
WordPress is a web-based general user interface (GUI) that enables one to write journal and blog articles quickly and easily. While this course will focus on its implementation as an online magazine of sorts, this interface is usable for a wide variety of website formats, including organizations, stores, start-ups, and personal journals.
This article will briefly overview the project for CHE 324, then provide a quick primer on how to use WordPress.
The Project
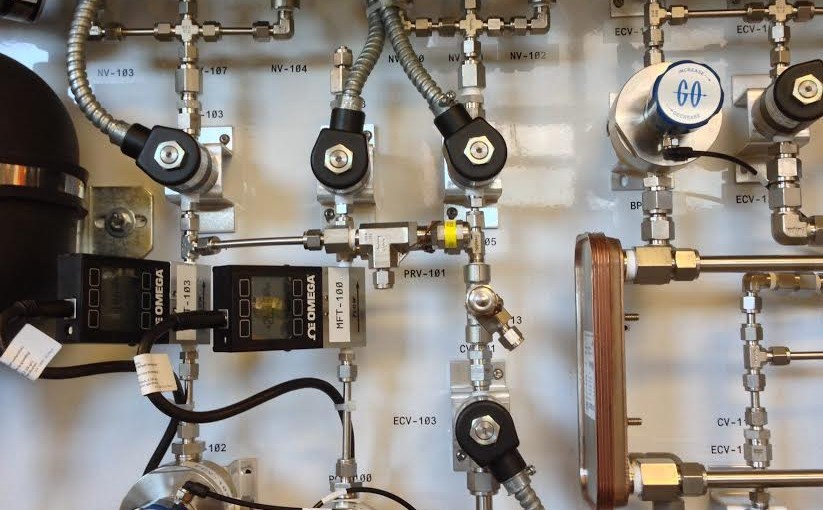
The goal of this project is to express ideas about Process Control in common language. While we have explored heated reactors, surge tanks, heat exchangers and the like, the discussed principles are by no means the only place in which they can be used. In groups of three, students participating in this project are to describe an everyday application in which dynamic process control can be implemented. Automation is an increasingly relevant (and largely invisible) part of our lives – whether it’s minorly improving user interfaces in software or substantially improving the quality of life of a third-world country, the same idea of a feedback/forward loop providing desired outcomes still holds true.
Please consult the CHE 324 Project Prompt for additional information.
Using WordPress
The Dashboard
After logging into WordPress, you will have access to the Dashboard, which is the main menu for creating content.
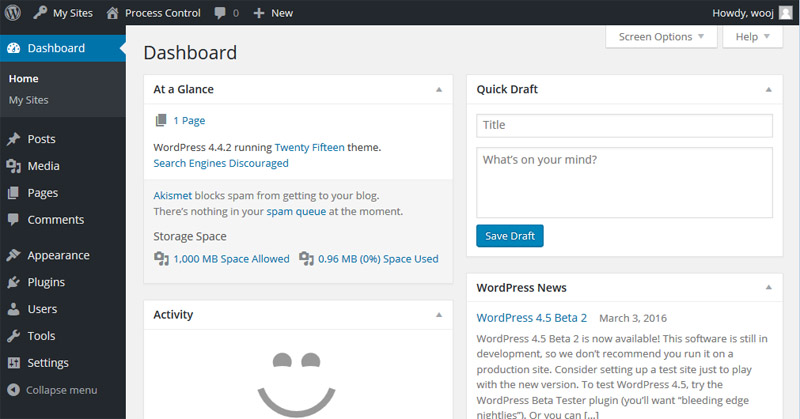
Of note, there are a few menus on the side that are worth exploring:
Posts
Posts are the articles that are written by you and your peers. Note that they can be sorted by name, completion date, category, or author.
- All Posts lists all the posts that have been written to date. If you can’t find your article anywhere else, this would be a good place to check! You may edit or delete your article from this menu.
- Add New creates a new post in your name.
- Categories allow for some sub-classification of articles beyond title alone – though this will be largely unused by students in this project. Think of these as folders in which the articles are sorted
- Tags likewise allow for sub-classification, but are much more easily implemented as they provide keywords for one to search with. (As the name implies, this is a more formalized version of hashtagging.)
Pages
Pages are similar to Posts but are expected to be static content – that is, they do not roll over with time as additional blog posts are generated. (This is the type of structure that might arise if you were writing an “About the Author” or “Contact Us” page, as opposed to an actual article. This will be largely unused by students in this project.
Comments
The Comments menu gives a list of comments that have been made and/or approved on existing Posts and Pages. Moderation is required for comments to be made, so they will not show up right away if you write one on a Post! Note that for this project, comments on two articles will be required.
Media
The location of all multimedia files in the site, the Media Library provides a useful and fast interface in which we can store files.
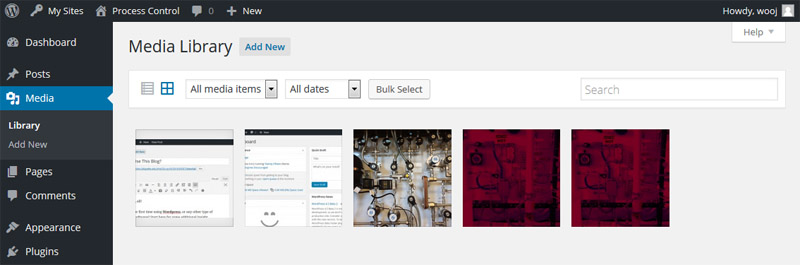
When in the Media Library, one can drag files from Windows Explorer and drop them directly onto the page in your internet browser to upload the file. Alternatively, using the [Add New] button will allow for some more explicit uploading instructions, along with minor picture editing tools (cropping, resizing, flipping, etc.)
The Writing Interface
When writing Posts or Pages, the following interface can be seen:
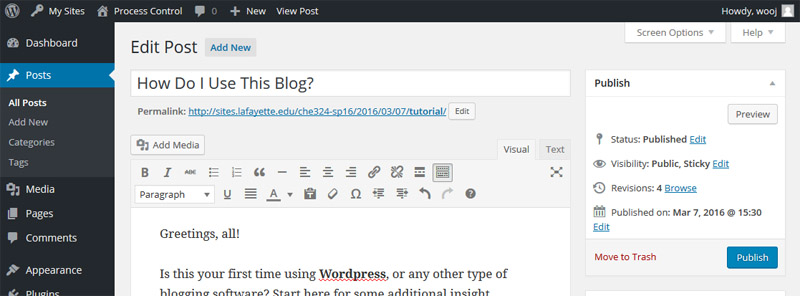
In design vernacular, WordPress uses a what-you-see-is-what-you-get (WYSIWYG) editor that is nearly identical in structure to most common word processing programs. Rolling over any of the icons will give a short description of what they do. In addition, the [Toolbar Toggle] icon will open up additional options for you to use and write with. Alternatively, one can switch to HTML tags and code by clicking on the [Text] option next to [Visual] on the top of the space where you write your articles.
Pictures or other files (like PDF’s of articles) can be accessed by using the [Add Media] button – you can either upload it after pushing the button or select files that have already been uploaded. YouTube videos don’t need to be uploaded – you can simply copy-paste the URL directly into the Visual Editor (in its own line) and save your Post!
One saves by clicking on either [Publish] or [Save Draft] on the right side of the interface. [Save Draft] will keep it hidden from others, while [Publish] makes it openly accessible immediately.
Shortcuts/Hotkeys
WordPress recognizes several keyboard based shortcuts, (e.g. Ctrl+B for bolding, Ctrl-I for italicizing, etc.) which enable for faster typing and formatting akin to Microsoft Word. A full list of hotkeys can be found here.
Questions?
For additional questions and support, please don’t hesitate to email me with any issues. Thanks and take care!
~JLW